When it comes to bike care, cyclists fall into several different camps – from “just knock the worst of the mud off and it will be fine” to “give it a quick squirt with a jet wash” to full-on “my bike has to look sparkling at all times.” Olly very definitely falls into the latter camp, so he was the perfect test guinea pig for GTECHNIQ’s Ultimate Bike Care Kit. Roll up your sleeves, put on a set of Marigolds and read on to find out what he thought.
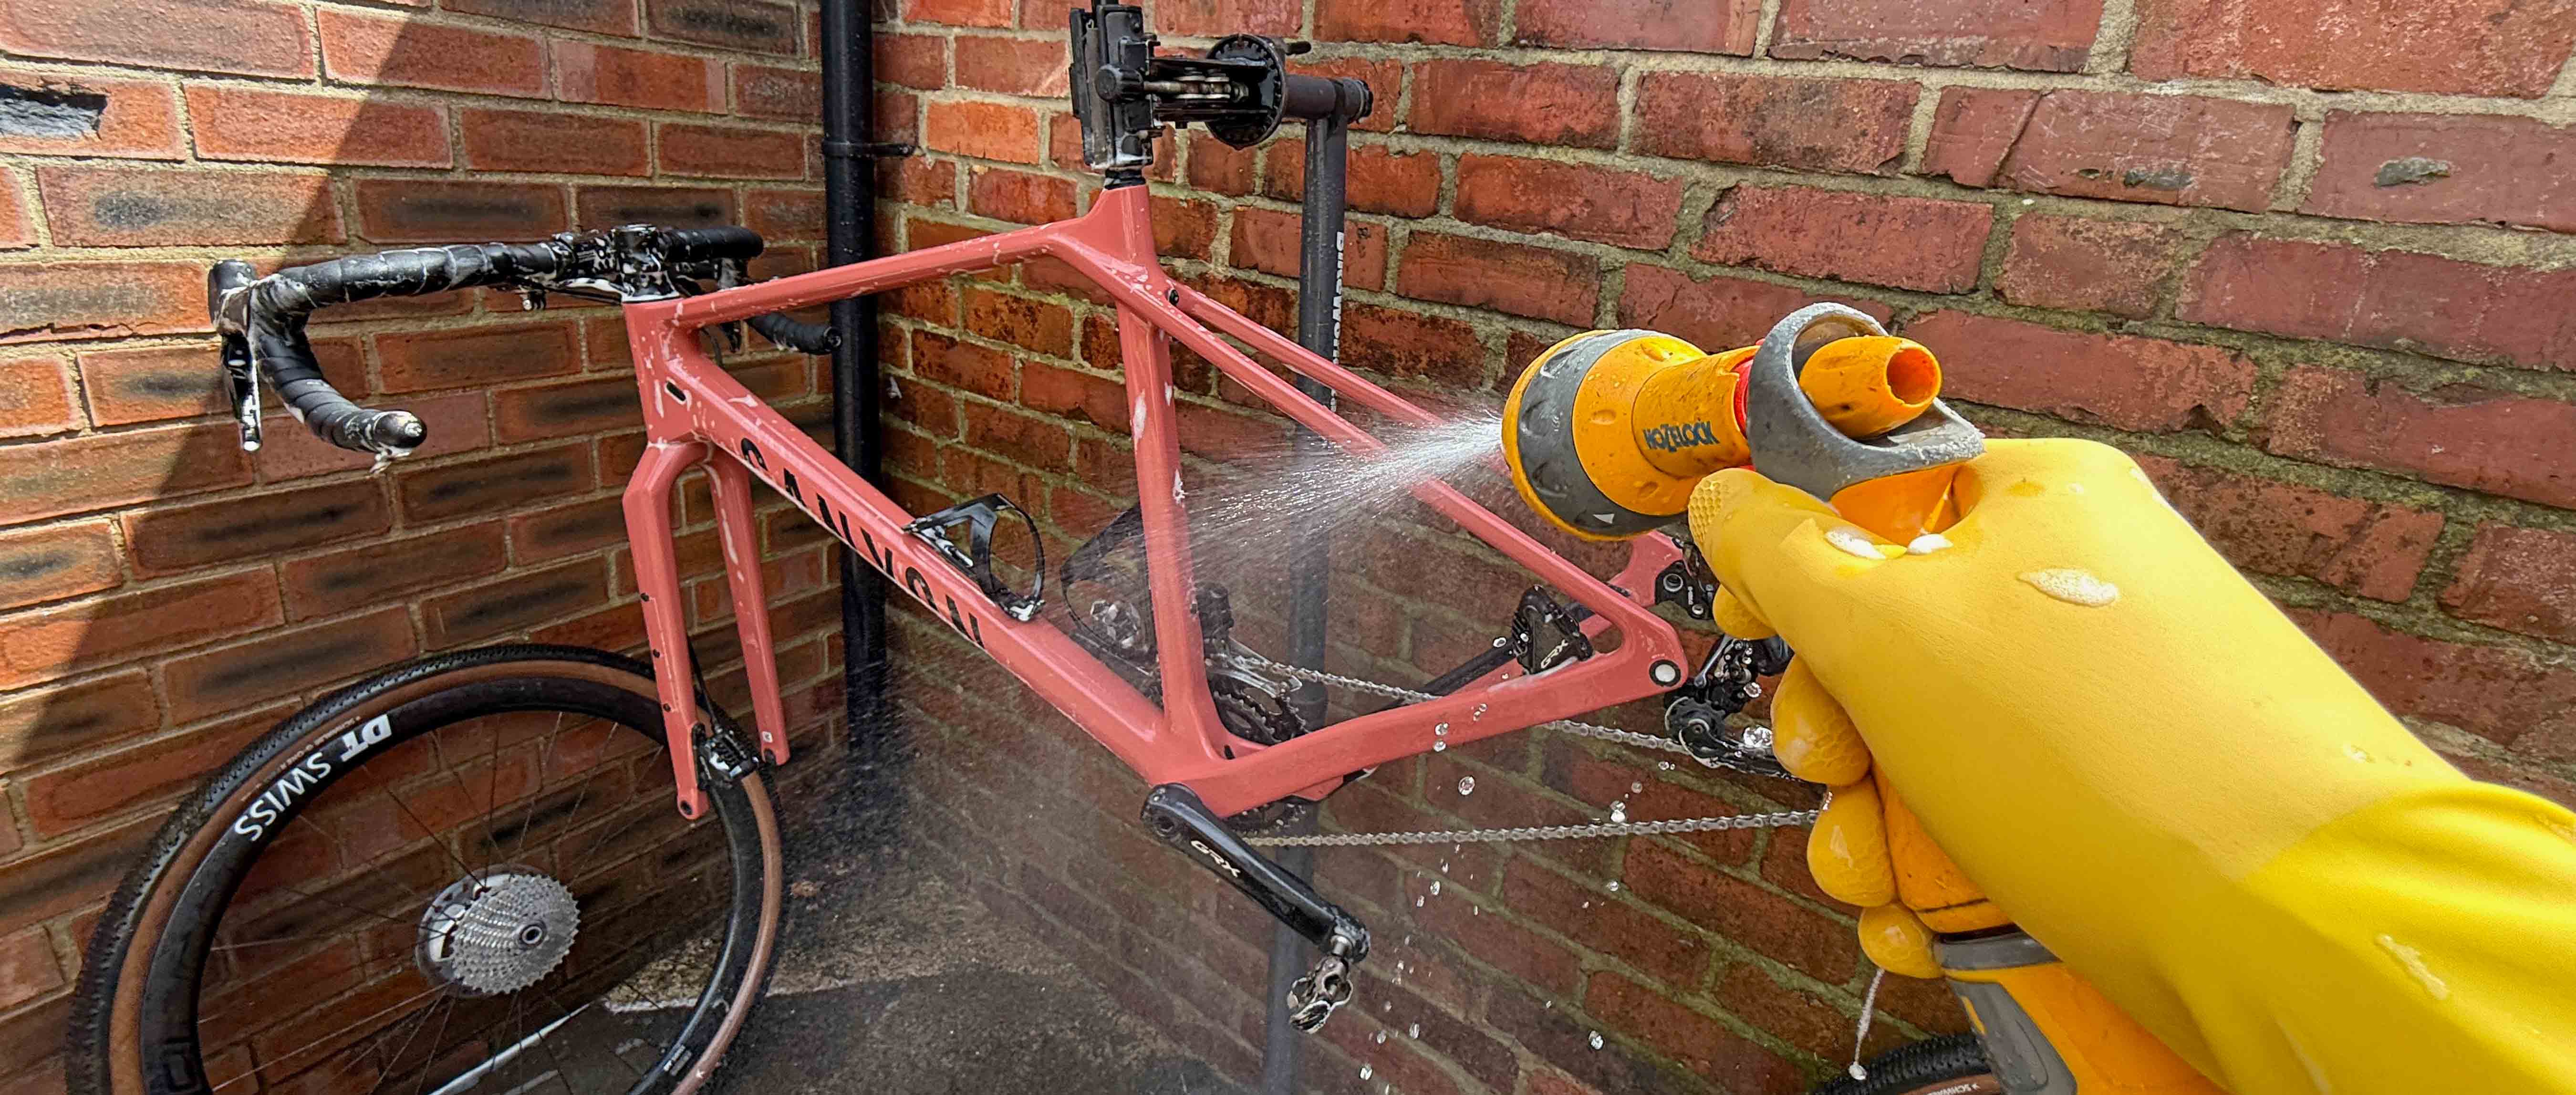
“You own a toothbrush that you use specially for bike cleaning, don’t you?” I can still remember the slight look of incredulity on the face of a good friend of mine when he saw my bike washing paraphernalia laid out with surgical-like precision as I started on my typical post-ride bike wash process. Pro mechanics on the World Cup MTB and road race scene have a saying which goes along the lines of “a clean bike is a fast bike.” I’m not interested in the speed aspect necessarily, but a clean bike is certainly a happy bike in my book, so when I was offered the chance to try out the GTECHNIQ kit, it seemed like a no-brainer!
How much?
Before I move on, I should deal with the elephant in the room (or in the back yard, anyway). GTECHNIQ’s Ultimate Bike Care Kit is not cheap. The recommended retail price in the UK is £139.95. I can imagine there will be a significant amount of eye rolling, tutting and “are you completely mad?” type comments made at this point, but in their defence, the kit is both impressively comprehensive and also many of the liquids are highly concentrated, which will mean you should get a significant amount of use out of it. This is the breakdown of what is included:
- 1 x Bike Clean 1 Litre
- 1 x Bike Clean Concentrate 500ml
- 1 x Bike Wash 250ml
- 1 x Drivetrain Degreaser 500ml
- 1 x Ceramic Quick Coat 500ml
- 1 x Bike Ceramic 15ml kit [with gloves, two microfibre cloths and application pad]
- 1 x Tri-Clean 500ml
- 1 x Bike Microfibre Wash Mitt
- 1 x Bike Detailing Brush
- 1 x Bike Drying Towel
- 1 x Bike Microfibre
Compared to the cost of buying the individual components of the kit separately, the full kit is a significant cost saving, but it’s still plenty of money and the price will undoubtedly put some people off. You might think why should I bother to buy such an expensive kit, when I can just make do with some car shampoo, a sponge and a couple of cheap brushes? With a homemade kit, you would be able to achieve 80% the same outcome as the GTECHNIQ kit, but the difference is the quality of the finish. GTECHNIQ say that their “smart surface science combines the latest in fields such as nanochemistry and supramolecular chemistry, with rigorous real-world and laboratory testing. “ They go on to say, “The premise for our products is to hit a sweet spot of performance, ease of application and price. We apply the same principle to our whole range of products.” Is the finish and the longevity worth the cost? The only way to find out was to test it out.
The right tools for the job
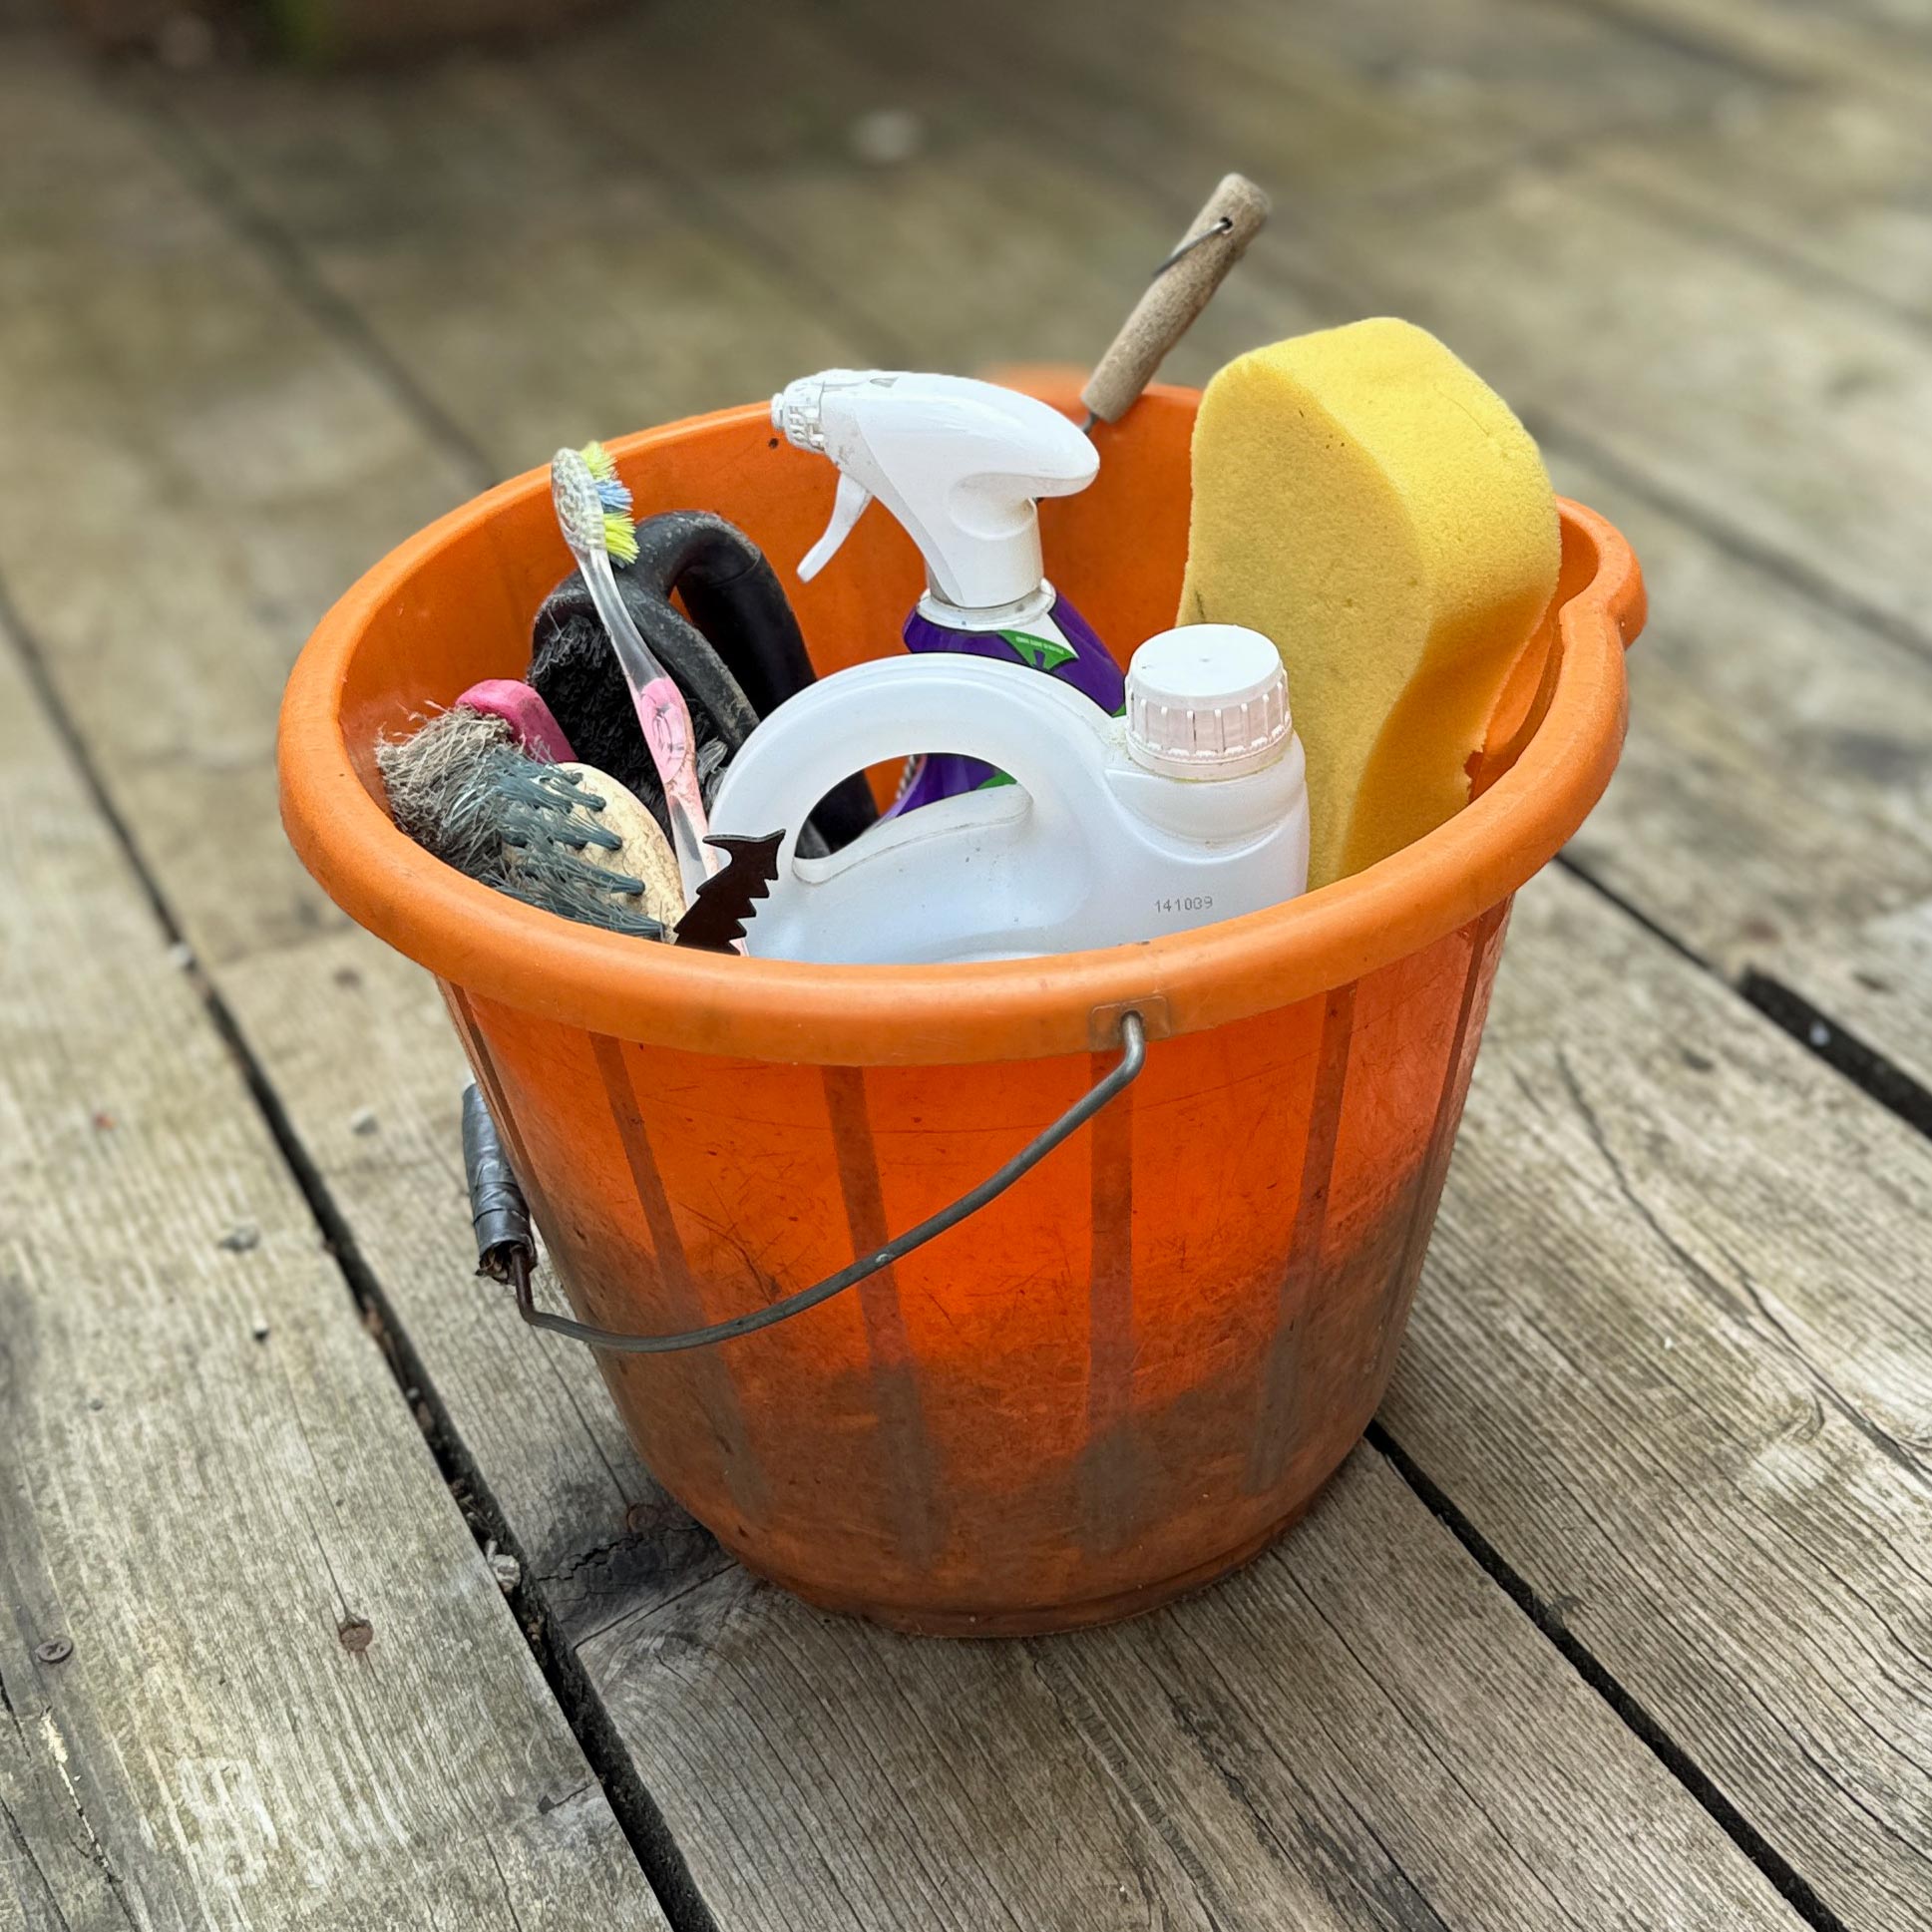
Like most bike cleaning obsessives, I keep a bucket filled with the liquids and tools that I generally use for bikewashing. My “go-to” kit contains car shampoo, drivetrain degreaser and a variety of brushes, sponges and cloths, some of which are only used for specific tasks (for example, I have a “drivetrain only” scrubbing brush and a “tyres & wheels only” brush and never the twain shall meet) I also use a mechanical drivetrain cleaning tool to get to all the nooks and crannies in the chain. Finally, I have a standard garden hose (not a high-pressure jetwash) and a pair of rubber gloves (actually two pairs in different sizes – one pair in a larger size for the winter when I wear a thin pair of merino gloves underneath to stop my hands from freezing). I try to use water as hot as possible in the bucket and then give it a rinse with a cold water hose. I have one friend who has plumbed in an outside hot water tap in his backyard so that he can wash his bike in mid-winter without getting hypothermia. I had quite a bit of bike wash envy when I discovered this.
I’ve been fortunate enough to spend time with a variety of pro mechanics across different cycling disciplines and what always amazes me is how fast they are. Road team mechanics in particular will wash a bike from start to finish in around two minutes. There are, of course, a couple of things to note about this – the first is that they blast everything with a jetwash, which is super quick but also kills bearings at a scary rate of knots. The second is that sponsors provide the bikes and components, so speed is much higher up their list of priorities than trying to do the minimum damage possible, while also getting your pride and joy sparkly again (which is how I look at bike washing)
Scrub-a-dub-dub

I wanted to test the GTECHNIQ kit properly, so apart from my bucket, hose and gloves, I put away all my usual bike cleaning stuff. For the first couple of washes, I used only what was provided in the kit. Each of the bottles of washing solution has some straightforward instructions on the back – what volume to mix up, how to apply it, etc so I followed these and was soon under way. I started by putting my bike in the stand (easier to access all the different bits and for working on the drivetrain). Initially, I sparingly sprayed neat Drivetrain Degreaser solution onto the chain while I rotated it backwards over the cassette. I then left this to soak for a few minutes and sprayed any bits of the frameset that were dirty with the Bike Clean solution. I then left this to soak. While waiting, I mixed up a capful of the Bike Wash Concentrate into half a bucket of hot water. It’s mega concentrated and foams up nicely – definitely no need to use too much! I then used the Detailer Brush (with a few extra squirts of Drivetrain Degreaser) to scrub the chain, cassette, chainrings and jockey wheels, all the while rotating the chain to make sure I didn’t miss anywhere. Then I gave the drivetrain a quick rinse with the hose set on low power.
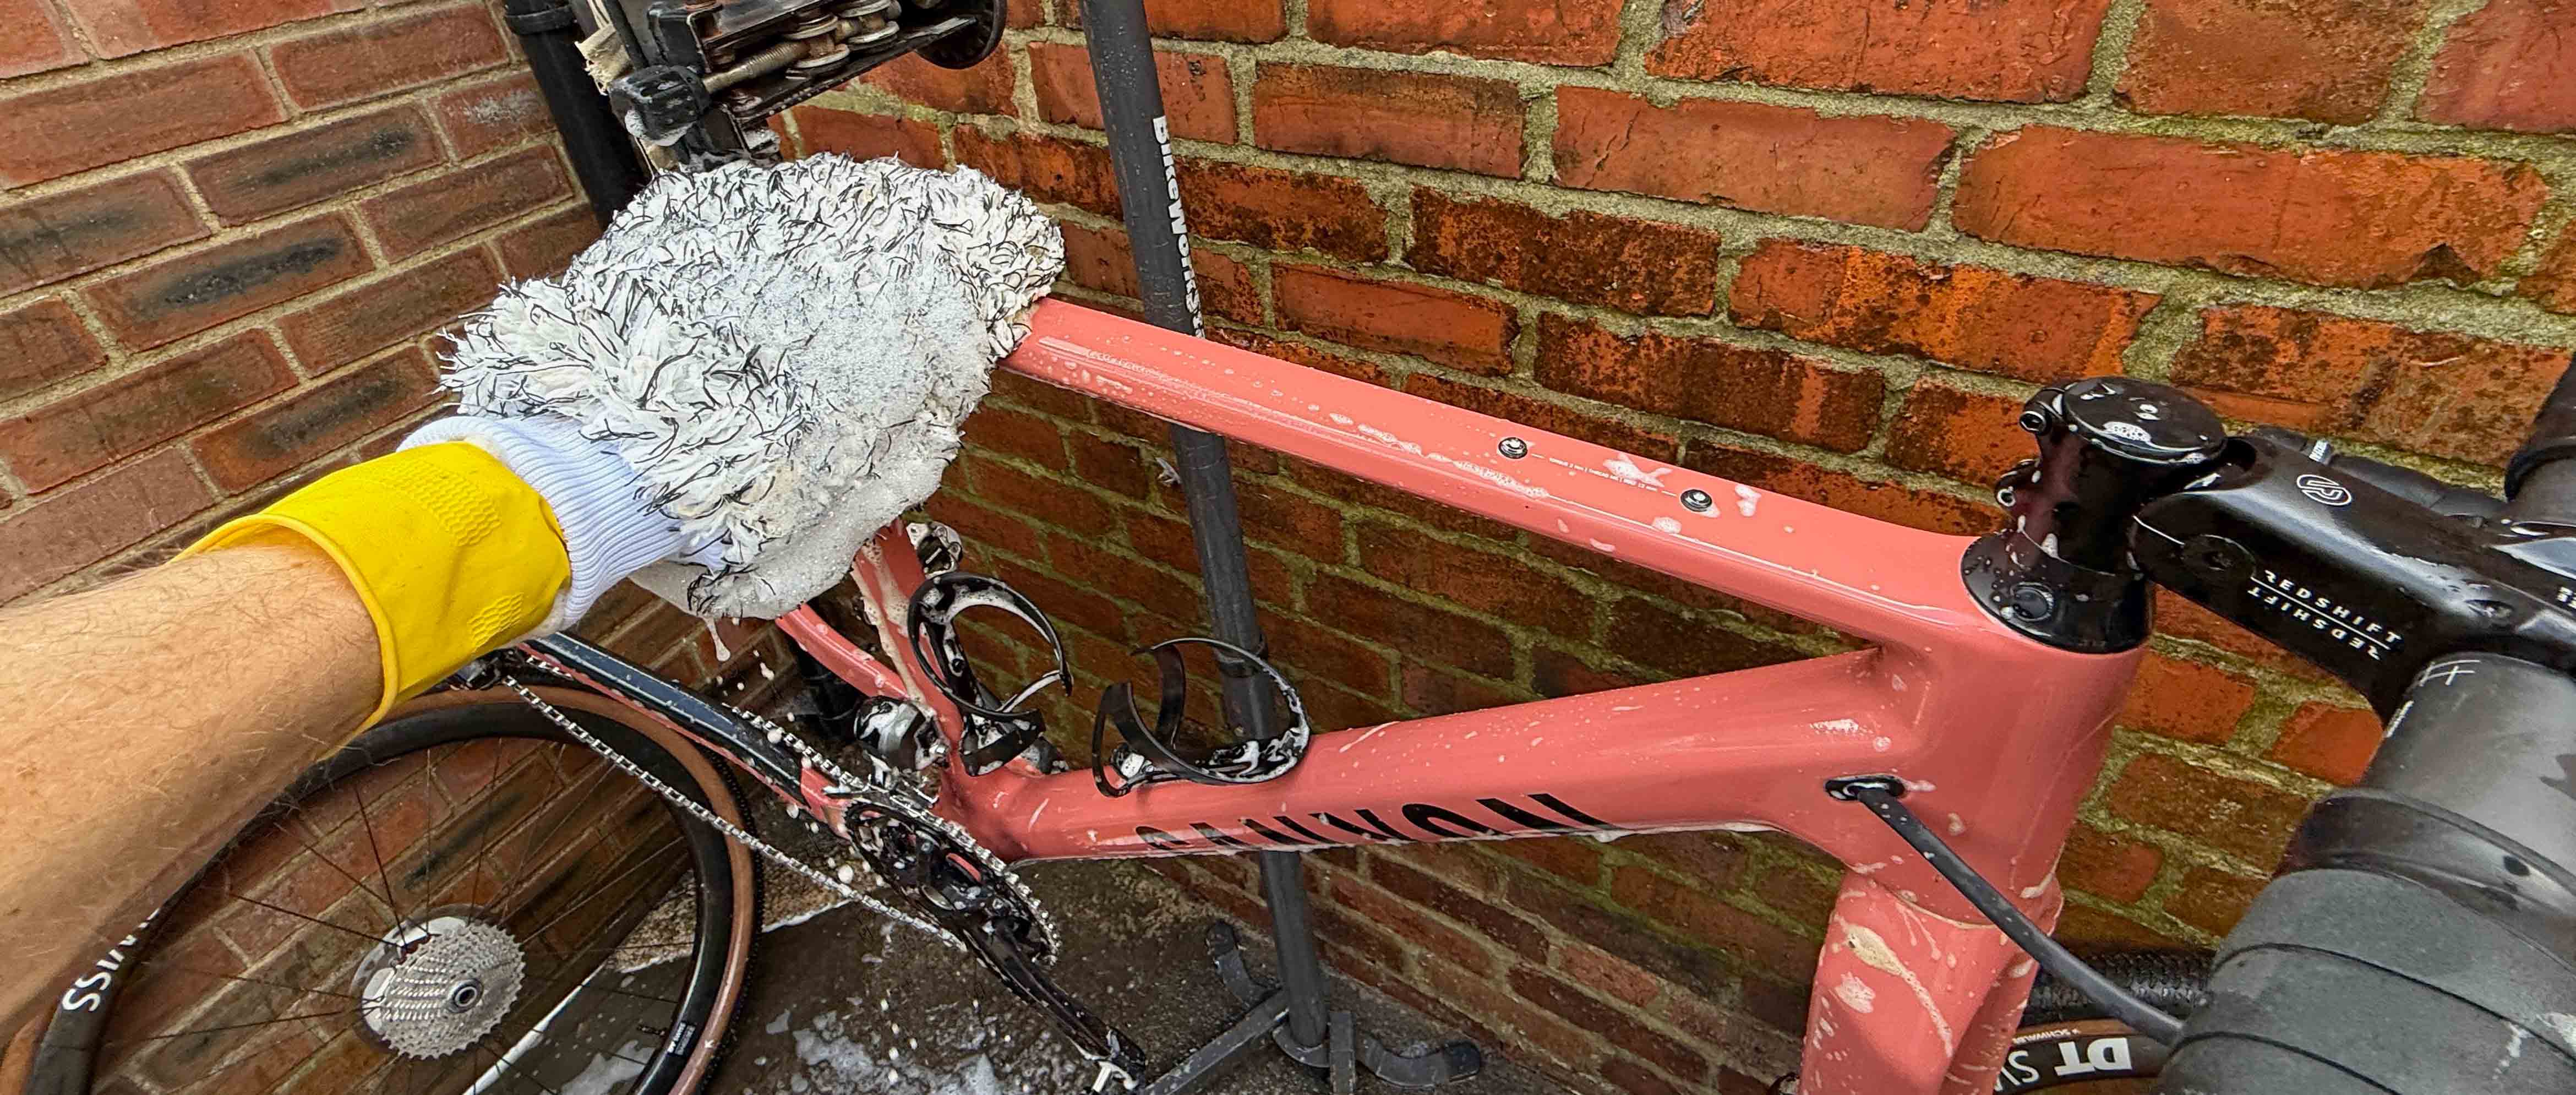
Next up was the frameset and finishing kit. This was all given a good scrub using the included Microfibre Wash Mitt and a bucket of hot water/bike wash. I kept away from any potentially oily bits and the mitt did a great job of removing the majority of the surface debris and bringing everything back up shiny. I gave everything a rinse and then made a start on the wheels. I used the Microfibre Wash Mitt to clean the tyres/rims/hubs and then the Detailing Brush to give the cassette a final polish. The wheels got a final rinse with the hose and I stood back to admire my handiwork.
The frameset and finishing kit looked sparkly (and smelled lovely too!) The drivetrain, on the other hand, wasn’t quite as clean as I would have liked. The culprit was the Detailer Brush. The bristles are the perfect length to reach all the awkward nooks and crannies, but they are really soft/flexible, which meant there were still traces of grime on the cassette/jockey wheels/chainrings. I suspect that 99% of the bike riding world wouldn’t have even noticed, but in comparison to using my normal mechanical chain cleaning tool and a stiff-bristled brush, the drivetrain definitely wasn’t as clean. I dug out my normal stiffer brushes and gave everything a second going over, using some squirts of the Drivetrain Degreaser and this time it came up pristine clean. The issue wasn’t the liquid, but the brush, which was too soft/flexible.
When I looked closely at the underside of the frame and fork, I realised that there were also some stubborn dollops of sheep poo still adhering to the tubing. This is quite niche and for anyone who doesn’t ride in areas populated with sheep, you might have never encountered this phenomenon, but sheep poo has been classified by NASA as the world’s most stubborn substance. It seems to have some magical adherence tendencies, which means it sticks to everything and anything. I generally use a quick of degreaser and a stiff-bristled brush and eventually it comes away. I carefully washed the Detailer Brush to remove any oily residue and then used that on the sheep poo and Bingo – it worked a treat! The bristles were the perfect length/stiffness to remove stubborn poo-ey marks with ease. Clearly GTECHNIQ are missing a trick – it’s not a Detailer Brush at all, it’s a de-pooer brush!
Wax on Wax Off
With the bike and components now perfectly clean, my next task was to give it a quick buff with the included Bike Drying Towel. This did an impressive job of drying the frameset, finishing kit and wheels, without leaving any streaks or marks. When you first open the bag, you will get a small mountain of fluff coming out and the towel did leave some on the bike too, so if you want to be really pedantic, you could always wash and dry the towel before your first use?
Although it’s not included in the kit, I cheated a little for my next task – removing any water from the drivetrain and I used a Muc-Off It Blows! to thoroughly dry the drivetrain. It’s super quick, easy to use and means you don’t need to use any water dispersant sprays – an all-round win. With everything dry, the final job was to apply a layer of Ceramic Quick Coat. This has been “formulated using SiO2 nanotechnology that makes surfaces incredibly slick and dirt repellent. The technology works by lowering surface energy, making it harder for dirt particles to bond to the surface.” It’s very easy to apply – you spray a couple of squirts onto a clean microfiber cloth (included in the kit) and then rub it gently all over any bits of your bike that you want to repel dirt. It left a super slippery feel to the surface of the frameset and GTECHNIQ say that one coat is enough to offer about six months of non-stick protection. Obviously, do not get it anywhere near your disk rotors!
Protection that goes on and on
Included in the main kit was a smaller box, the edges sealed with security tape, which said Bike Ceramic on it. Once I had cracked open the tape, I read up on it. GTECCHNIQ say that that their Bike Ceramic is “an industry-leading, scientifically-backed solution for ensuring the long-term maintenance of your bicycle. It’s easy to apply and extremely durable, ensuring that your bike is super easy to clean and maintain going forward. The coating forms a durable, ultra-slick layer of optically clear ceramic, which prevents dirt and grime from accumulating on the frame of your bike. As a result, it makes it extremely easy for you to clean and maintain your bike, as you don’t need to worry about removing a stubborn layer of grime before proceeding with bike cleaning.”
The Bike Ceramic coating requires a little more work to apply than the Ceramic Quick Coat, but the benefits are claimed to last up to two years, so it sounds like it's worth the effort. Once your bike is clean and dry, you first use the Frame Prep spray to degrease anywhere that you want to apply the Bike Ceramic. Wearing gloves, you spray the Frame Prep onto a microfibre towel (provided in the kit) and then wipe all over your frame and forks. Next, you wipe off any excess spray using a clean bit of the microfibre cloth. Next, apply a few drops of the Bike Ceramic to the applicator pad and wipe over the frame and forks. You leave it for a couple of minutes to dry, then buff with a different microfibre towel. The ceramic coating then needs 24 hours to cure in a cool, dry environment. The instructions also say that you shouldn’t wash your bike for seven days after application to make sure it has fully hardened. Whether the Bike Ceramic coating remains fully sheep poo-proof for two years is something that only a very long term test would prove/disprove, but the first impressions are good – the surface of the coated frame and forks is impressively slippery feeling and any moisture droplets bead off instantly.
After leaving the Bike Ceramic coating to cure, I headed out on an all-day-out-in-the-hills ride. While I didn't deliberately aim at every pile of sheep poo that I could find, on some of my local trails it's completely impossible to avoid. I would love to say that the Bike Ceramic acted like an impenetrable shield and simply repelled the poo, but I would be lying. I came home with the lower half of my frame liberally coated, as normal. Initially I was a little underwhelmed, but as soon as I washed my bike, the sheep poo came off without any scrubbing, application of cleaning spray or brute force - all it needed was a quick once over with the Microfibre Wash Mitt and it was a good as new. I have to say, I was suitably impressed - the Bike Ceramic coat had done its job admirably.
Just one more job to do…
The final bottle of solution included in the kit is some Tri-Clean. GTECHNIQ say that this is “an all-surface cleaner combining odour control, anti-soiling and sanitising in one. Clinically proven to be effective against 99.9% of bacteria, Tri-Clean neutralises odours and lifts the tacky residues that attract dirt — keeping surfaces cleaner for longer.” This product is perfect for items such as helmet pads, hydration packs or SPD shoes which you don’t want (or can’t) put through a washing machine. It’s simple to use – you apply a couple of squirts of the product onto a damp microfibre cloth and rub gently at the dirt. You then wipe off the residue and Bob’s your uncle. I tested it on a helmet and hydration pack which I’d used on a particular hot and challenging ride. Both were liberally coated with salt and the Tri-Clean did a fantastic job of removing the muck and leaving the kit looking and smelling good as new.
Clean and green?

Interestingly, there’s not much mention of the environment on GTECHNIQ’s website. The labelling for the Bike Clean, Bike Wash and Drivetrain Degreaser all mention that they are biodegradable, but the Tri-Clean and the Ceramic Coatings don’t mention it. It’s good practice to wear gloves when handling any bike wash chemicals and although GTHECHNIQ would probably dispute this, I personally try and use the minimum amount of ‘product’ possible so that any waste water from the bike wash process is contaminated with the lowest concentration possible of chemicals. In the scheme of things, washing your bike uses a fraction of the water and chemicals that many industrial cleaning processes get through, but the smaller the negative impact we can have on the environment, the better, right?
TL;DR
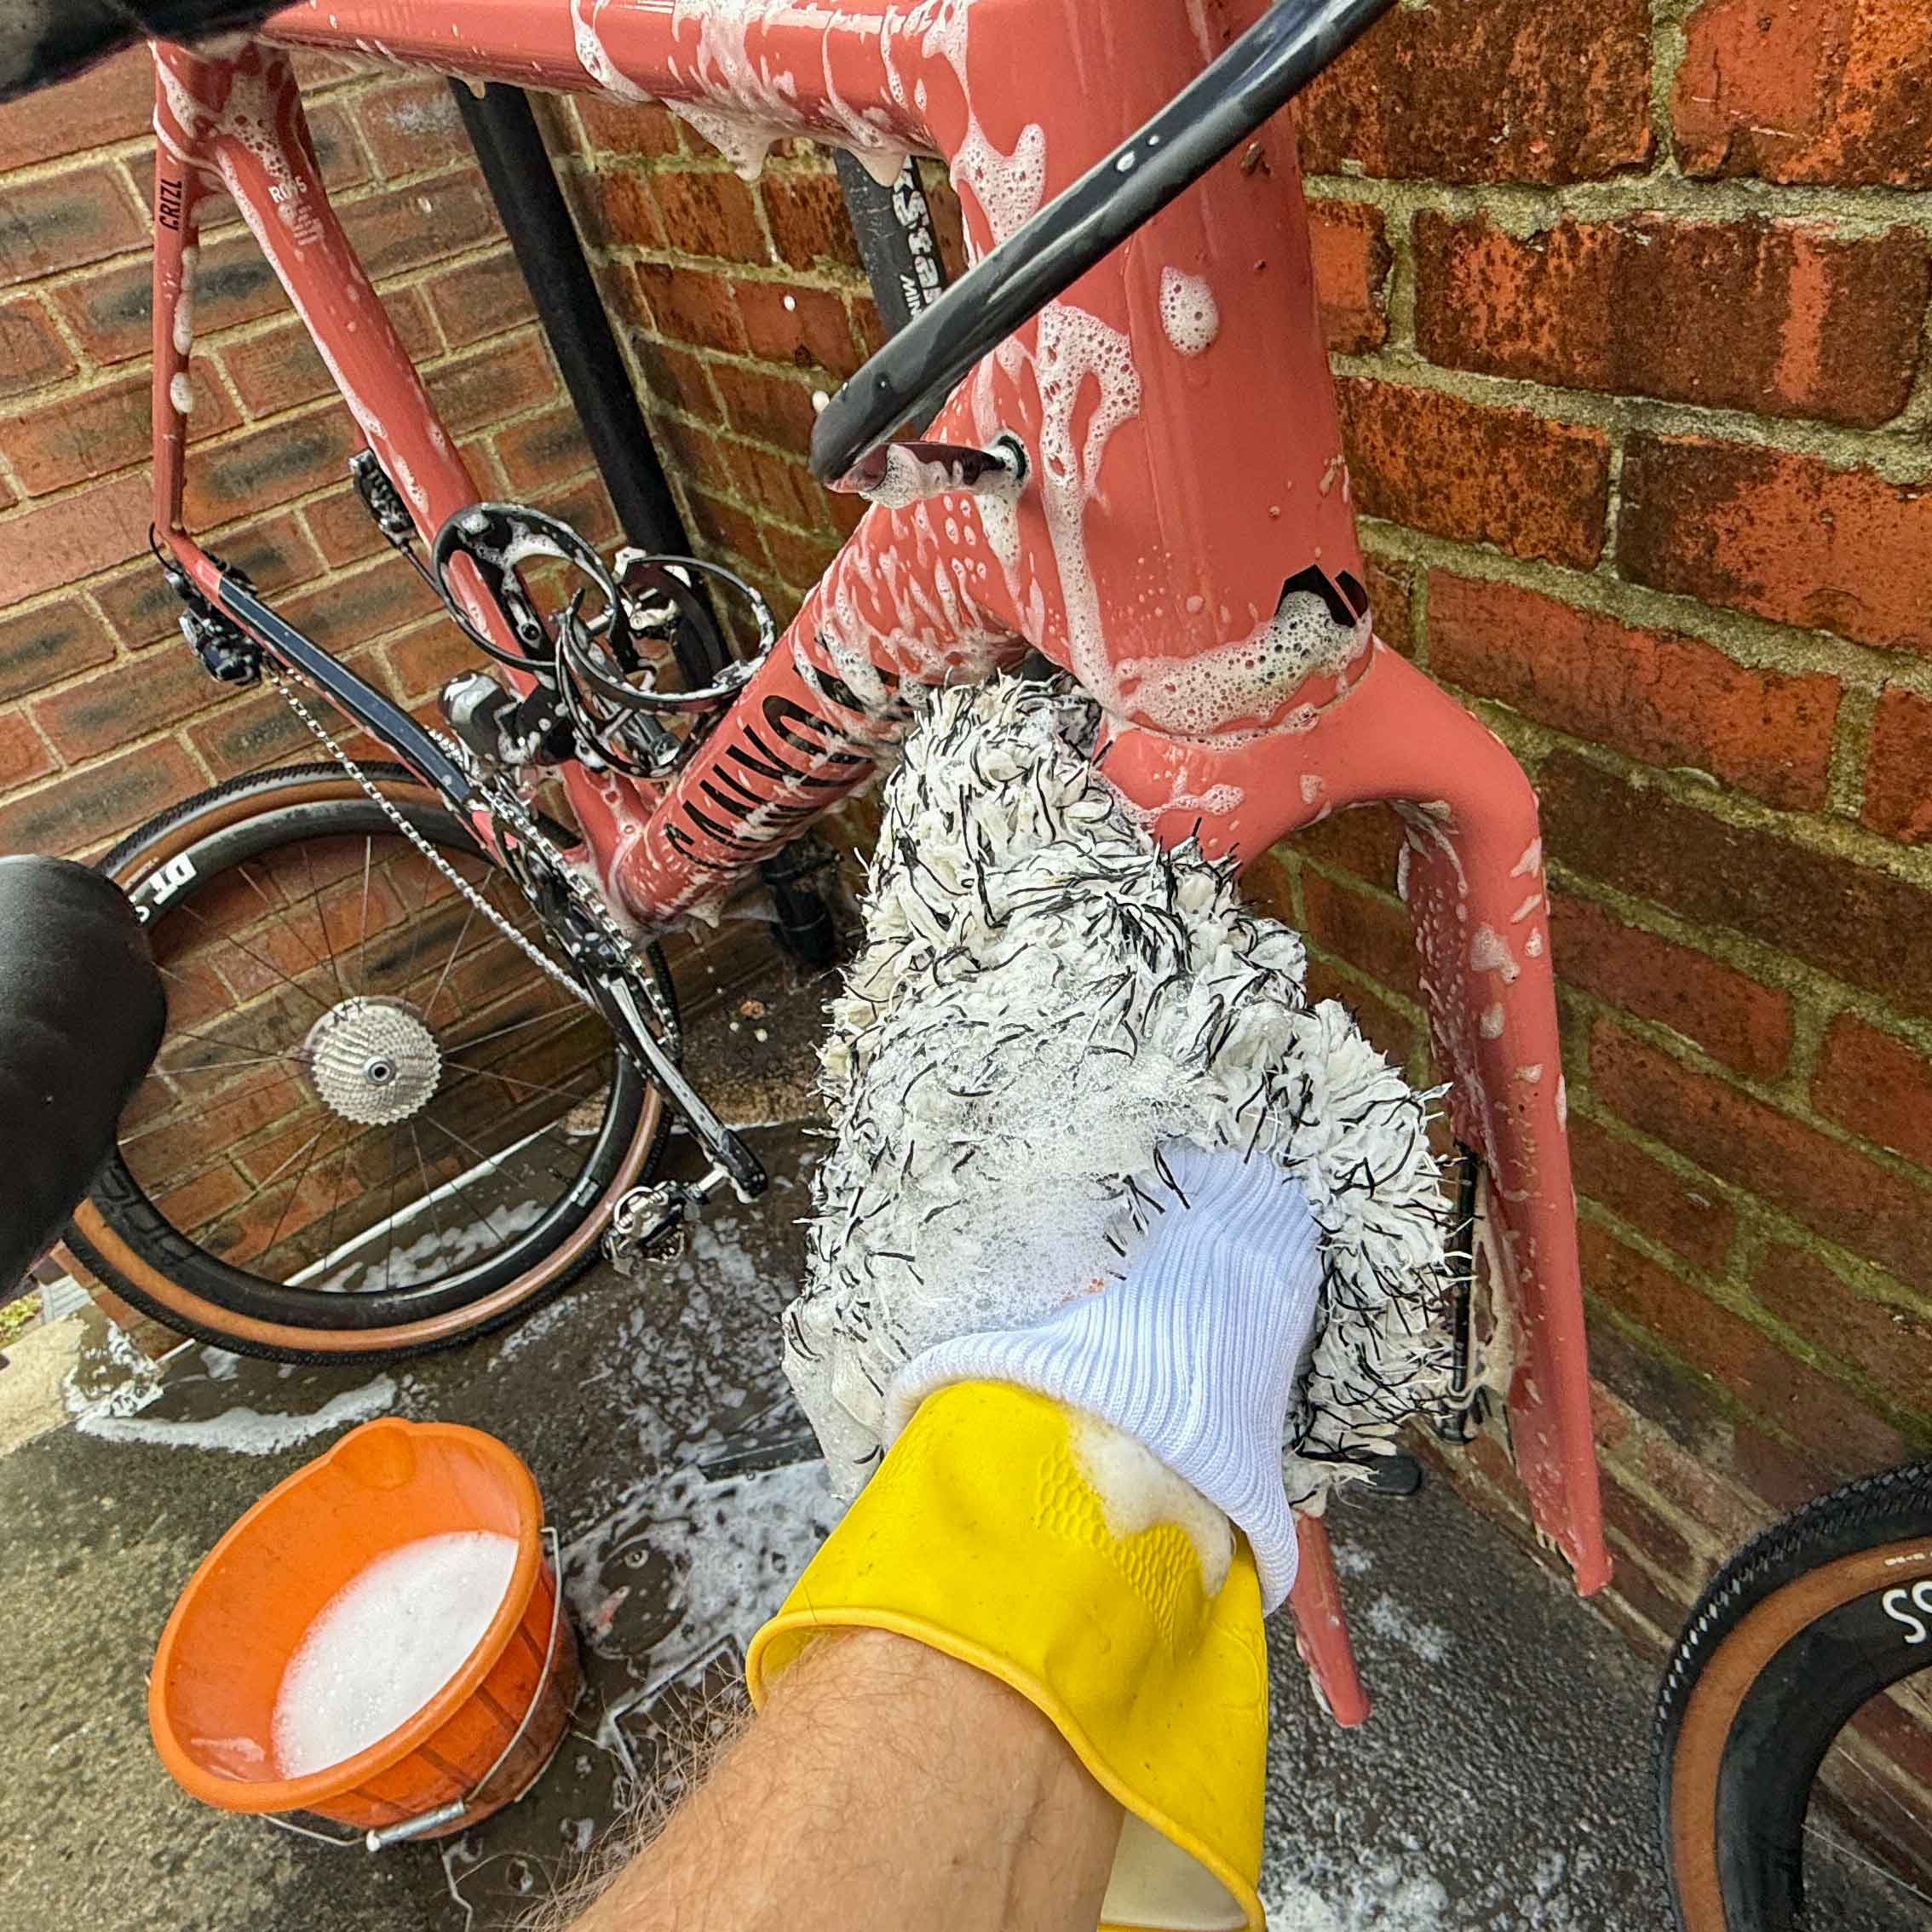
The GTECHNIQ Ultimate Bike Care Kit does exactly what it says on the box. For anyone looking for an incredibly comprehensive solution to washing their bike and associated kit, this is as good as it gets. It’s definitely not cheap, but the quality of the finish was impressive and if the ceramic coating lives up to its reputation of lasting for 24 months, then it’s worth every penny. Despite the high price, in my view you should also add a couple of extra stiff-bristled brushes (and probably a chain cleaning tool) to the kit to make it all-singing, all-dancing.
The Ultimate Bike Care Kit costs £139.95 and is available from most good bike shops or direct from GTECHNIQ. If you would like to find out more about the kit, or any of the products contained within it, head over to the GTECHNIQ website.