For much of the 2000s and 2010s, if you were thinking about buying (or using) an action camera, GoPro was essentially the only option. However, starting in the early 2010s, DJI also began targeting this market. Drawing on their expertise in cameras, stabilisation and software from its drone industry background, it came as no surprise when DJI launched its Osmo Action line of action cameras in 2019. In late 2025, the latest version, the Osmo Action 6, was released and Olly has been testing it to see how well it suits gravel riders and bikepackers.
Overview
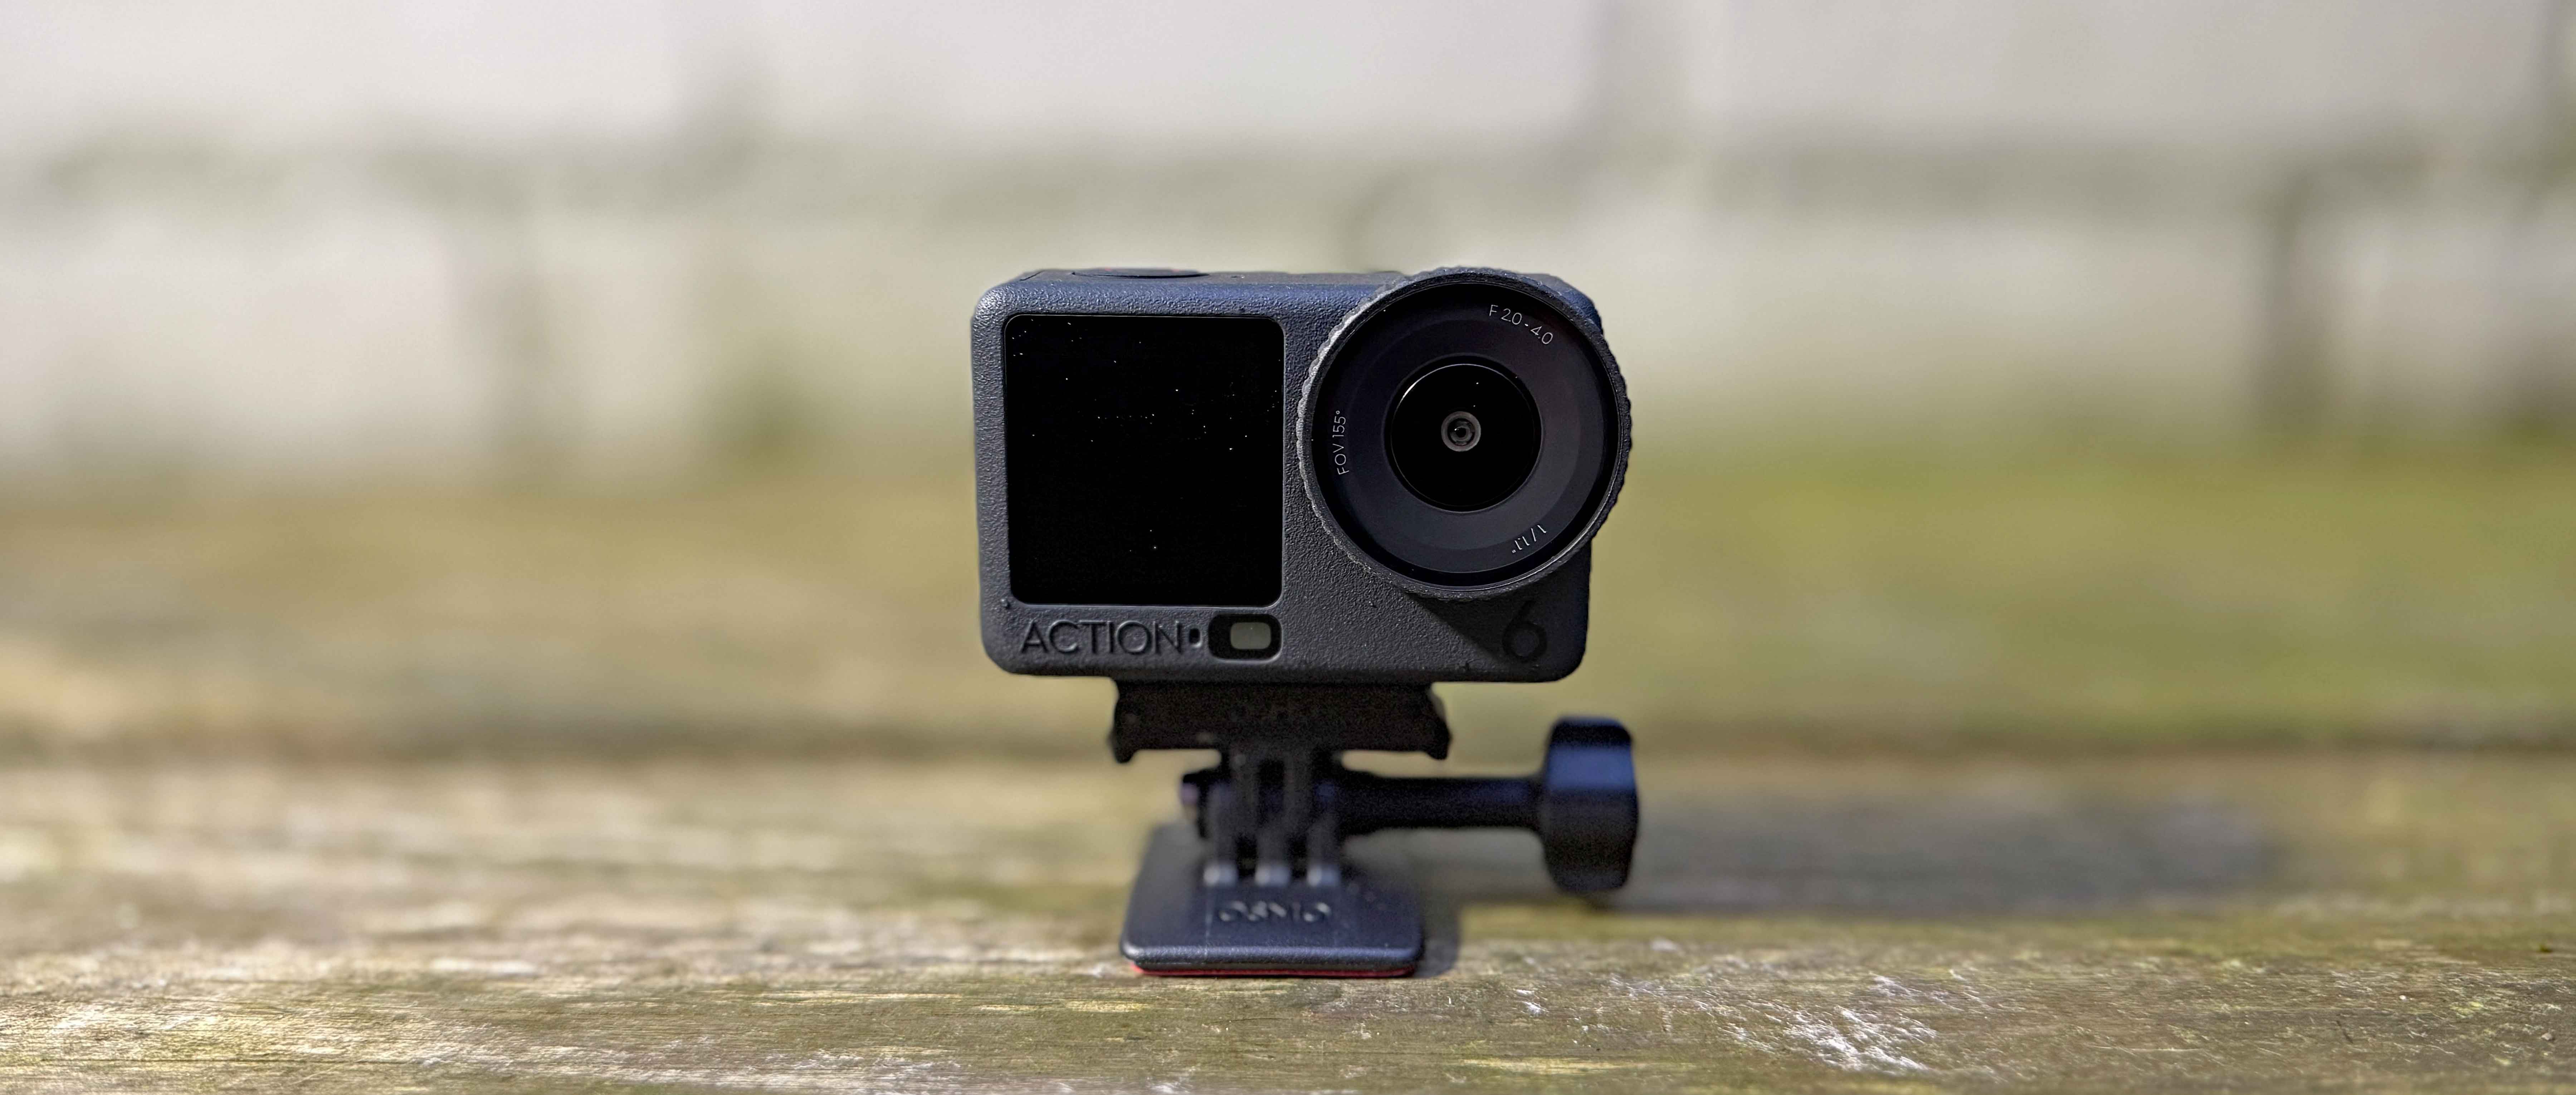
Considering how diminutive it is, the amount of technology that DJI have managed to shoehorn into their Osmo Action 6 (OA6) camera is mind-boggling. The heart of the camera is a 1/1.1-inch square CMOS sensor. The large size and square shape of the sensor allows the camera to shoot native vertical format video without rotating the camera body and it also helps create fantastic images even in low light or high contrast situations. Paired with the large sensor is a variable aperture lens. This allows for greater depth of field, enhanced low-light footage and improved sharpness in brightly lit situations. The camera will shoot 4k video at up to 120 frames per second (perfect for slow-motion shots) and can record up to 8k at 30 FPS. The camera comes with 50GB of built-in memory capacity, but this can be boosted with the addition of an optional micro-SD card. As the OA6 is targeted at high movement action sports, it comes with two types of built-in stabilisation technology. The camera can be fitted with a range of optional screw-on lenses or push-on filters. Finally, it’s compatible with DJI’s existing range of wireless microphones for high-quality audio capture.
The OA6 is designed for use in rugged, outdoor environments and as such, the camera is waterproof down to 20m even without an additional case; the rechargeable batteries are designed to be cold-resistant and offer up to 4 hours of use; the exterior of the camera is rubberised to aid grip when it’s wet or you’re wearing gloves; and the camera is designed to work with a wide range of accessories designed for sports activities such as a Bluetooth remote control and a variety of bike, body and helmet mounts.
Mounts and shooting angles
Out-front mount
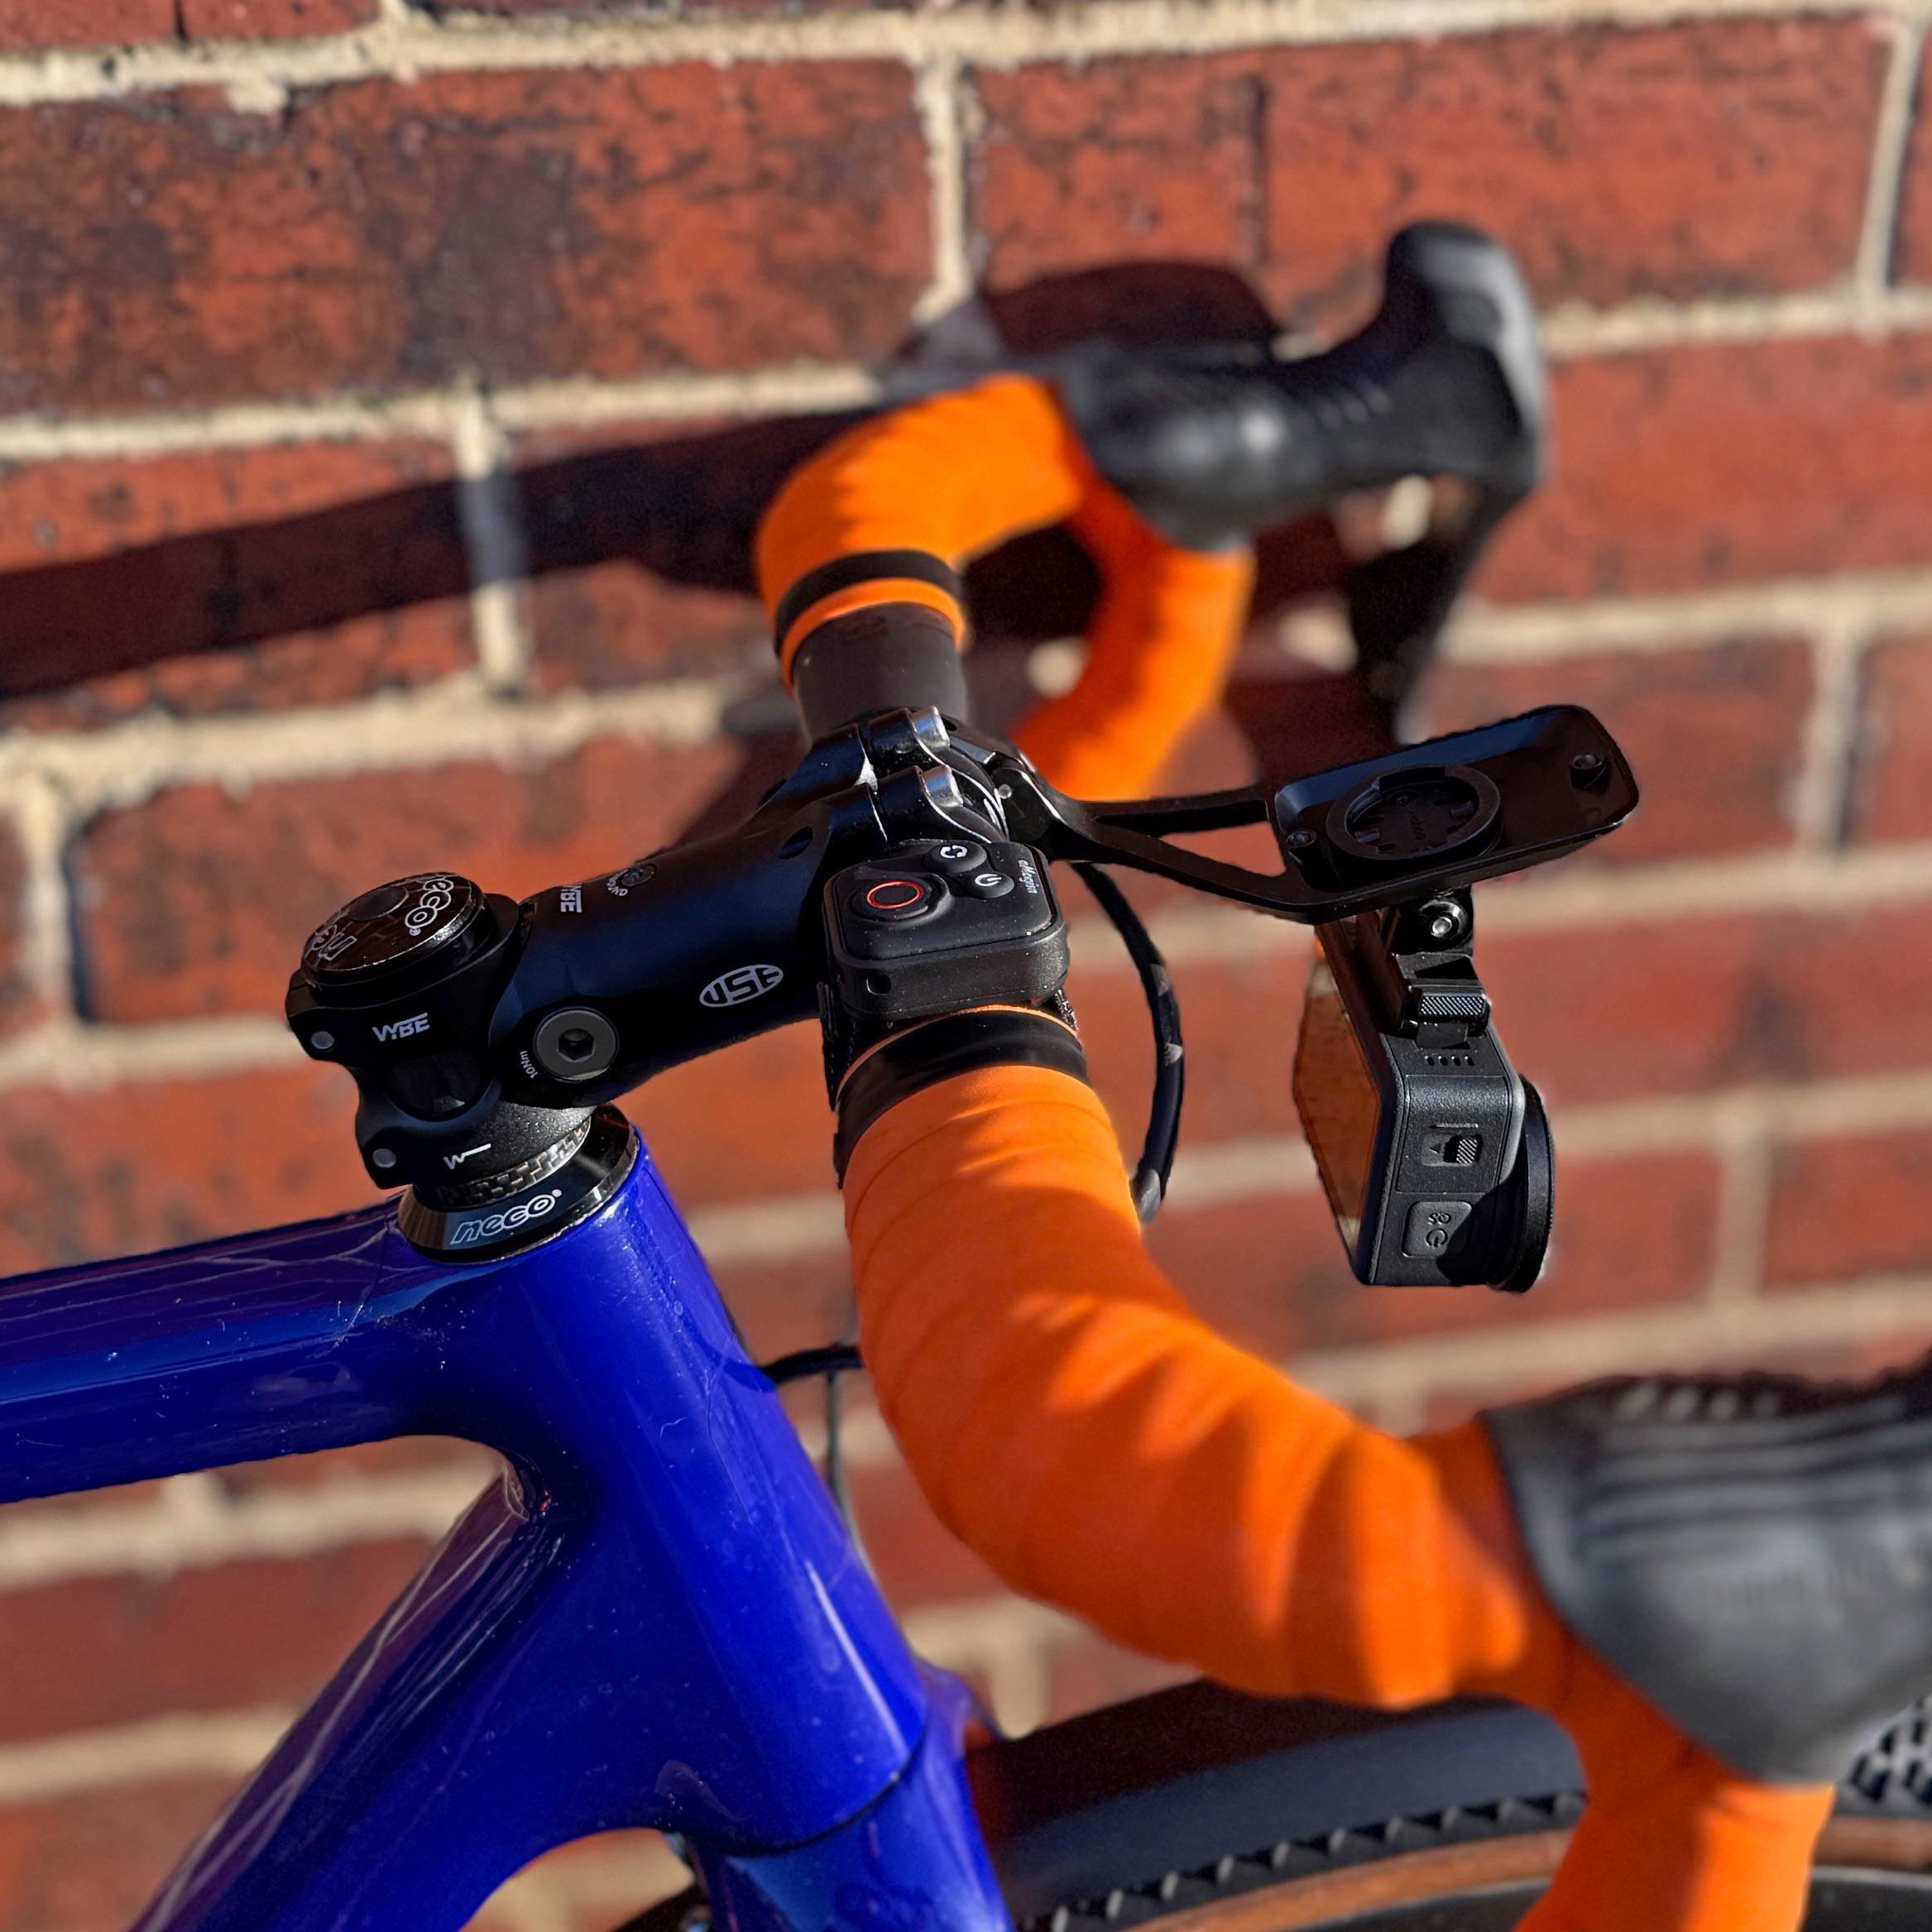
Bluetooth remote control to trigger the shutter
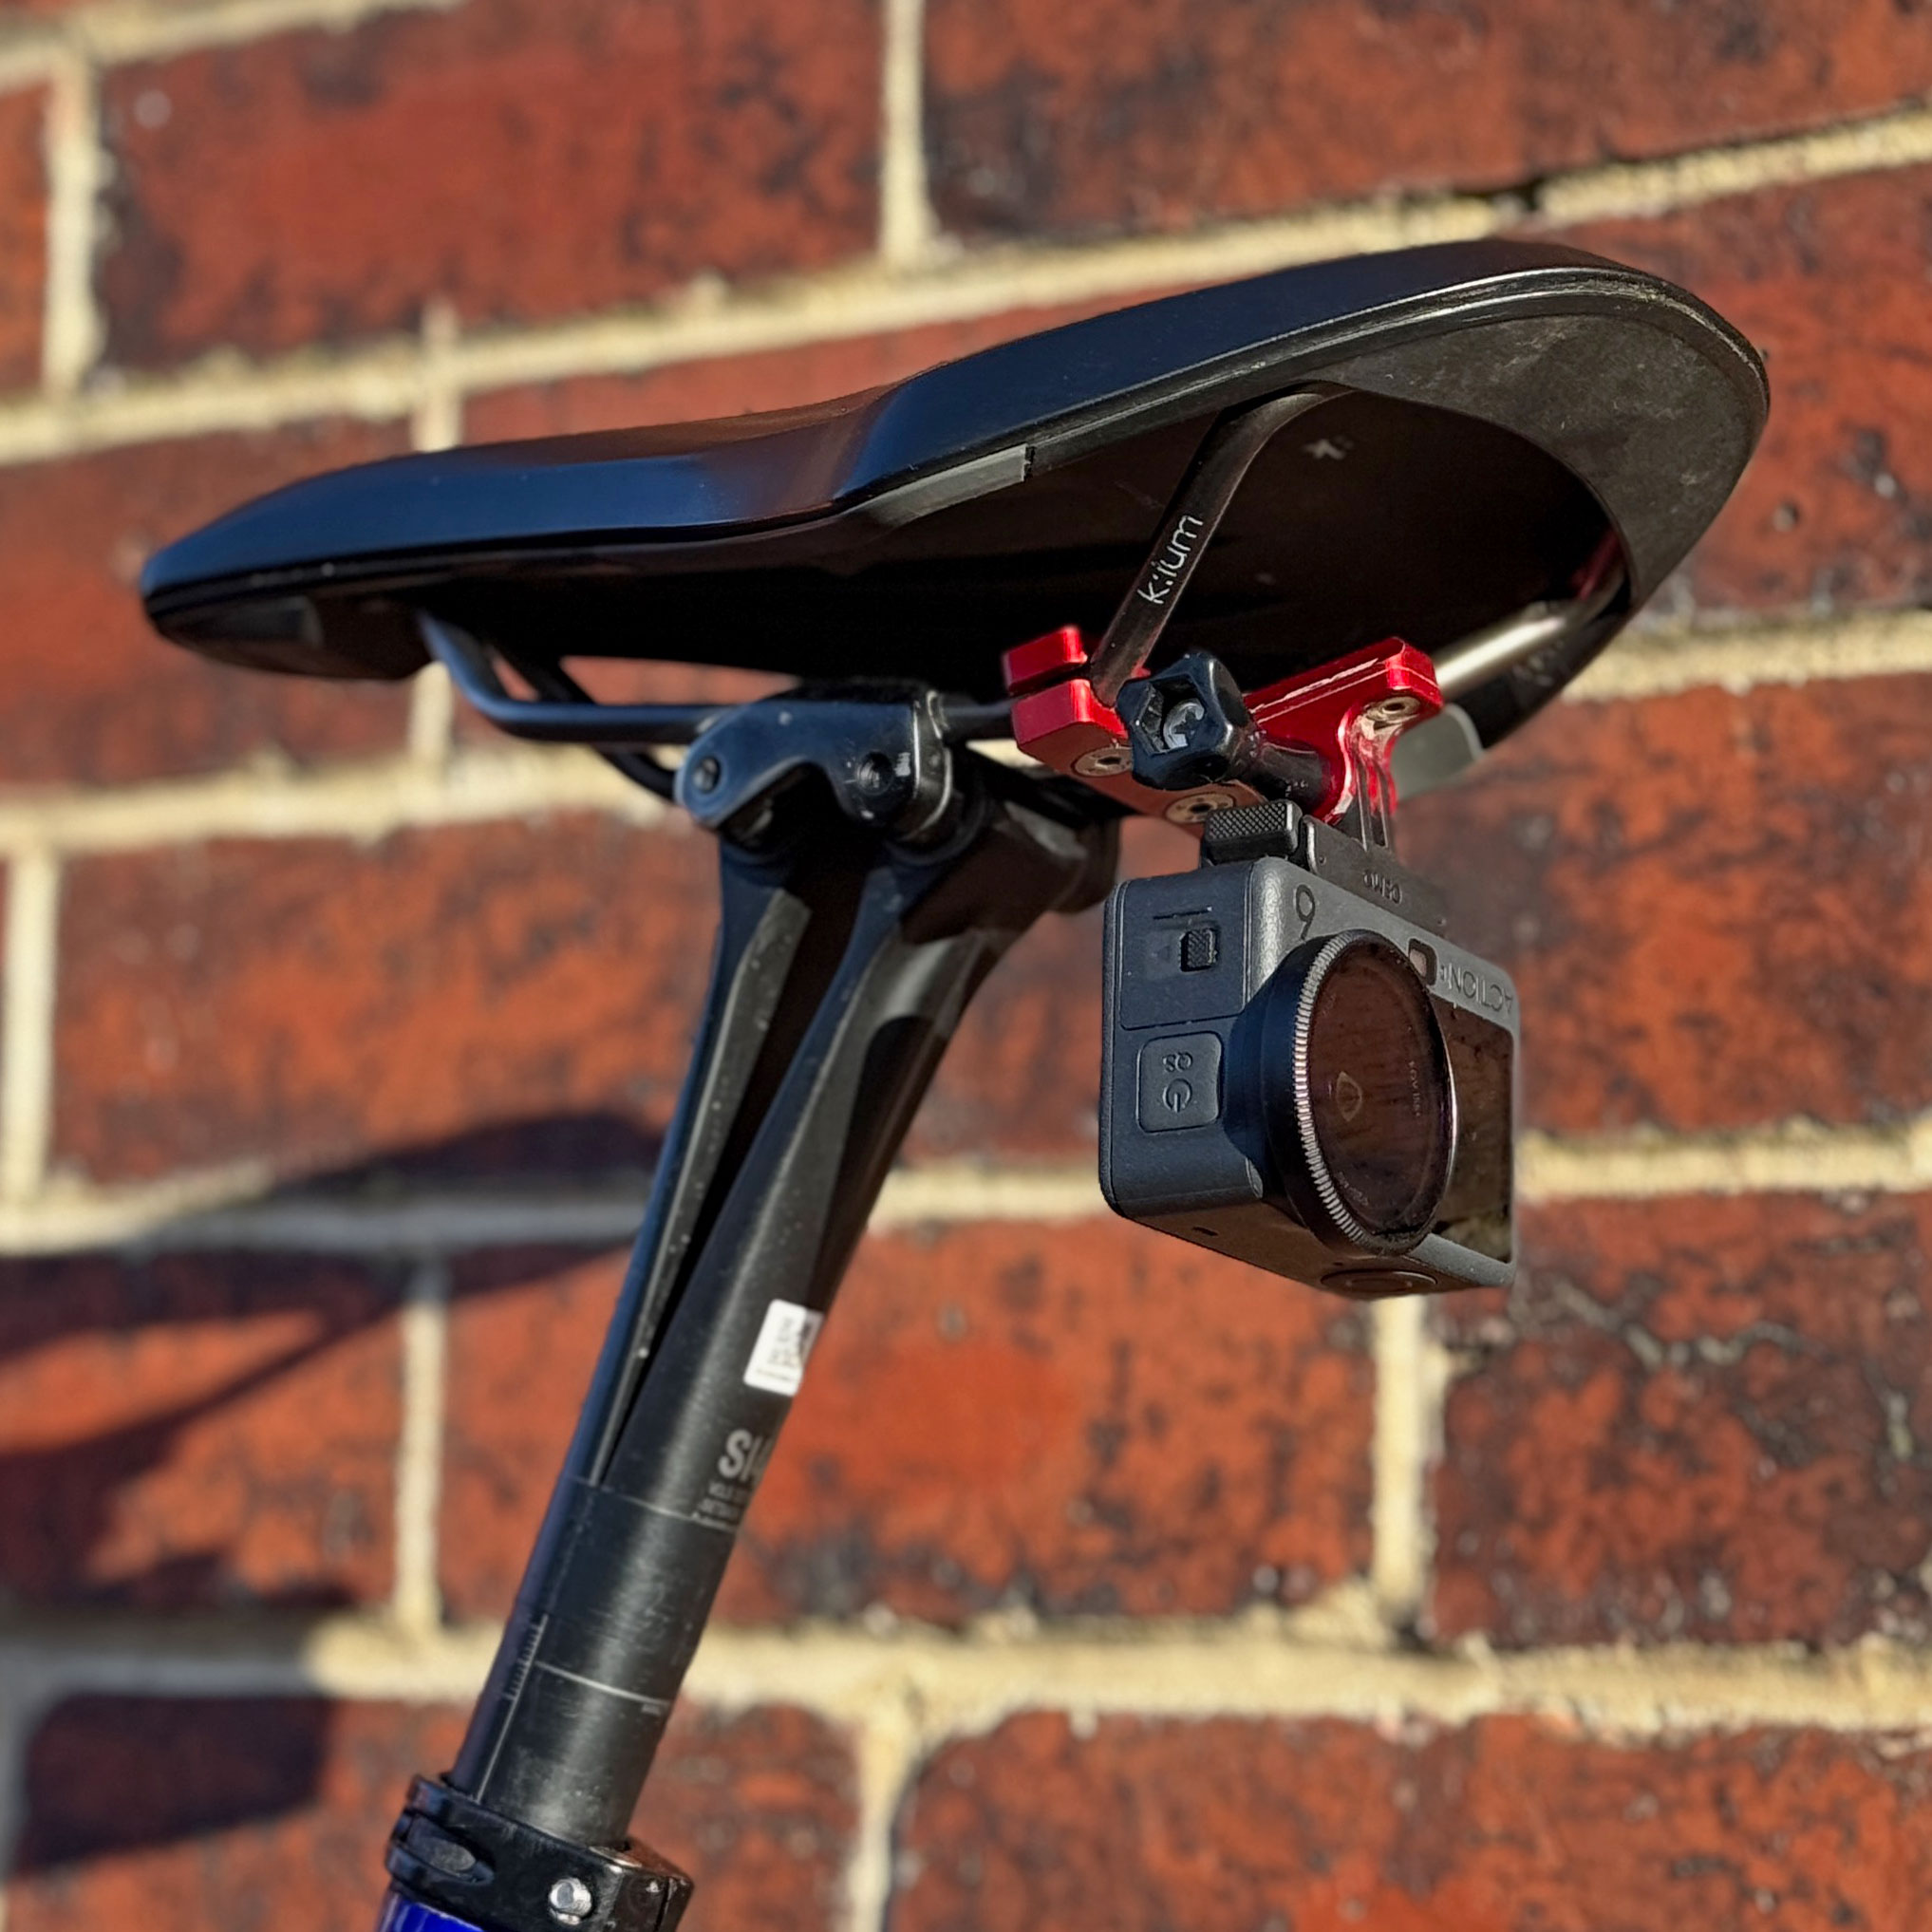
Seat rails mount
I suspect that the vast majority of people who purchase an OA6 will have just one thing in mind for it – capturing video of their chosen outdoor activity. So that’s what I tested first. I used it everywhere from a very cold and wet Newcastle upon Tyne to the sunshine of Badlands in Spain. I tried to make the test as gravel-focused as possible, which meant trying out the following:
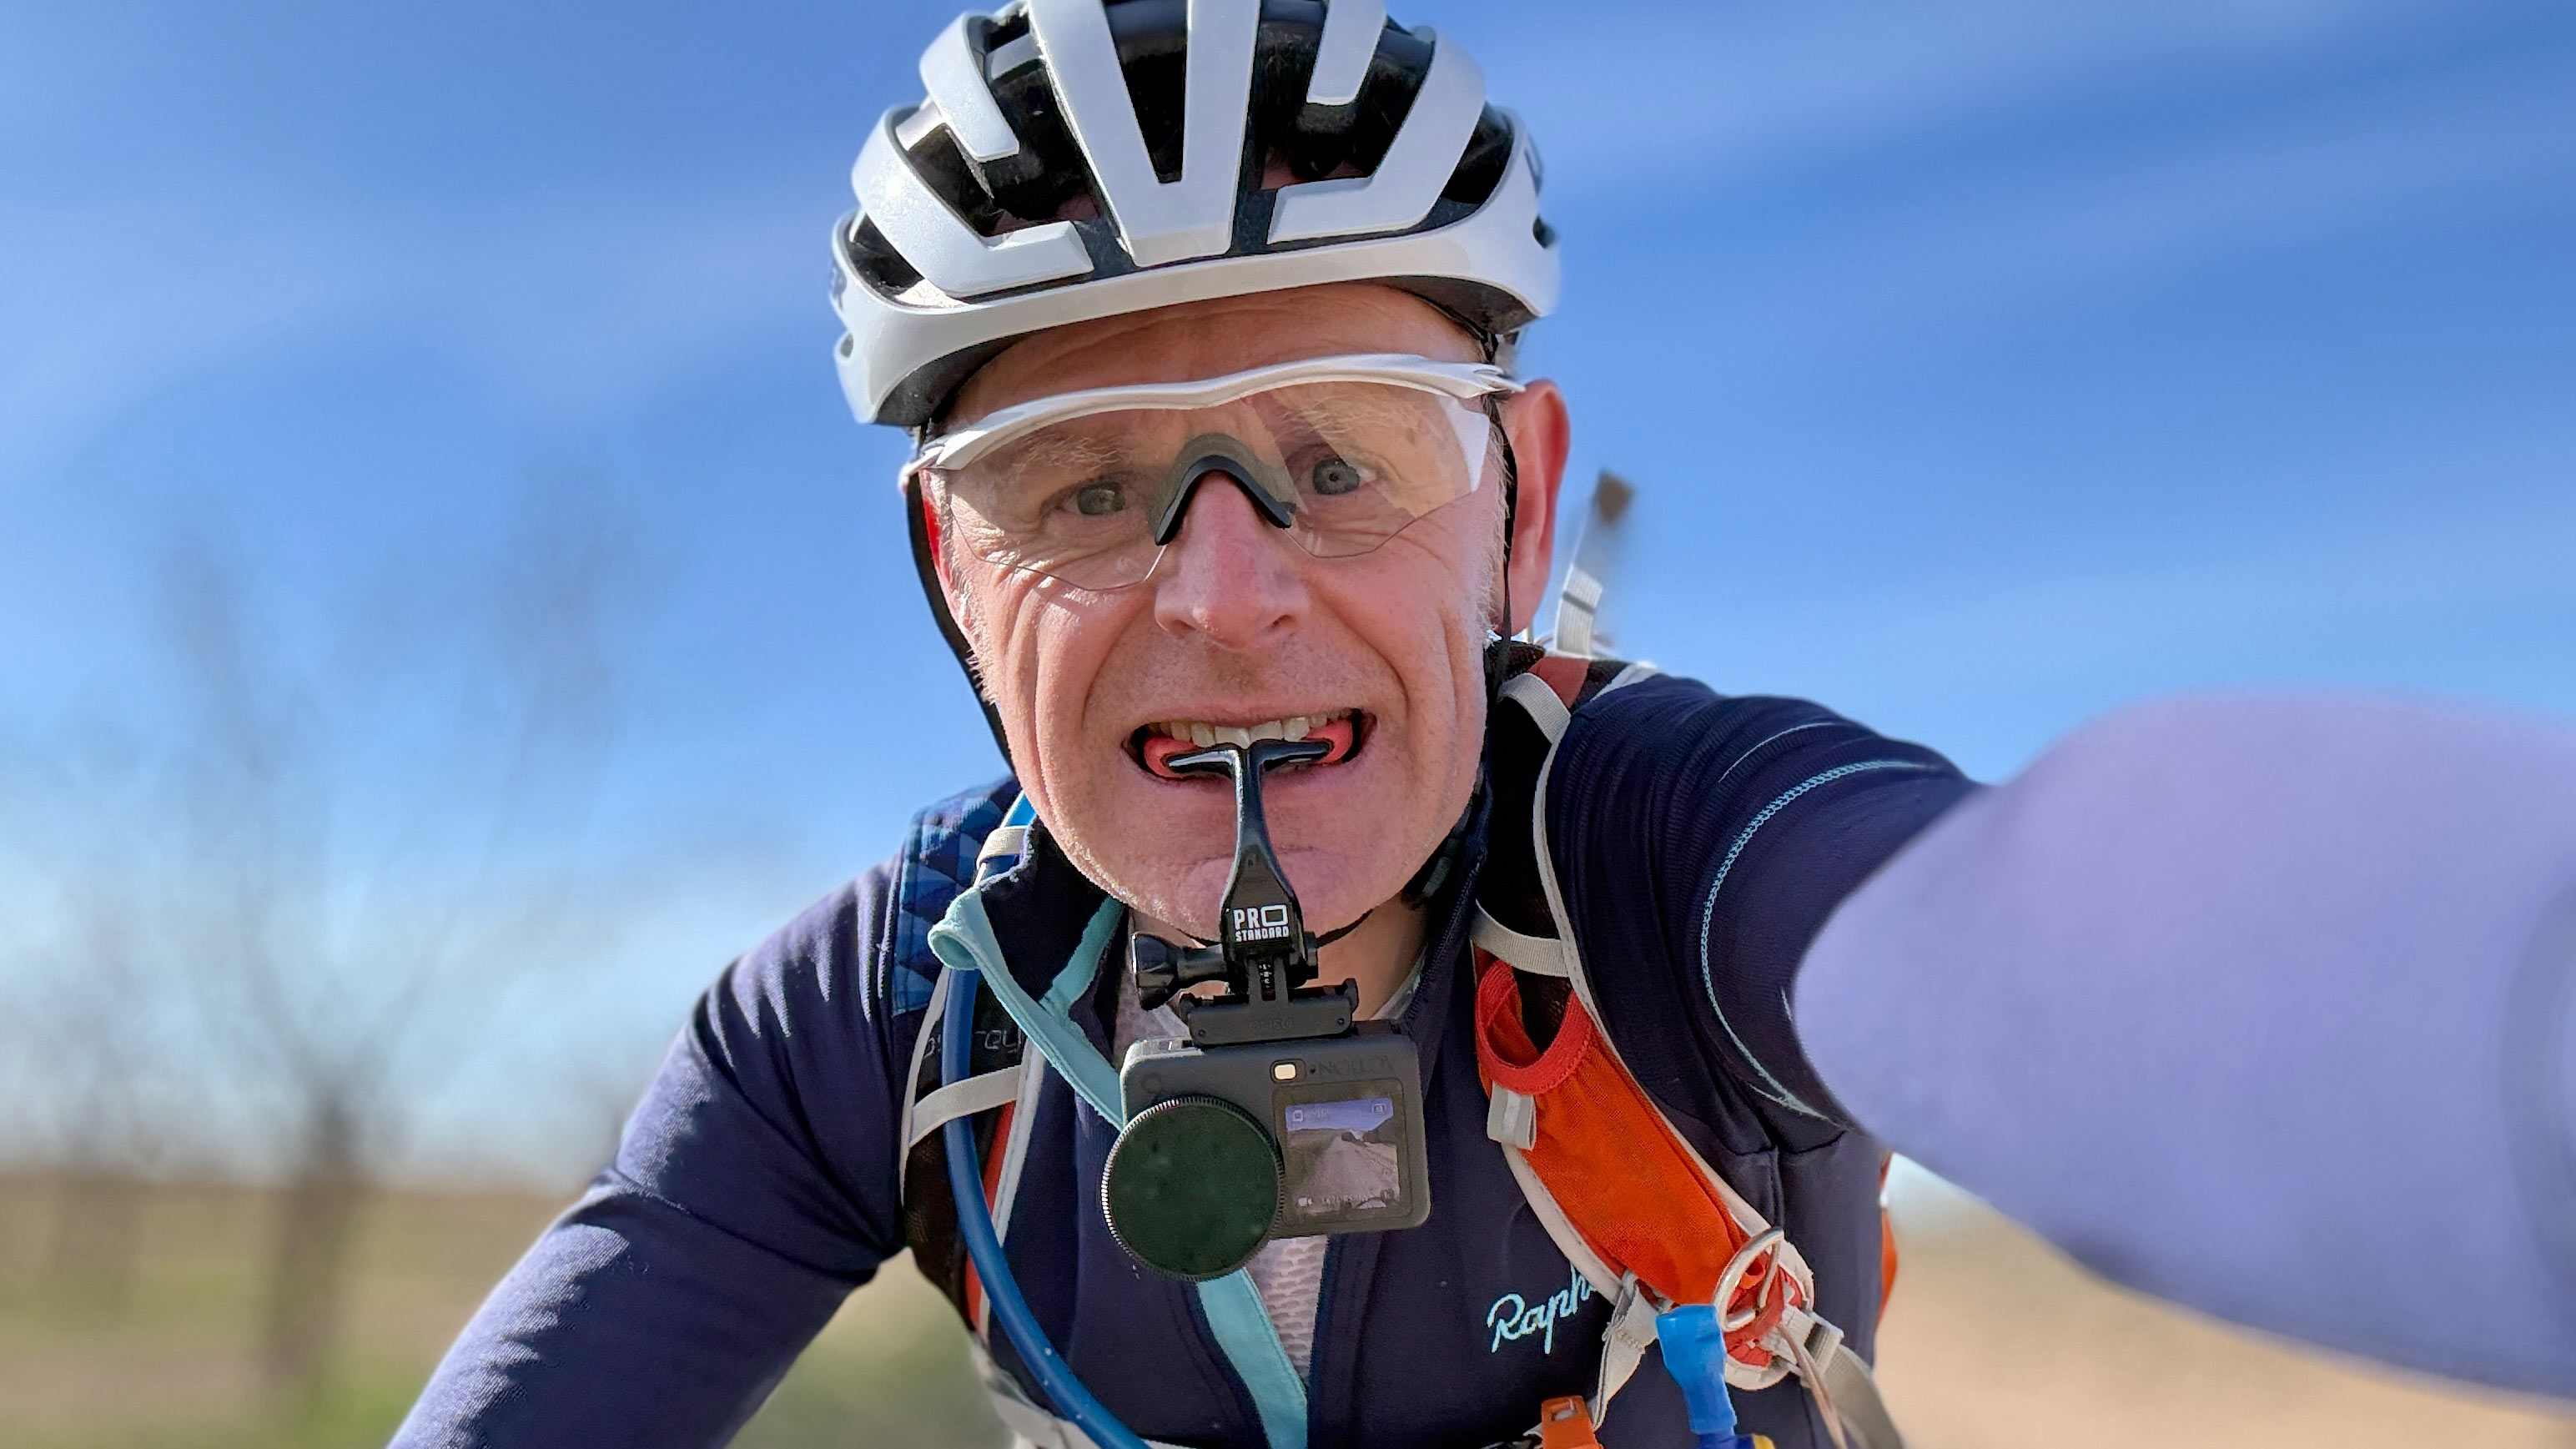
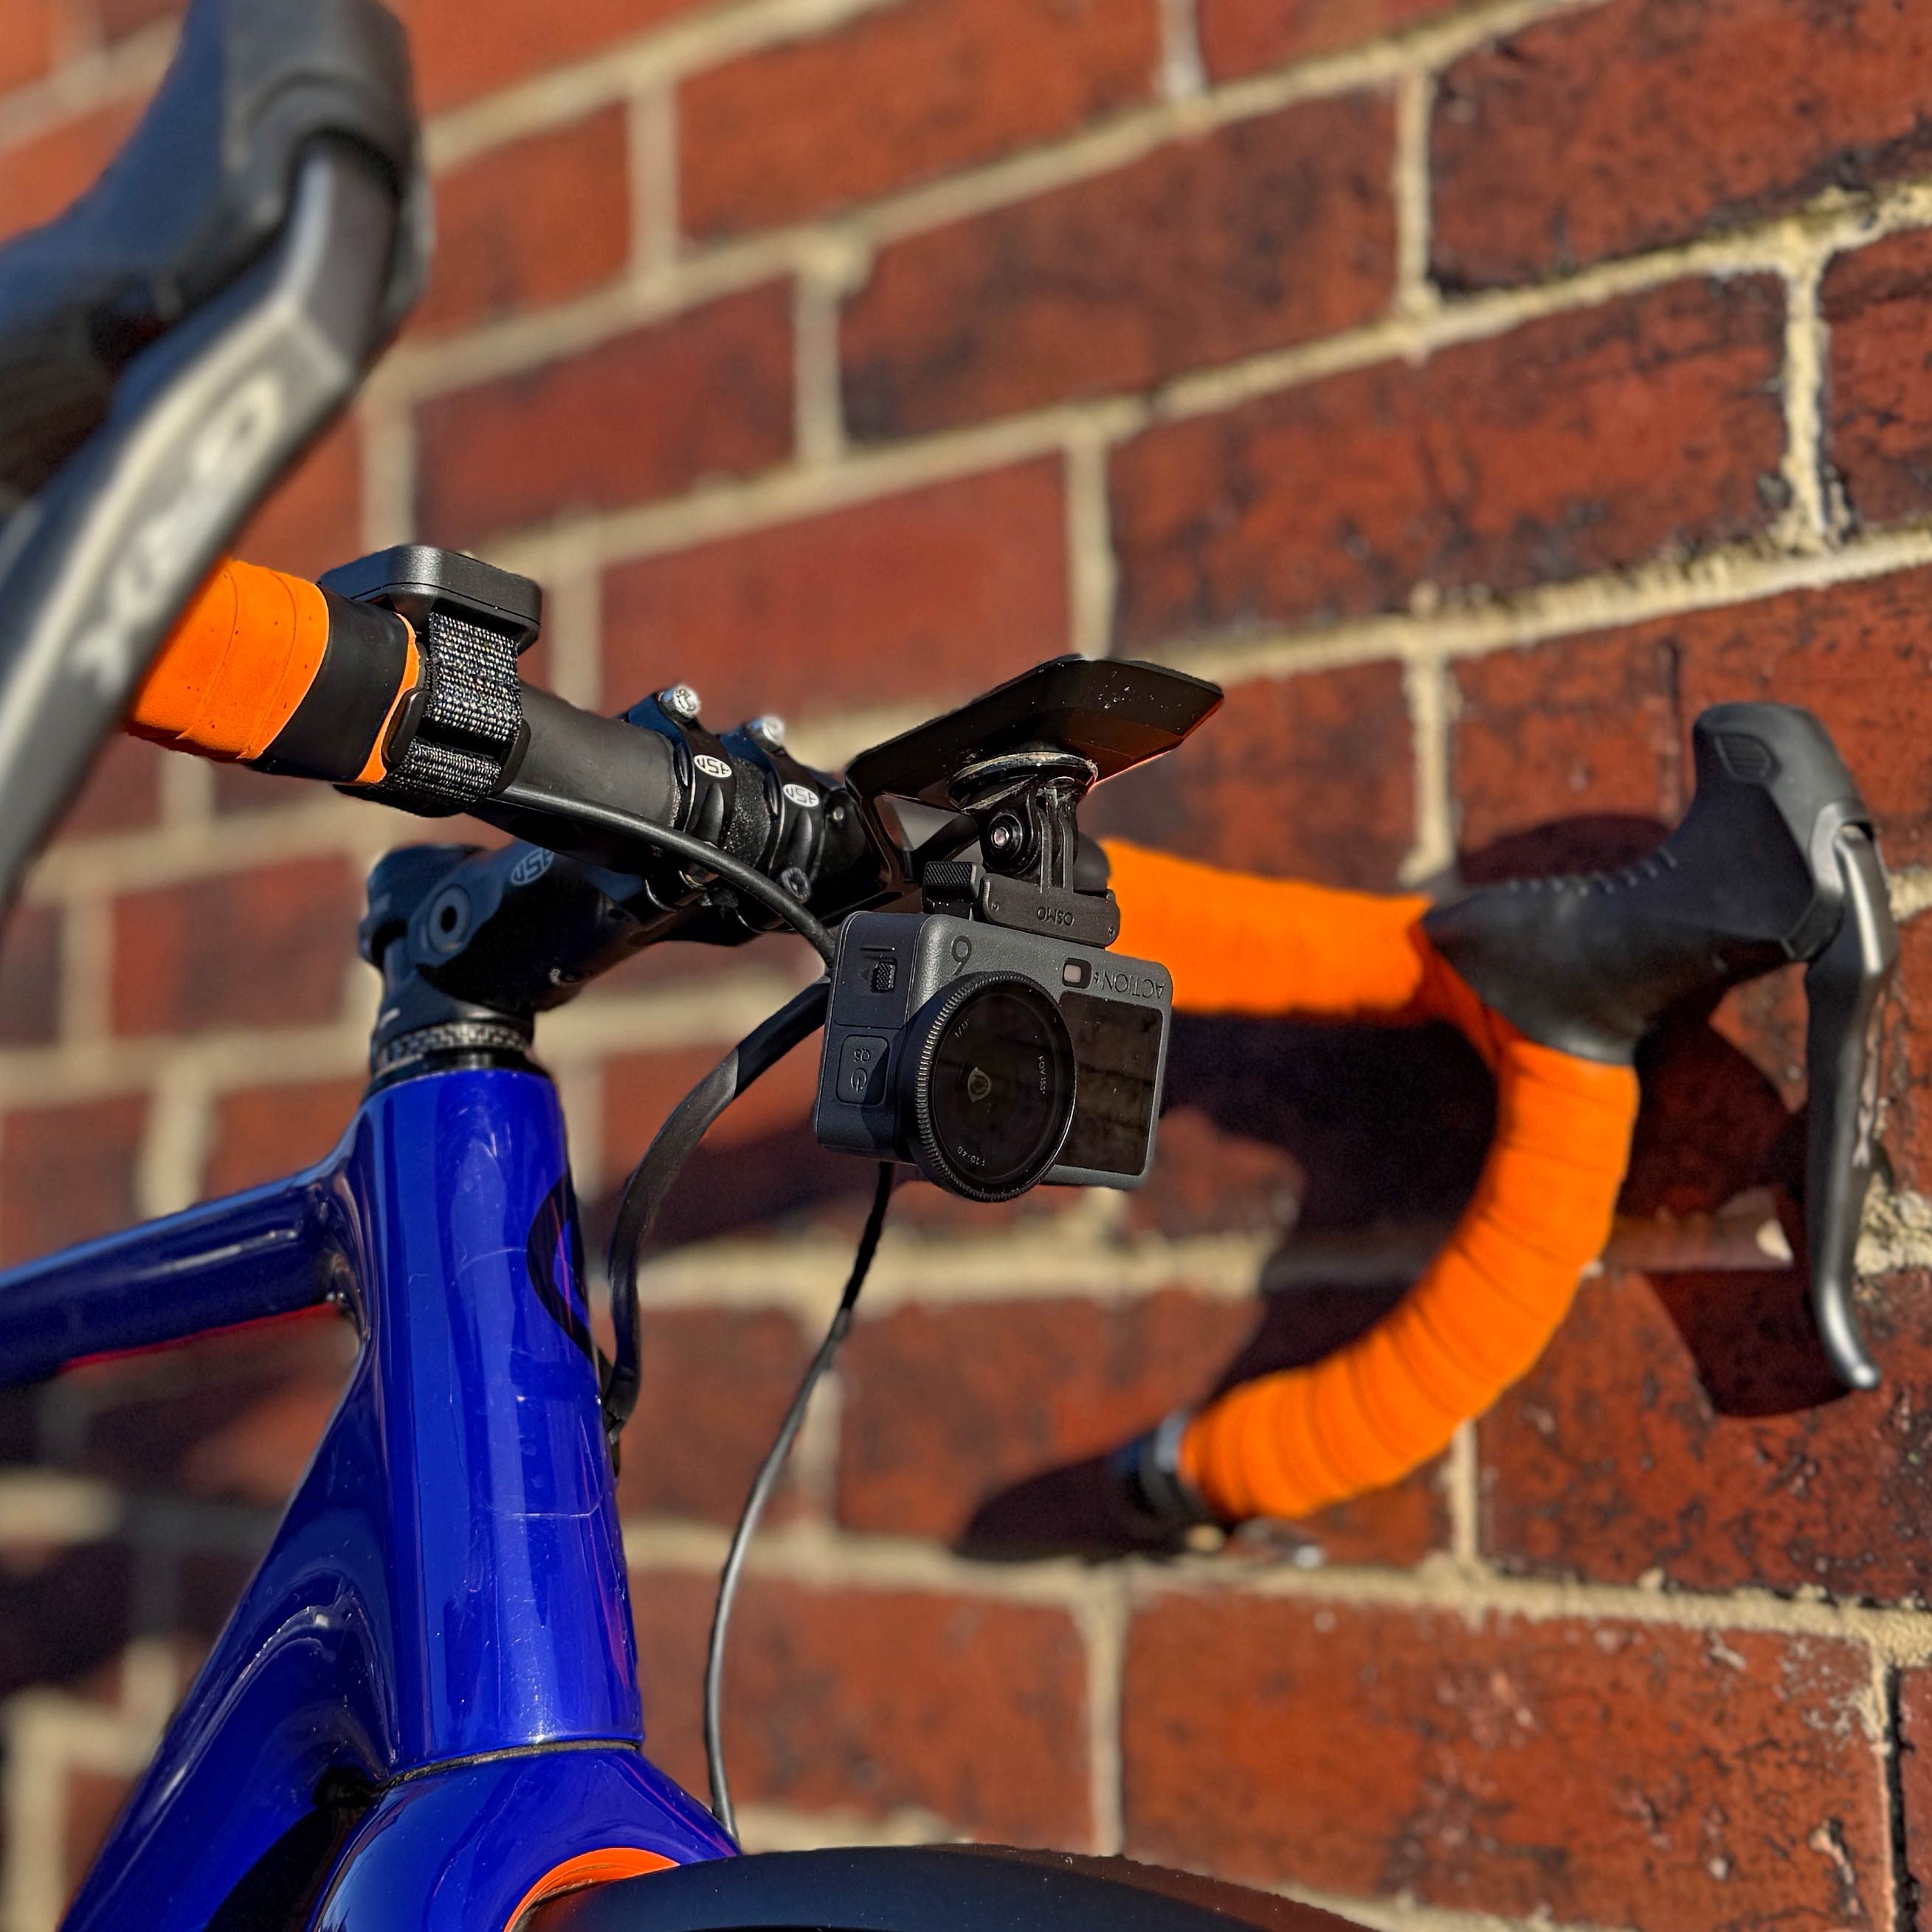
- Using different types of mounts, relevant to gravel riders and bikepackers – a “grill mount” which you hold between your teeth, a flotation handle, a mini tripod (for static views) and an out-front computer mount with the OA6 mounted underneath
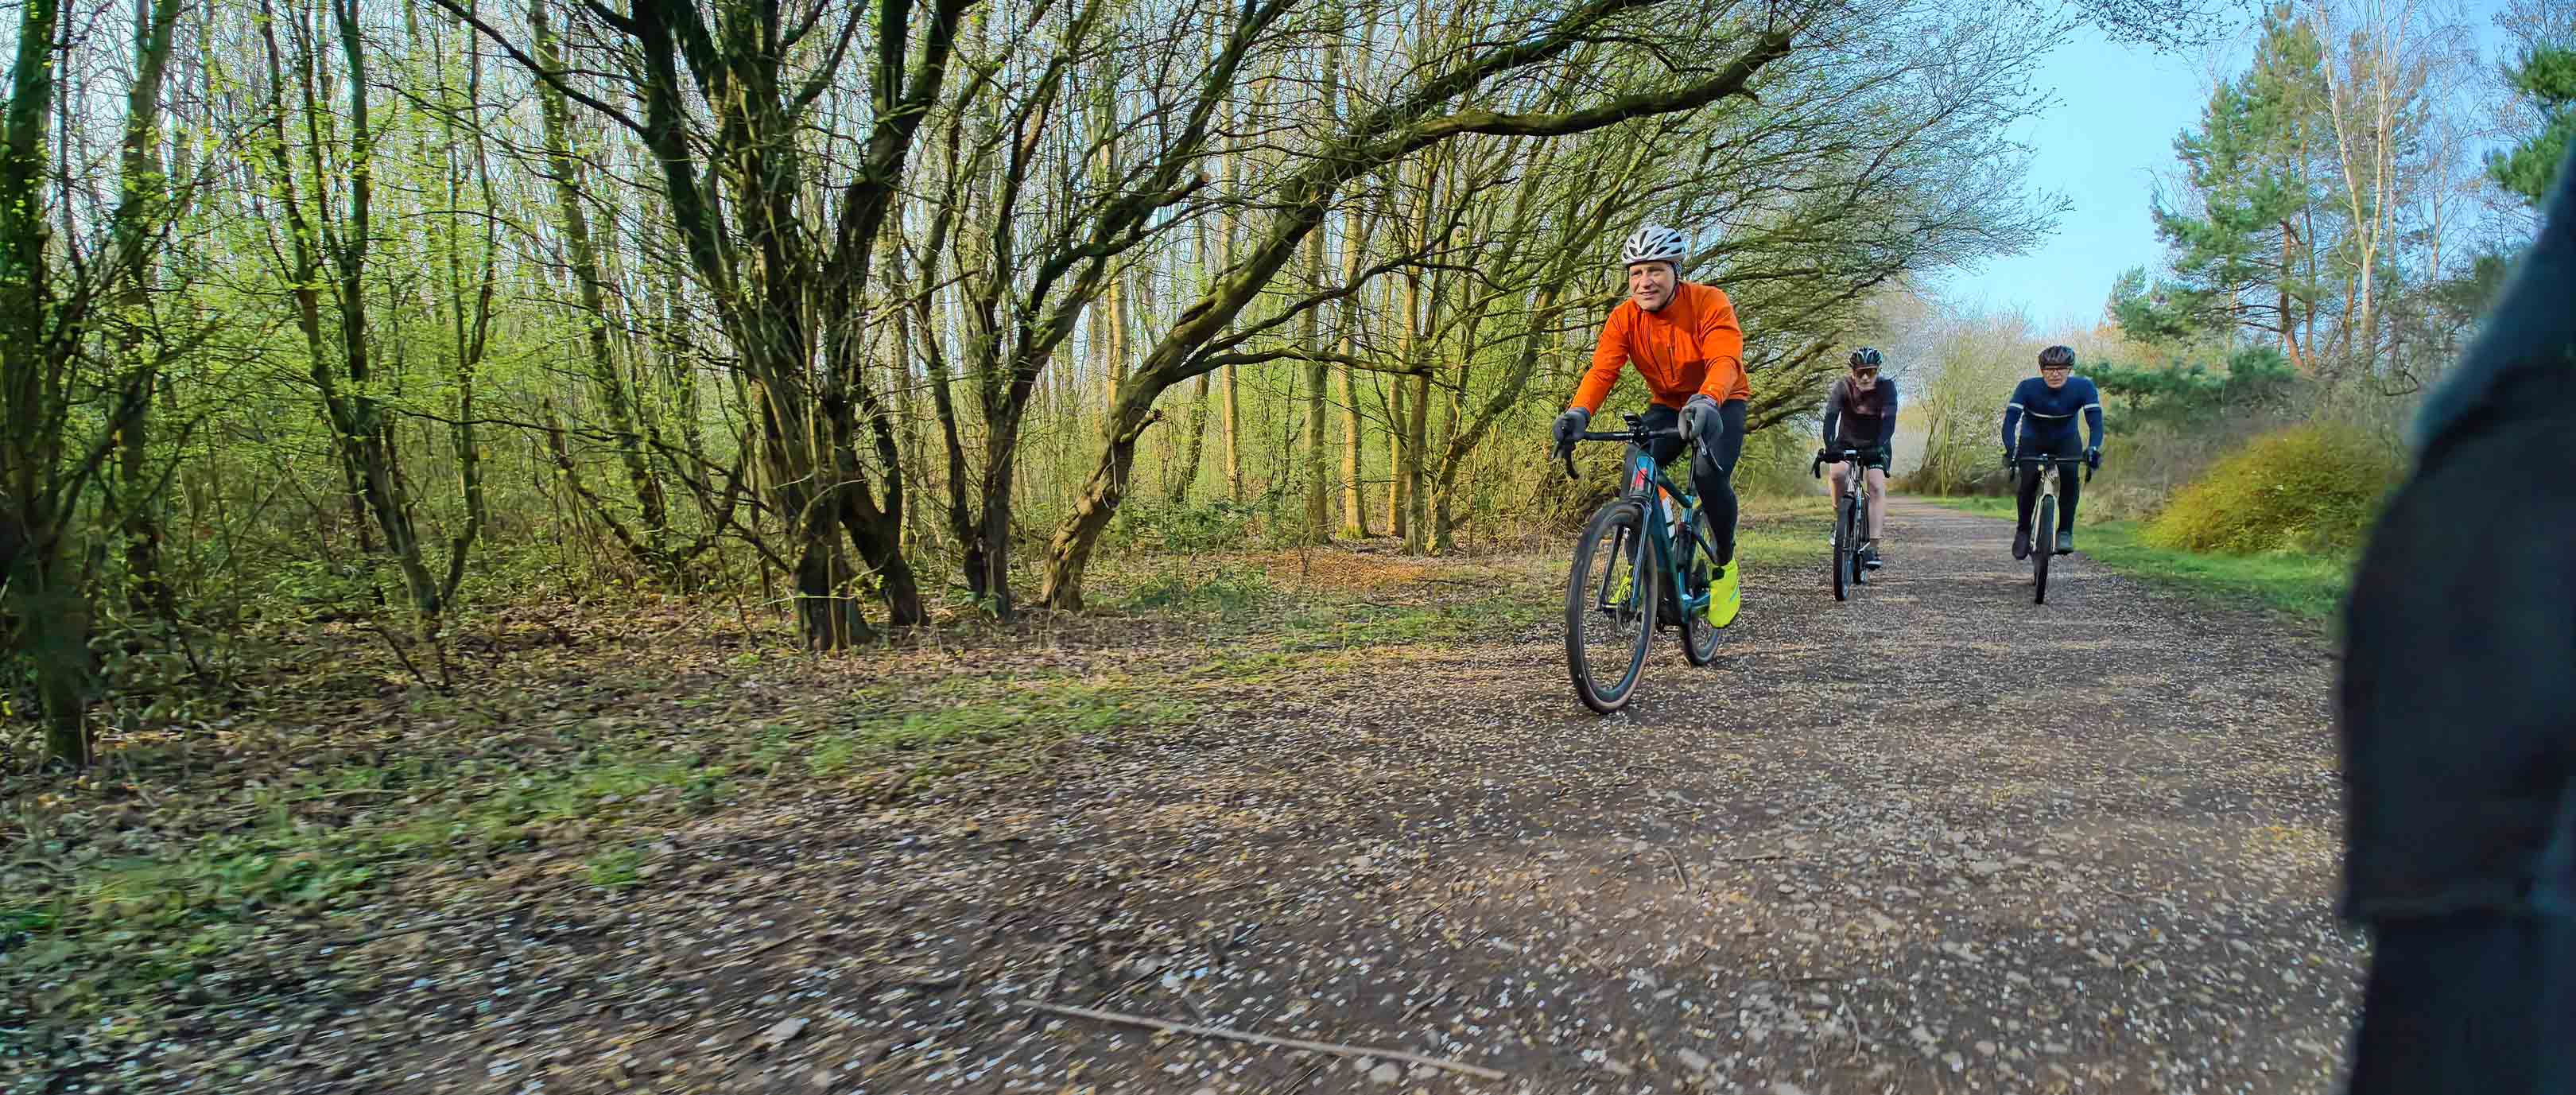
- Trying different camera angles – standard forward view (either between my teeth or bike mounted), handheld above my head, handheld facing sideways while riding parallel to the subject, handheld with the camera facing backwards while riding in front of the subject and static with the camera mounted to a mini tripod on the ground.
There are numerous other mounting possibilities, but there’s a reason I discounted them (generally having tried them previously with other action cameras):
- Helmet-mounted – if you’re using an XC/Gravel/Road helmet and you put the camera on the top, the point of view is very high and is prone to shake. The view also feels quite disengaged.
- Bike mounted on an invisible selfie-stick attached to your seatpost – this looks great on smooth paved roads, but on gravel tracks, the footage is super shaky and often unusable.
- Chest mount – I’ve used this previously for filming XC MTB riding and it gives a great, immersive feel to the footage, but it’s no better than a grill mount and is more restrictive/hotter/less flexible when you’re wearing a backpack.
- Handlebar-mounted – the extra vibration from away-from-the-road riding means there’s a risk of the camera mount rotating around the handlebars. When you’re using lightweight carbon bars, you don’t want to torque the mounting bolts too tightly in case they crush the carbon.
- Seat rail mount – this gives a really great point-of-view for filming riders behind you, but it only works if you don’t have a seatpack fitted (which I do)
- Handheld selfie stick – while riding on the road, this would probably work, but on gravel trails, trying to extend a selfie stick and then angle the OA6 properly, whilst also controlling your bike, would not be easy/safe.
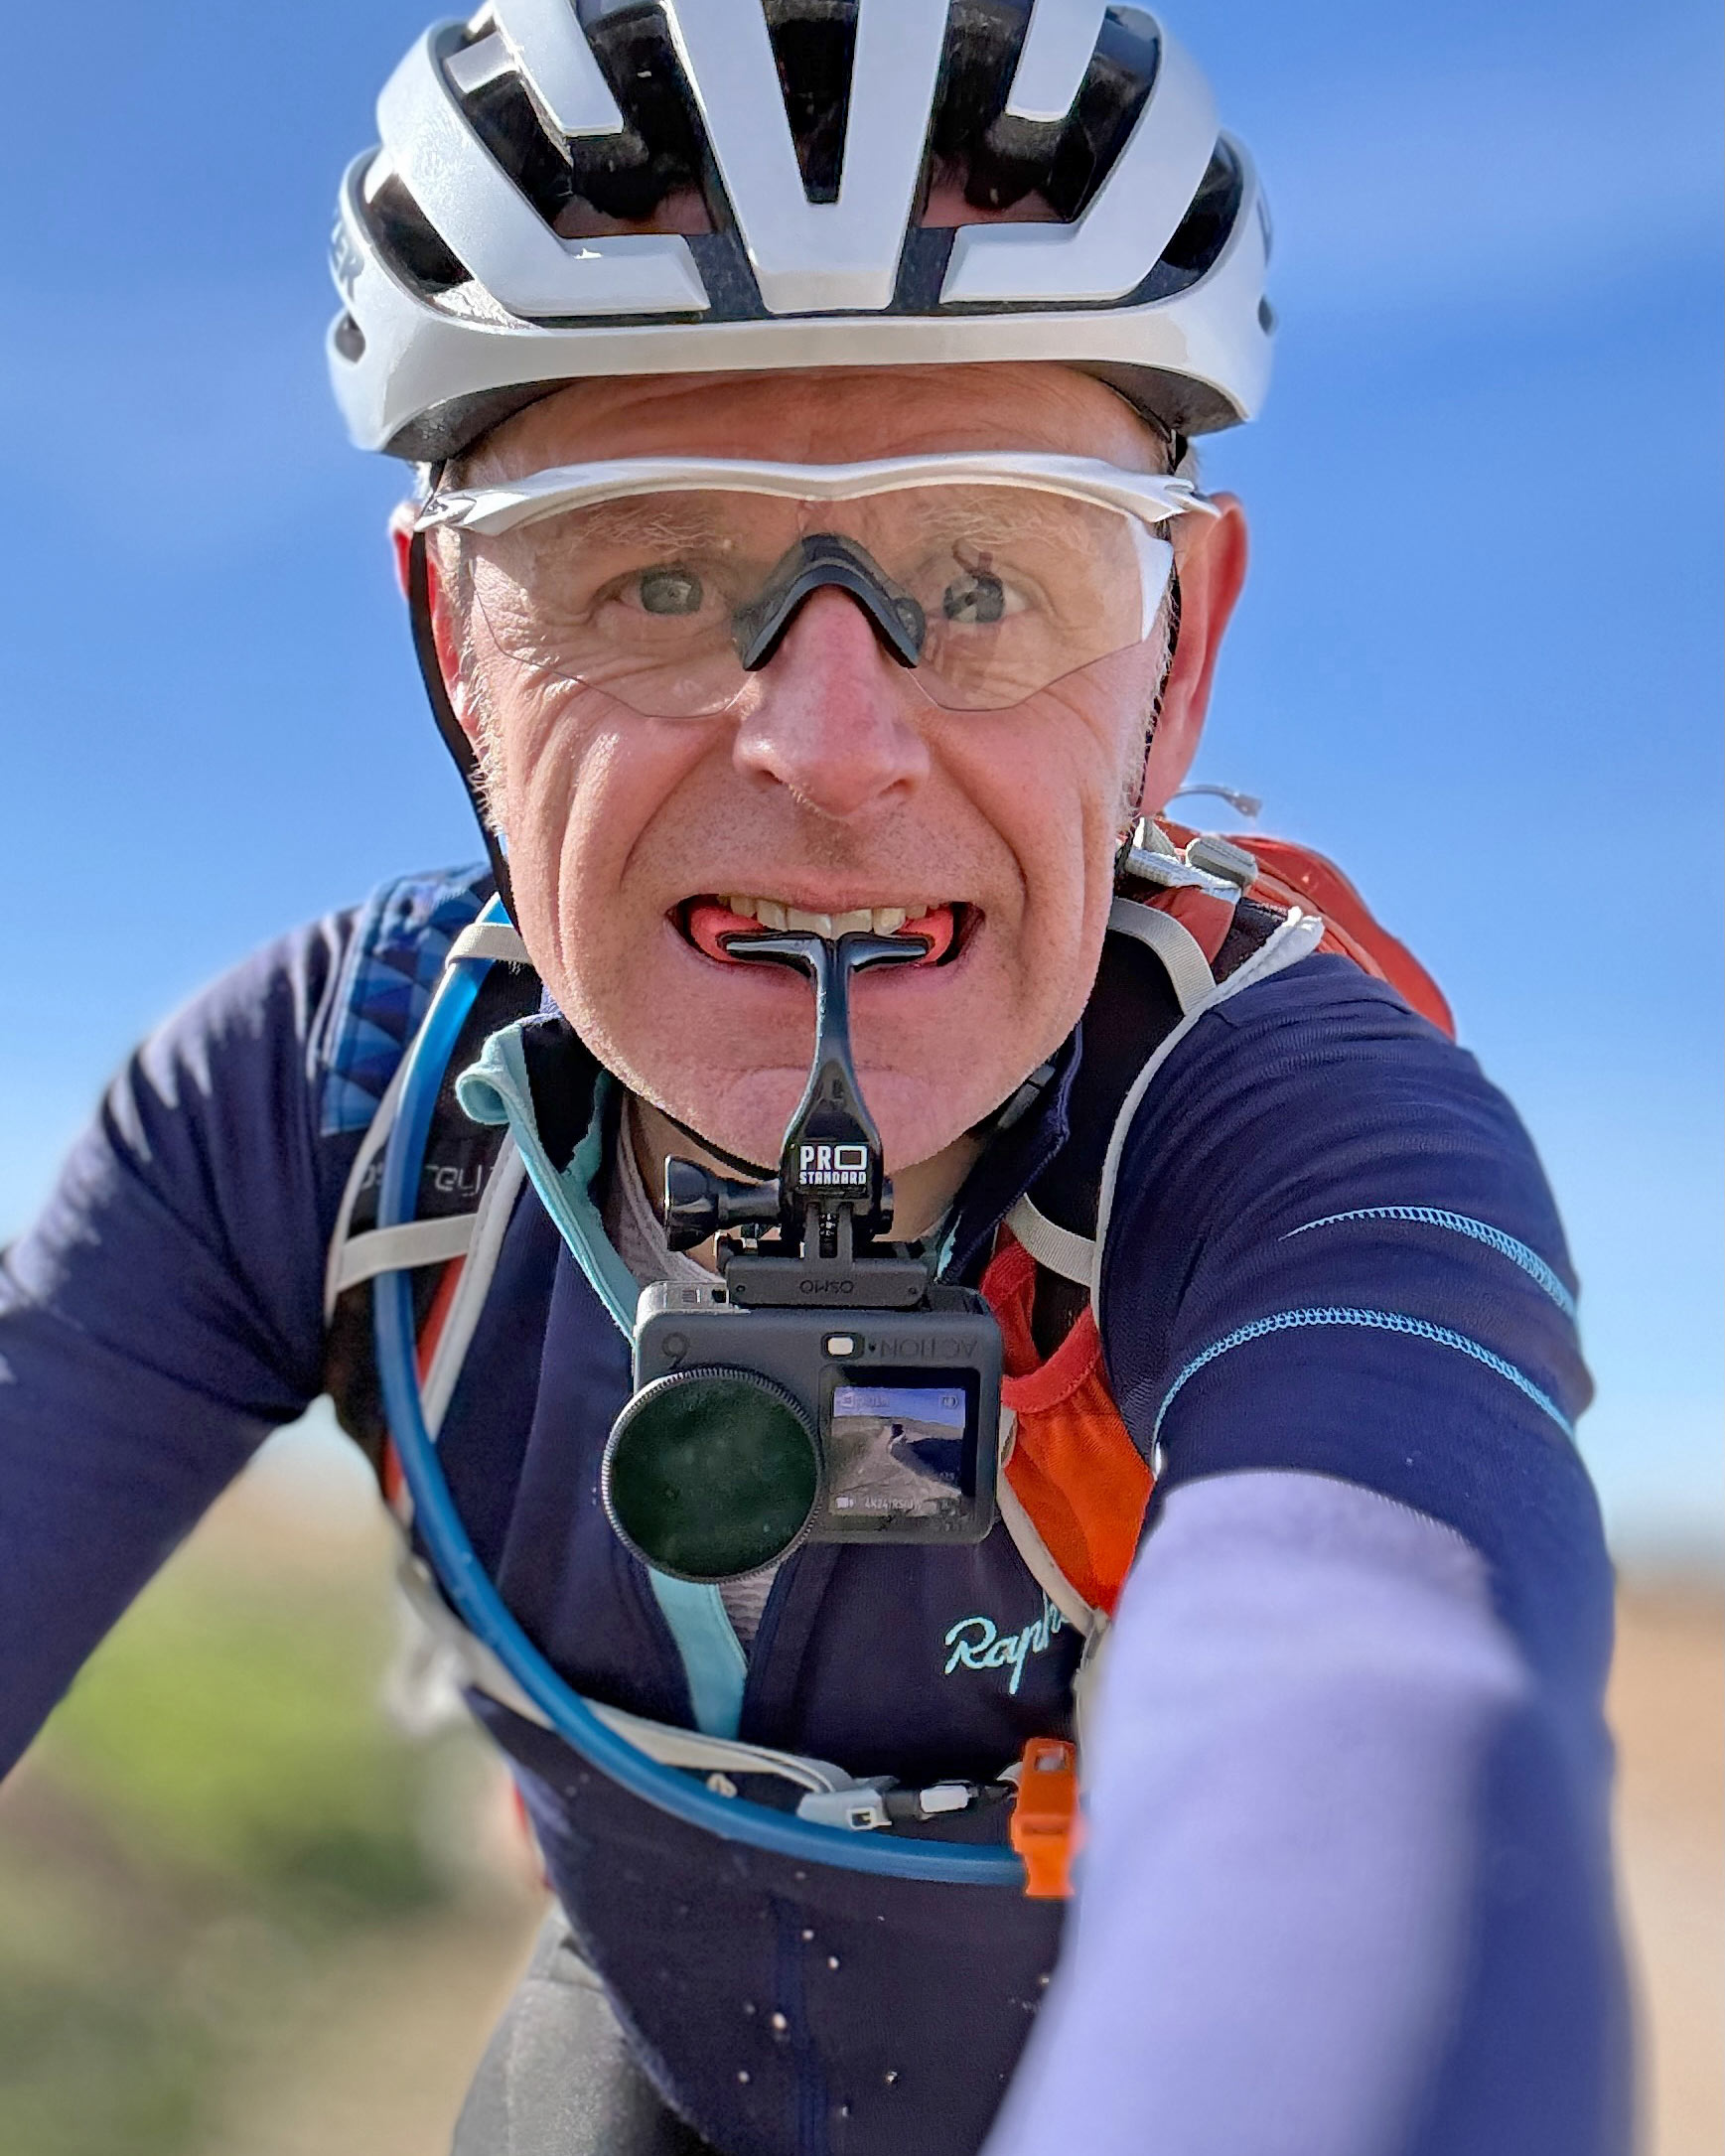
My absolute favourite mount is the grill type. I’ve used this extensively over the past 3-4 years and it has several advantages – your head naturally works as a stabiliser, which helps smooth out the footage; the point of view feels really immersive and it’s really quick/easy to start/stop filming. Using the grill mount as intended (in your mouth) works brilliantly, but it also works very helpfully as a handle for the camera, so I can use it for hand-held shots too. The (obvious) downside of any handheld shots is that it requires you to take one hand off the bars and it undoubtedly means you’re not concentrating 100% on your riding. It would be pretty remiss of me to actively promote this without also pointing out the potential safety worries. Riding one-handed on rough gravel tracks/off-road trails is something that needs a lot of practice, some decent core muscles (to help stabilise the bike) and comes with an associated risk factor – I’ve had a few (fortunately minor) crashes over the past few years when I’ve hit a trail obstacle that I didn’t see because I was too busy trying to capture some good footage. Only you can decide what’s safe and what’s not, but (obviously) err on the side of caution!
Settings
To control the OA6, you can either access it using DJI’s Mimo App (which you need to install on your smartphone to do the initial set-up of the camera) or via the touch screen on the back of the device itself. The touch screen works impressively well, but is relatively small, so I tended to use the Mimo App on my phone to make any adjustments.
In case anyone is interested, these are the settings that I used:
- Resolution – 4k
- Video Frame rate – 24 FPS
- Orientation – Lock to landscape
- Field of view – Ultra wide
- Colour presets – None
- Pro mode - On
- EIS – RockSteady
- Stabilisation Scenario – Sport
- Grid – Gridlines
- White Balance – Auto
- Colour Mode – Normal 10 bit
- Variable Aperture – Auto
- Variable Aperture Range – f2 – f4
- Overexposure alert – On
- Focus peaking – Off
- Histogram – Off
- Timecode Display – Off
What did I love?
So, once you have your different mounts sorted out, you’ve decided on a variety of angles/points-of-view to film from and you’ve got your settings just how you want them, what’s the footage like? In a word, spectacular! The huge sensor size means the footage is pin-sharp. I shot exclusively in standard colour mode (not in 10-bit D-Log M) and was really happy with how the “straight-out-the-camera” image looked. If you are shooting footage aimed at a cinema/large screen audience and you’re using multiple different cameras, then using D-Log M is the way to go, but for a ‘normal’ user, having to colour grade all your shots before you use them is an extra hassle (and in my view) probably not worth the extra effort. I was super impressed with the audio quality too, even without using an external mic. Riding shots will often be impacted by wind noise, but the OA6 did a great job of recording crisp, clear audio, which made my life much easier when editing.
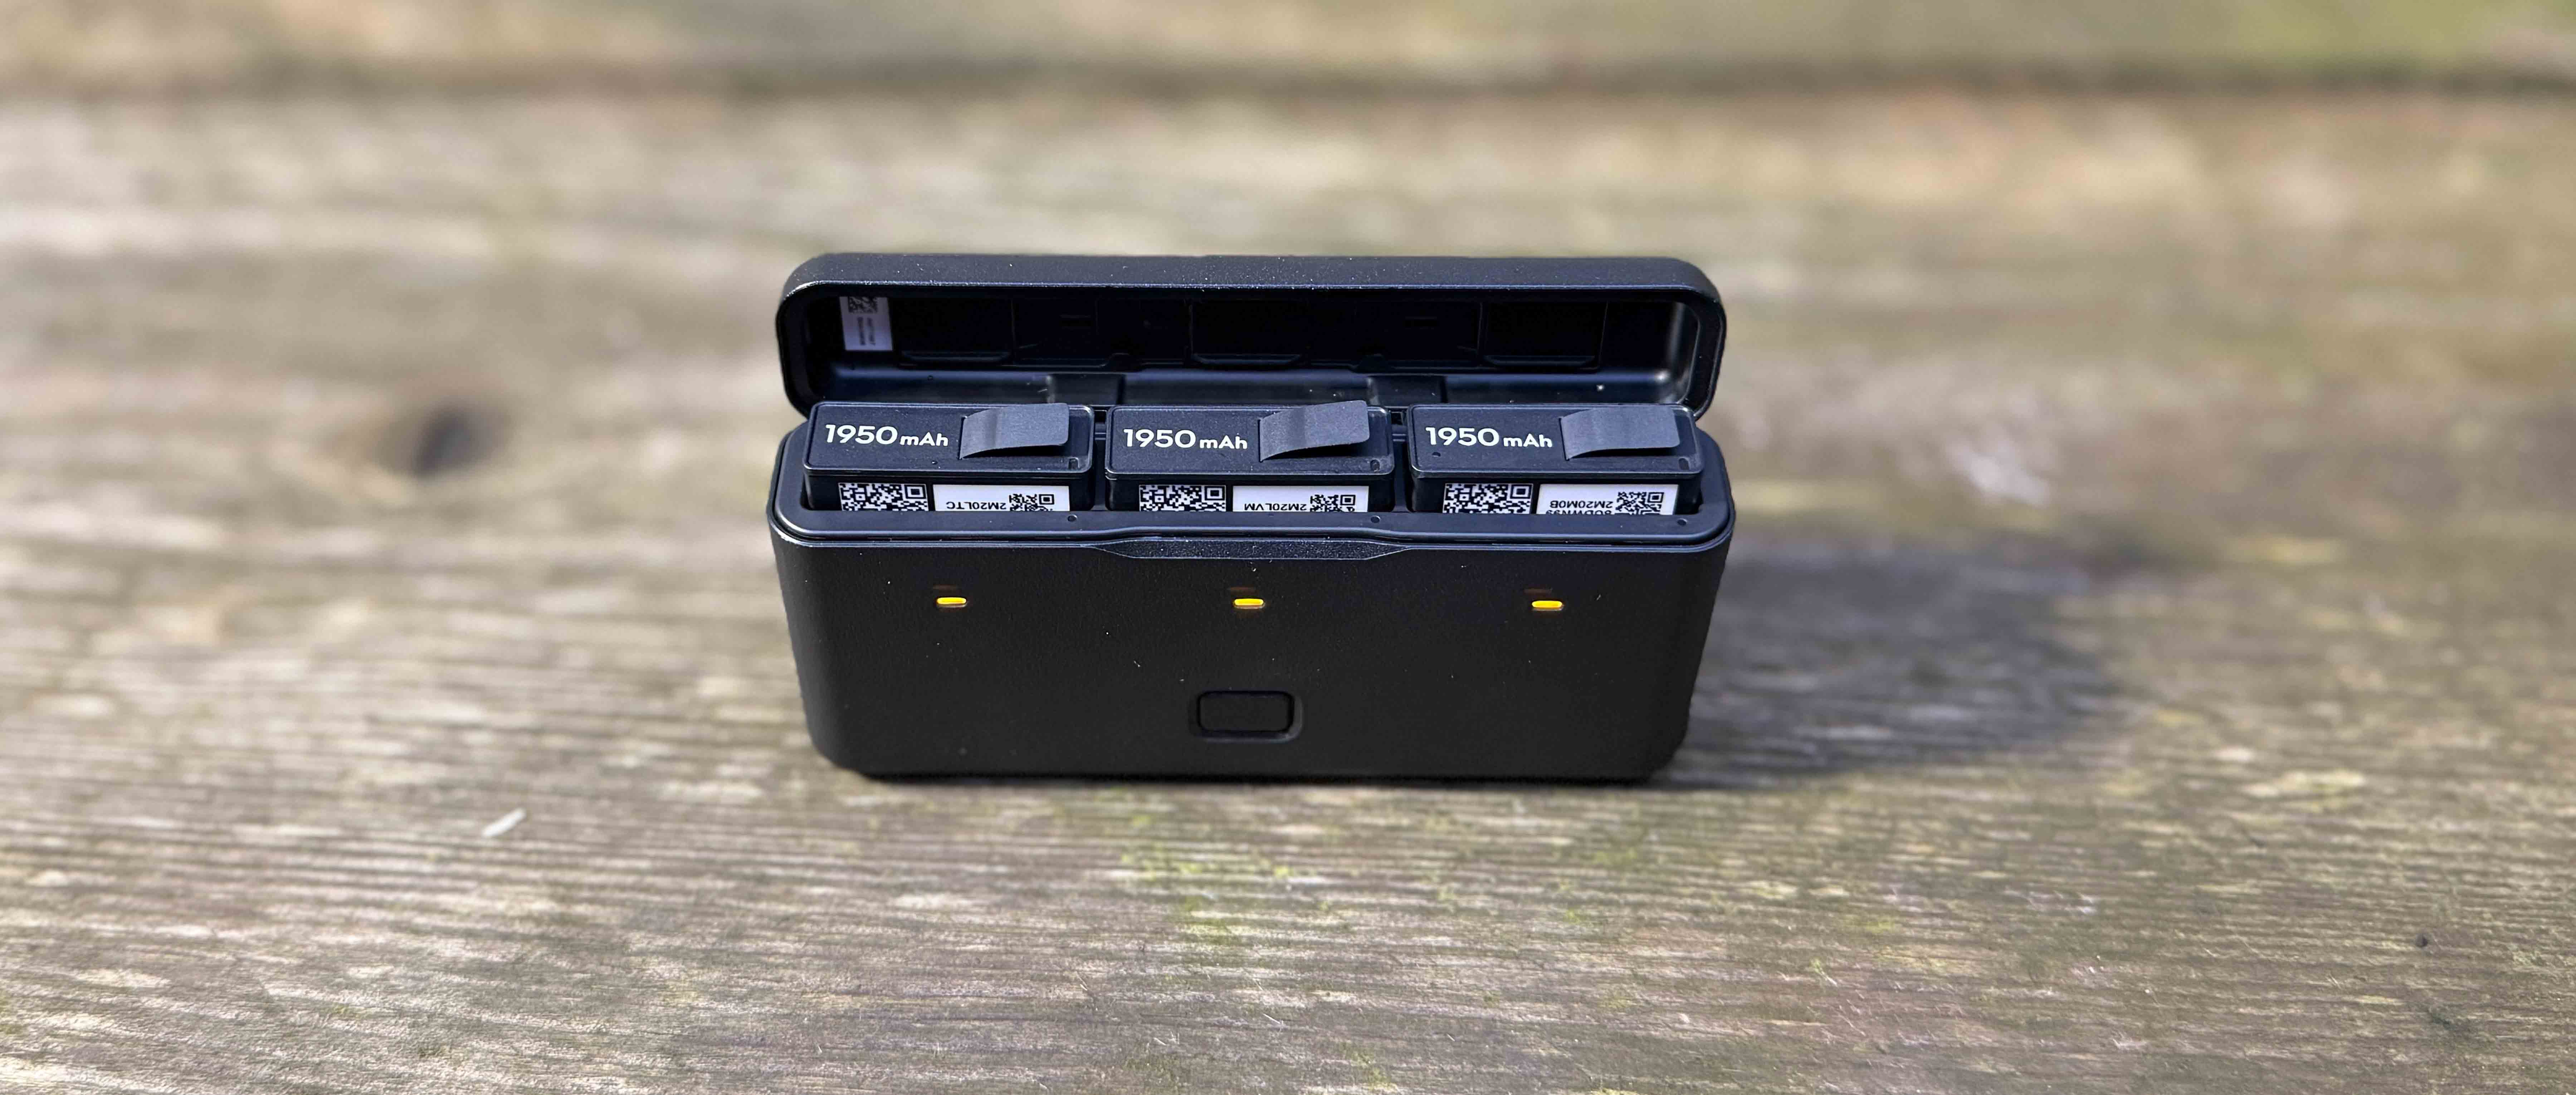
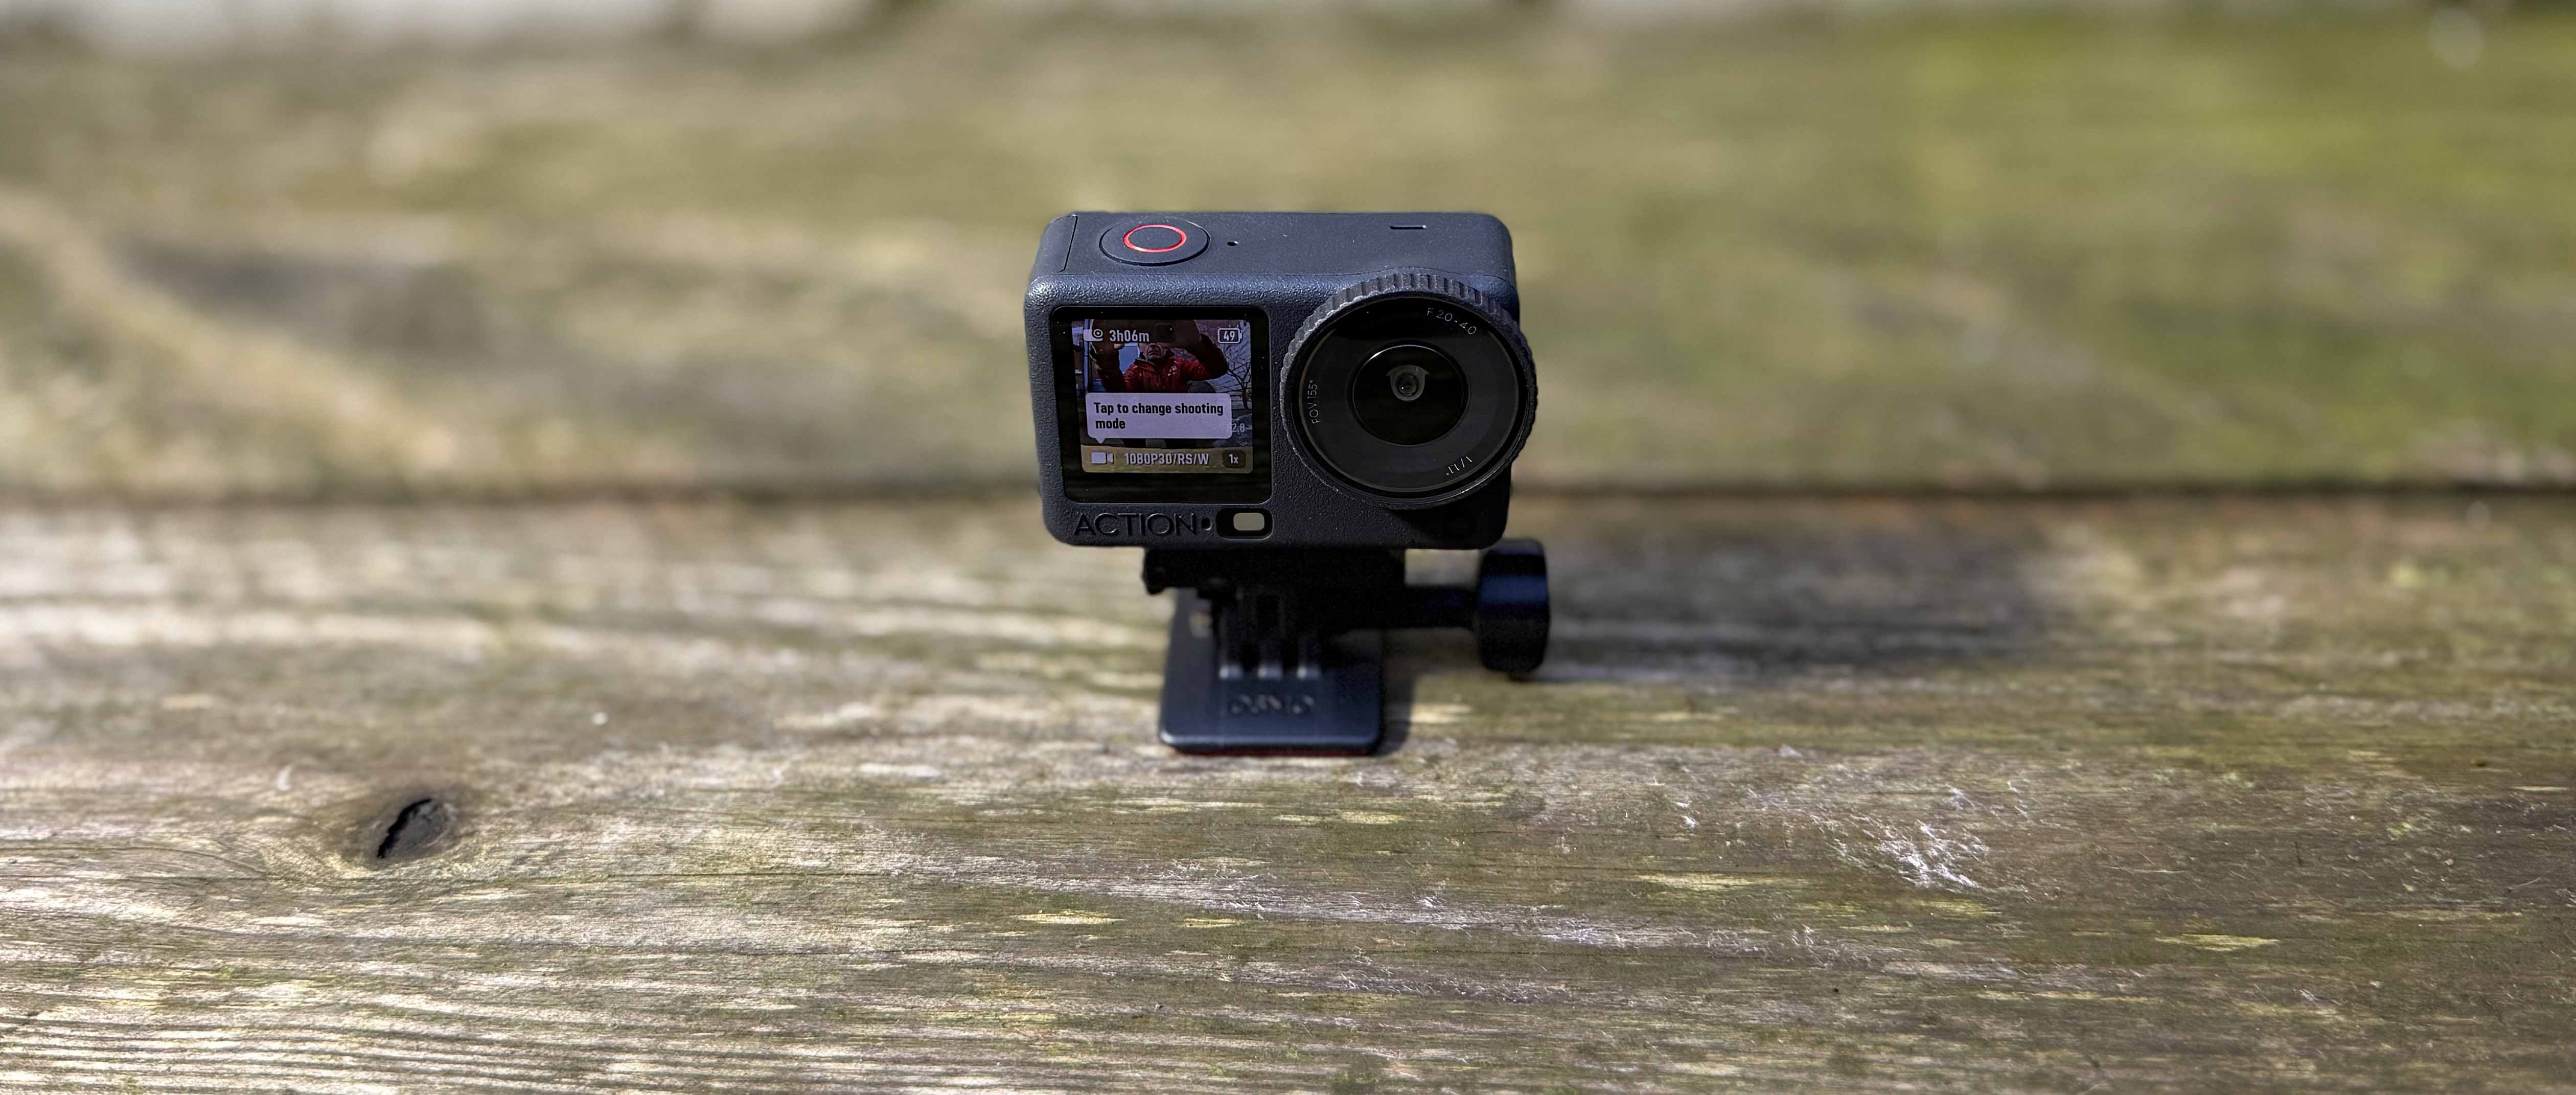
The long battery life, cold weather performance and general resilience of the camera were impressive. The battery charging and storage box that comes with the OA6 Adventure Combo setup is a piece of design genius. It’s small, sturdy, intuitive and simple to use. It allows you to both store and charge the batteries, gives a colour-coded visual guide to the level of charge of the batteries and finally, you can use it as a powerbank by plugging in a USB-C cable into the port on the end. The OA6 itself feels very sturdily put together and it survived a couple of international flights and innumerable times being rapidly shoved into (or pulled out of) my jersey pocket or a side pocket on my rucksack without any signs of wear whatsoever. The magnetic quick-release mount is another piece of excellent design. It’s backwards compatible with any standard three-prong adventure mounts you might already have, but also allows you to attach/remove the camera super rapidly. When removed, the OA6 body has a completely flat base, which means that in a pinch, you can sit it on the floor or other flat surface to capture a static viewpoint.
The OA6 comes equipped with both front and rear colour screens. While you might not use the front facing screen super often, if you’re ever trying to capture ‘selfie’ shots, or you have mounted the camera somewhere that the rear screen is not visible - for example, on an out-front mount on your bike, the front screen allows you to check that the camera is correctly orientated.
Any constructive criticisms?
I tested the OA6 from the perspective of a gravel rider/bikepacker, which is pretty niche! There are some issues with the camera that I found less-than-ideal that many (non-cycling) users would never even consider – for example, the shutter button and the power on/off button sit relatively flush to the body of the camera, the buttons are quite stiff and there’s very little tactile feedback to show that you successfully depressed them. This is particularly an issue if you’re wearing gloves, as it’s almost impossible to tell without looking at the screen whether you’ve triggered the shutter to start/stop filming. I missed a shot a couple of times because I hadn’t triggered the camera when I thought I had. If you’re busy concentrating on riding a gnarly gravel trail, you don’t want to be distracted by having to check what the camera is doing.

DJI sent me a Field of View Boost lens and a Macro lens. I’m ashamed to admit that I didn’t find an occasion to use the Macro (close-up) lens. I’m sure for nature filmmakers it would be a real boon, but for your typical gravel rider, I’m not sure it’s so relevant. The FOV boost lens gave an impressively wide perspective and, in certain situations, would be amazing, but once fitted, it meant I couldn’t use Neutral Density filters on the camera, which IMO are probably more useful than the extra 26% width offered by the add-on lens.
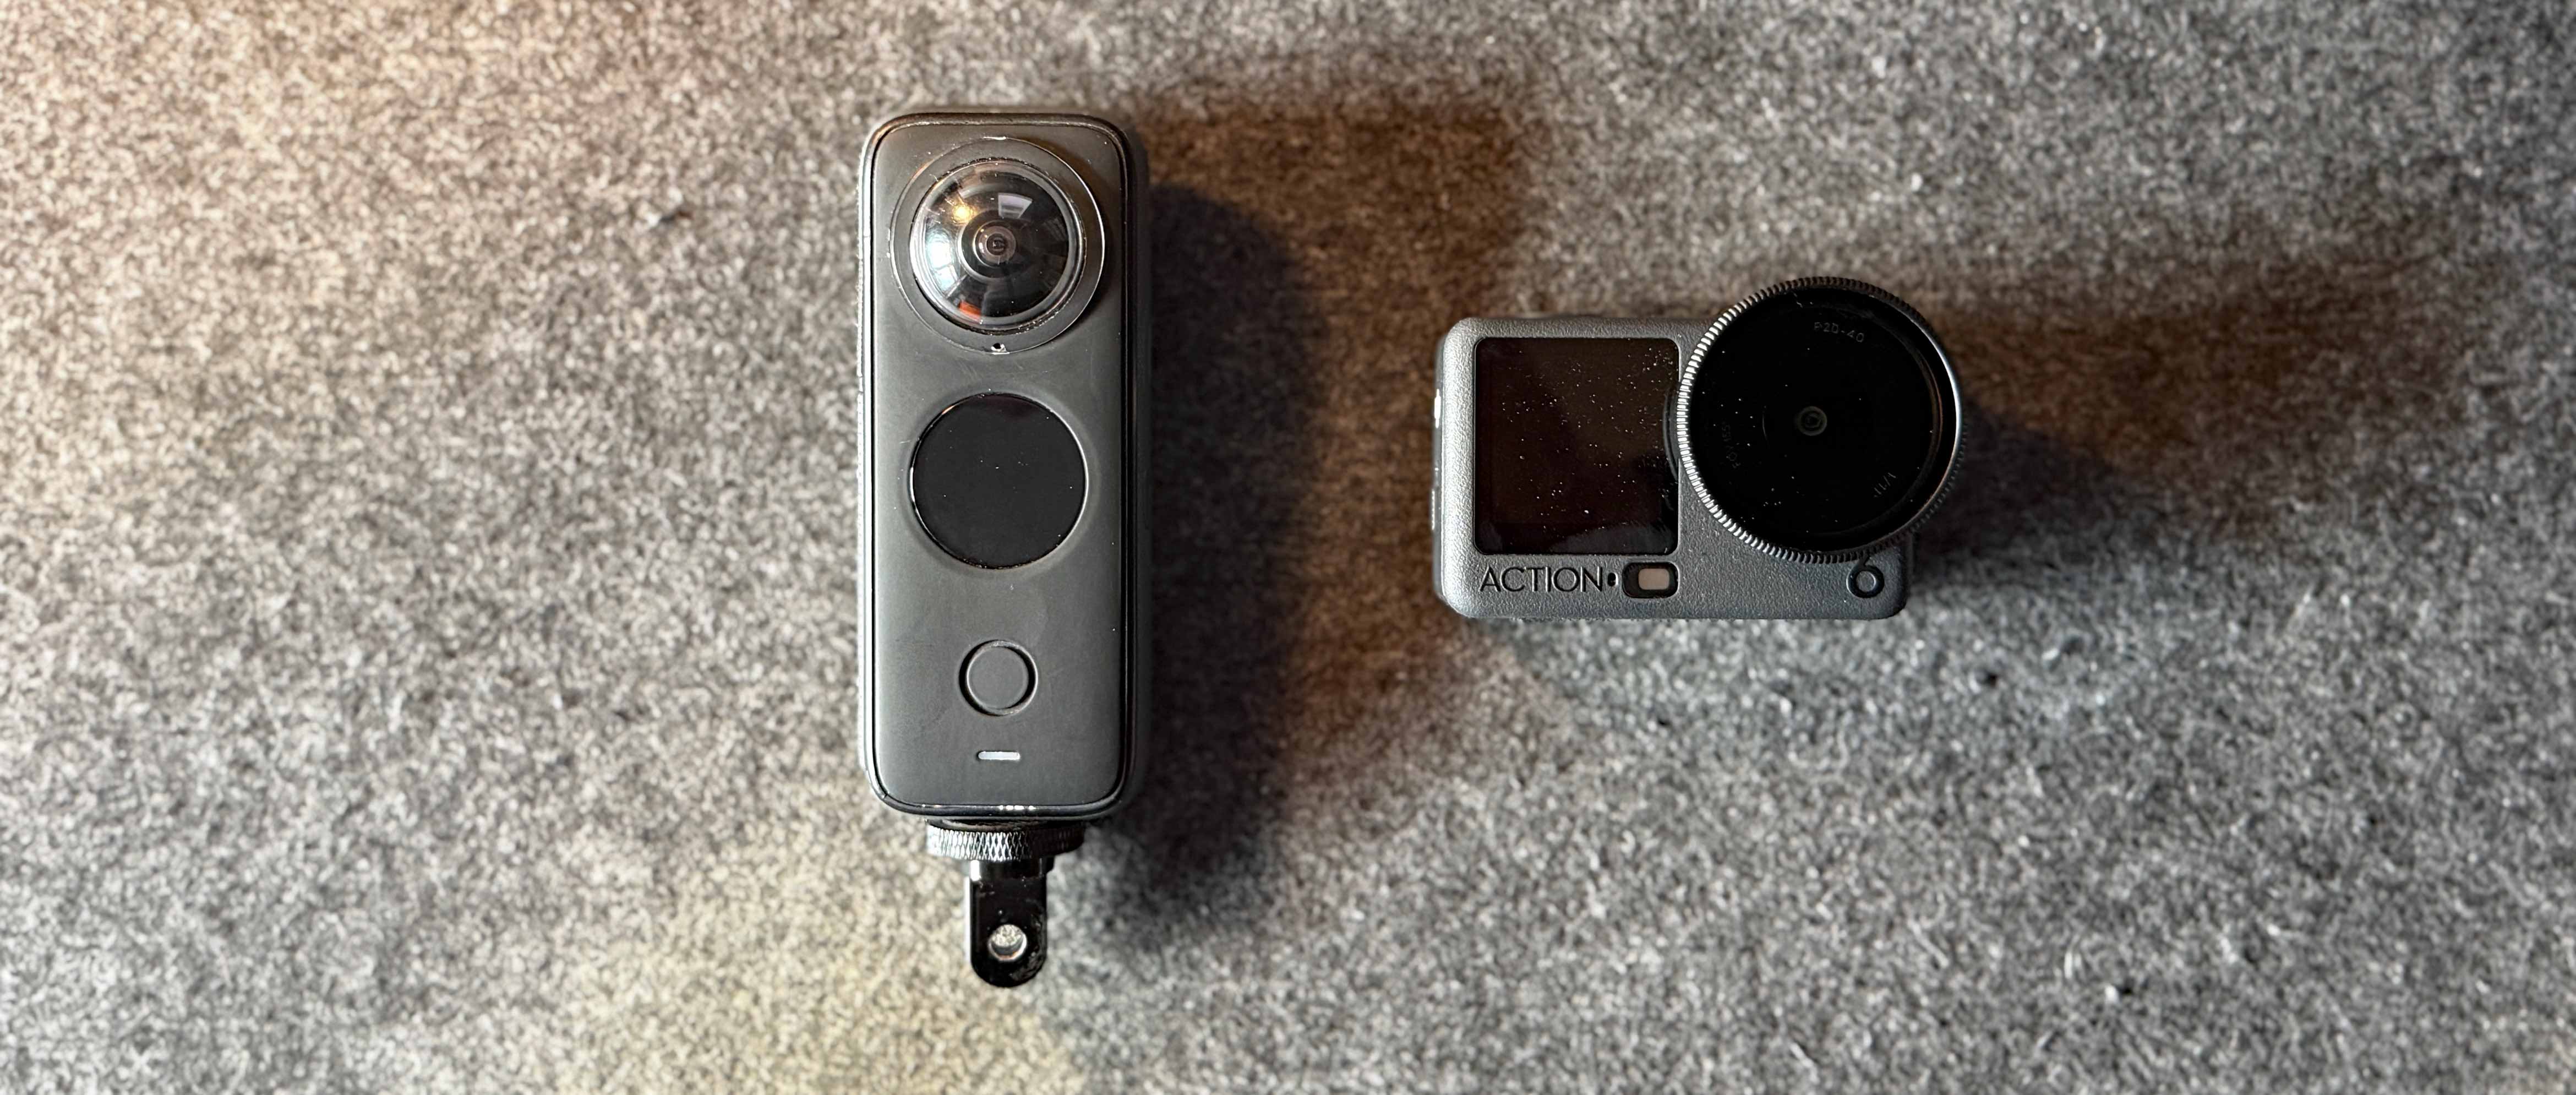
My final (very niche) comment relates to the shape of the OA6, which, although admirably small, is quite ‘dumpy’. In comparison, a competitor camera from Insta360 comes in a much more elongated form, which fits better into cycling jersey pockets and is easier to manage when trying to ride one-handed. This isn’t a 100% fair comparison, as the Insta360 X3/X4/X5 is a very different type of camera and doesn’t offer many of the functionalities that the OA6 does, but from a purely gravel riding perspective, I prefer the ergonomics of the Insta360.
What about stills?
I suspect that the majority of users of the OA6 will be using it for its video capabilities and the stills functionality will be an infrequently used consideration. DJI themselves back up my assumption by the fact that their website for the OA6 barely mentions stills photography at all. I probably split my time 80/20 between shooting stills and shooting video, so I was intrigued to see what the image quality and the ease of use were like from the OA6. The former is incredible – the clarity of the image is super, the colour rendition is really lovely with an almost filmlike look even straight out-of-the-camera and the incredible resolution means you can crop into the image to highlight exactly what you want and still have enough detail left to look decent.
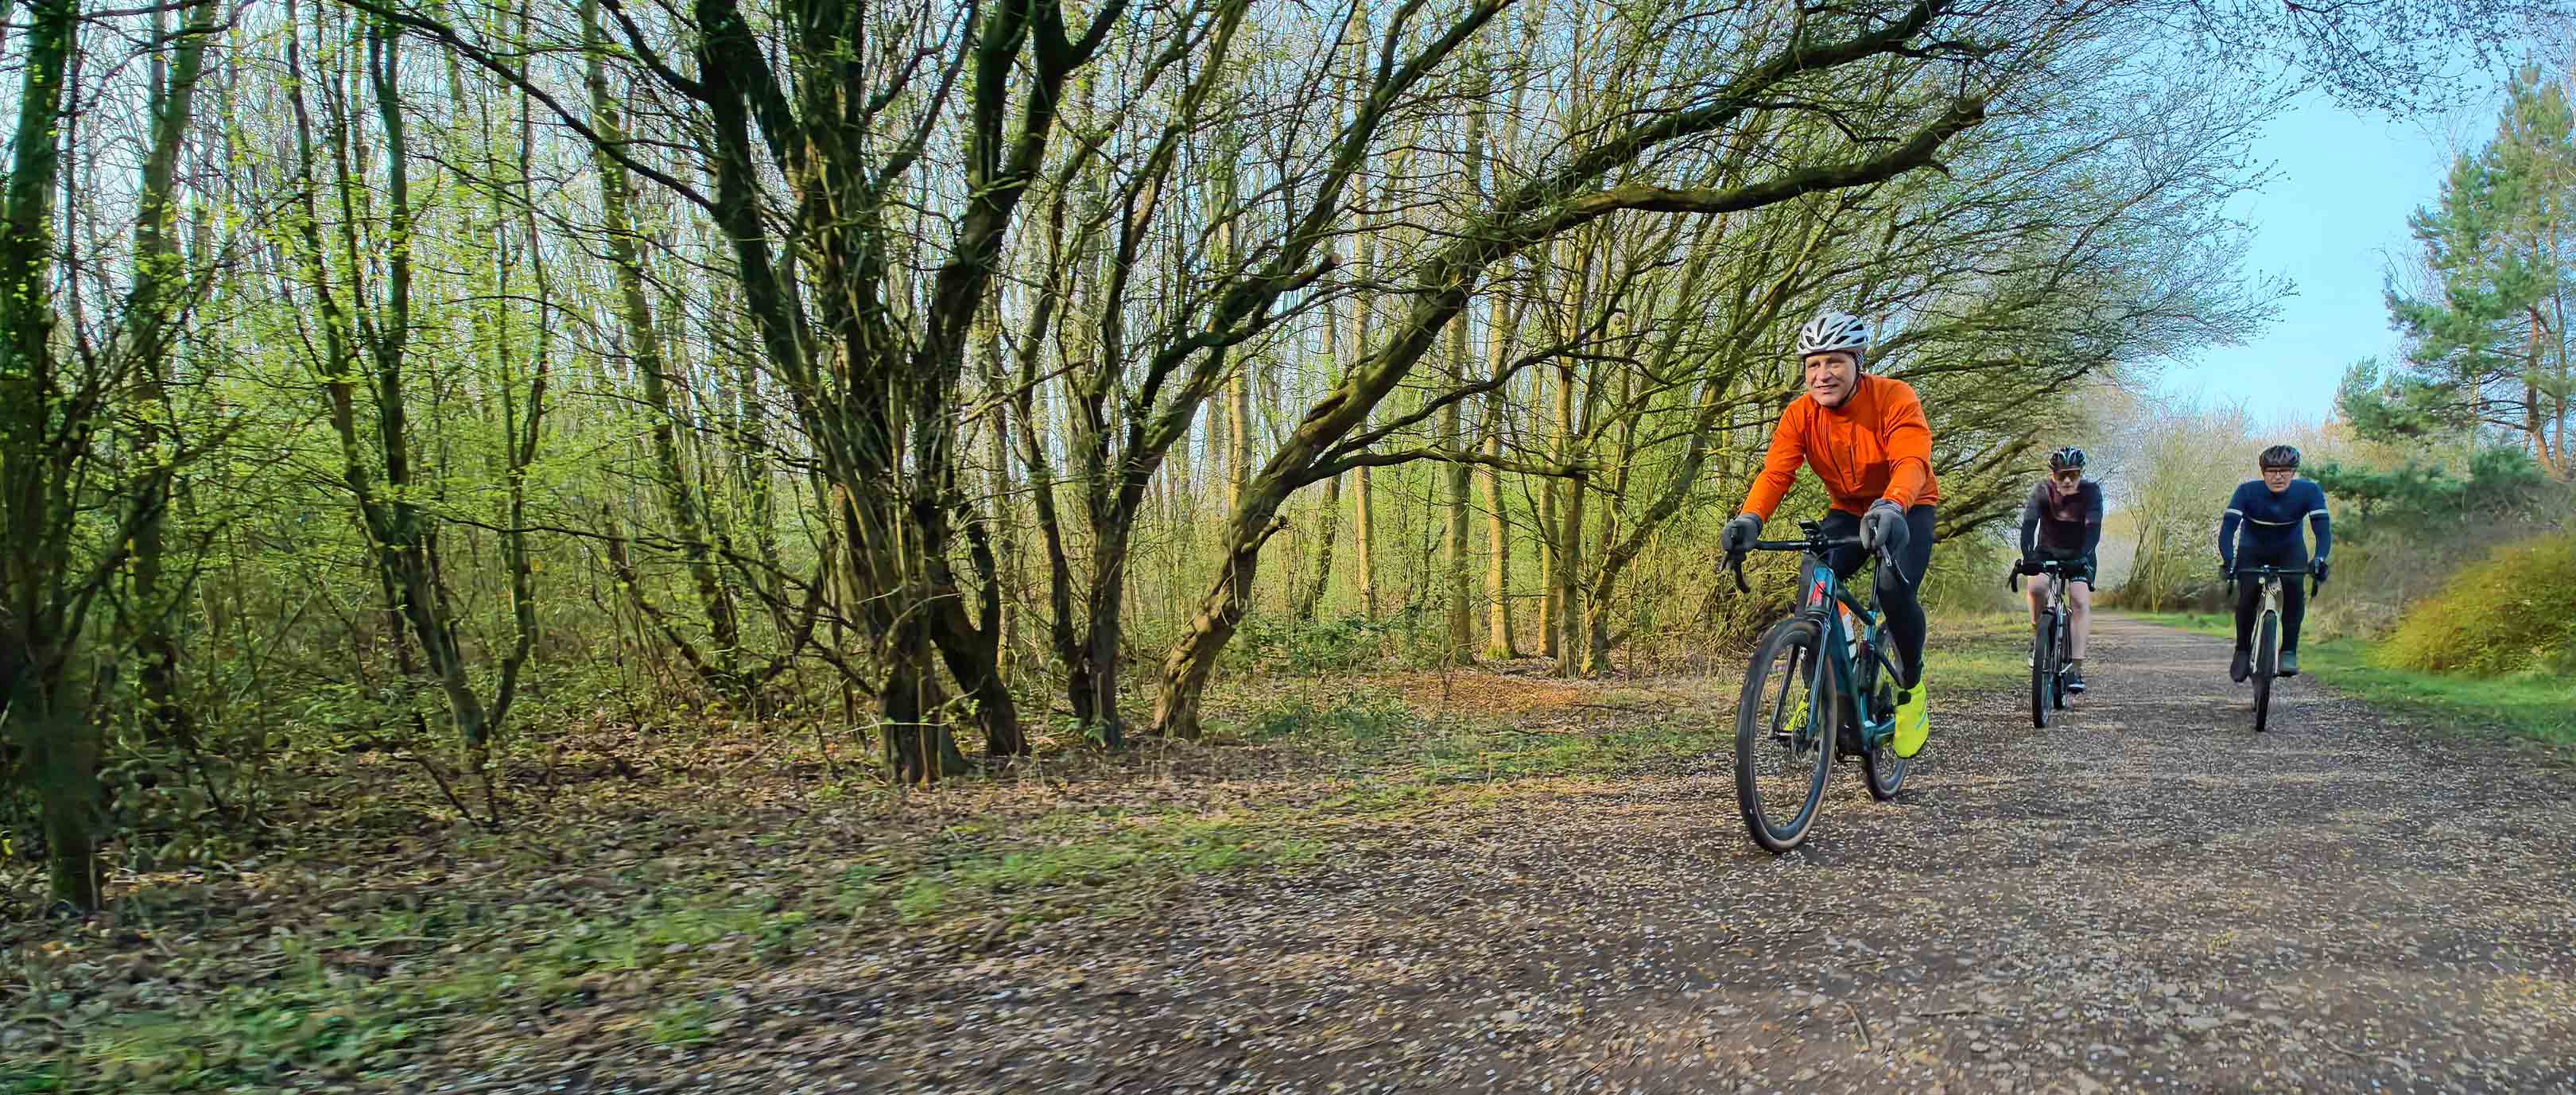
Original shot with my palm in it
Cropped final version of the image
There are a few downsides of using the OA6 as a stills camera, though, particularly from a gravel rider’s perspective and the biggest of these is ergonomics. The shape of the OA6 means that if you’re shooting handheld with the camera pointing backwards, trying to capture the faces of the riders behind you for example, the OA6 sits a little awkwardly in your hand. In almost every shot, I managed to capture part of my palm in the shot, which required some subsequent cropping to clean it up. The biggest issue I had, though was the shutter button – it sits very flat to the body of the camera and it’s not tactile enough to be able to confidently hit it every time. If I was going to use the OA6 mainly as a stills camera, I would definitely buy an external cage fitted with a mechanical shutter release button – this would improve the fit of the camera in my hand and would make taking shots more intuitive. The downside of a cage is the extra cost and additional weight.
My final comment when it comes to using the OA6 for stills was that there was more shake in some of the images than I had expected. In this shot above, the light wasn’t all that great, but the camera was set to automatic settings and it chose a low aperture (to let in as much light as possible) and a relatively high ISO, but it also set a slow shutter speed of 0.6seconds, so the finished shot was blurry and out of focus. Considering how large the sensor is, I was a little surprised that the camera hadn’t adjusted the settings to match the dull light, to try and produce a crisper image.
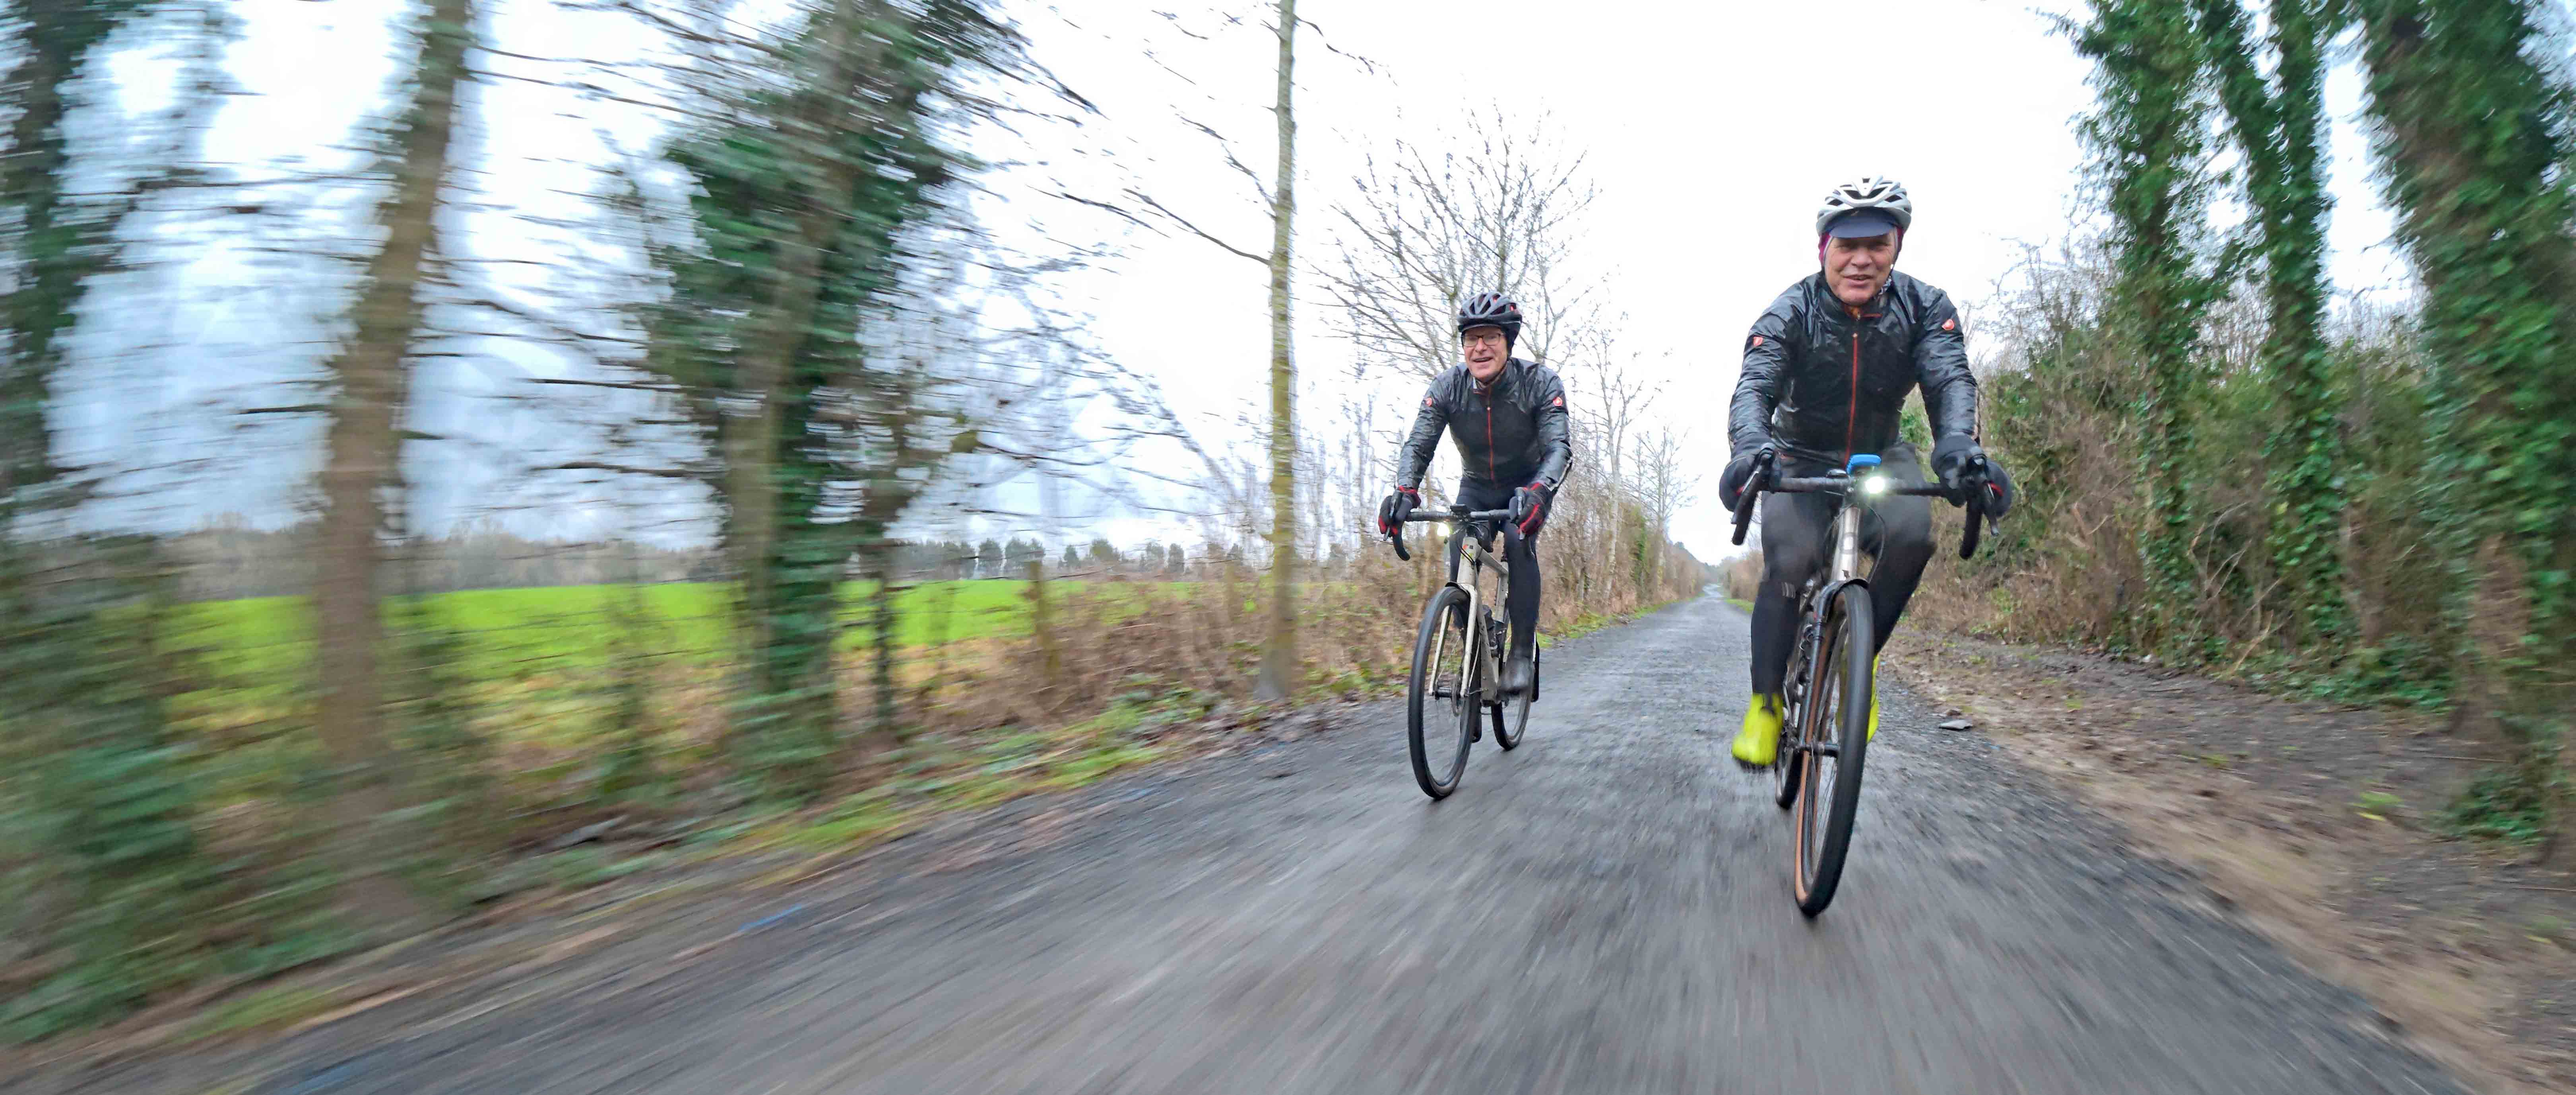
The flip side of my criticism is this shot. It was belting down with rain and we were riding pretty swiftly to try and keep warm. When I set off for the start of the ride, the conditions were better, so I’d fitted an ND8 filter to the front of the lens. By the time I took this shot, the conditions had deteriorated and the ND filter was now too dark for the conditions. Miraculously, the OA6 created some beautiful motion blur and came up with something really captivating, even though I had essentially set it up incorrectly. For all the occasions where a slow shutter speed gives you poor results, other times the camera gods smile at you.
My overall impression of DJI’s Osmo Action 6 is that I’m super impressed. As a video camera, the durability and weatherproof-ness, the incredible detail and colour of the footage, the surprisingly good quality of the audio and the impressively long life of the battery mean it would be a no-brainer to take on a gravel riding or bikepacking trip if you have the budget. As a stills camera, I was slightly less enamoured, but with the addition of an external cage and some practice to perfect the settings for different light/weather conditions, then it would work super well too.
The DJI Osmo Action 6 starts from £329 (or equivalent local currency). You can find more details on DJI's website.