Winter for gravel riders can be tough. Temperatures plummet, trails become camouflaged under a layer of slop and daylight practically disappears. It would be easy to just wrap your gravel bike in a dust sheet and hibernate indoors until the spring. But there is a better way! With a decent set of lights and a bit of planning, there’s a whole world of after-hours gravel adventures out there waiting to be discovered. Read on for our best tips and inspiration.
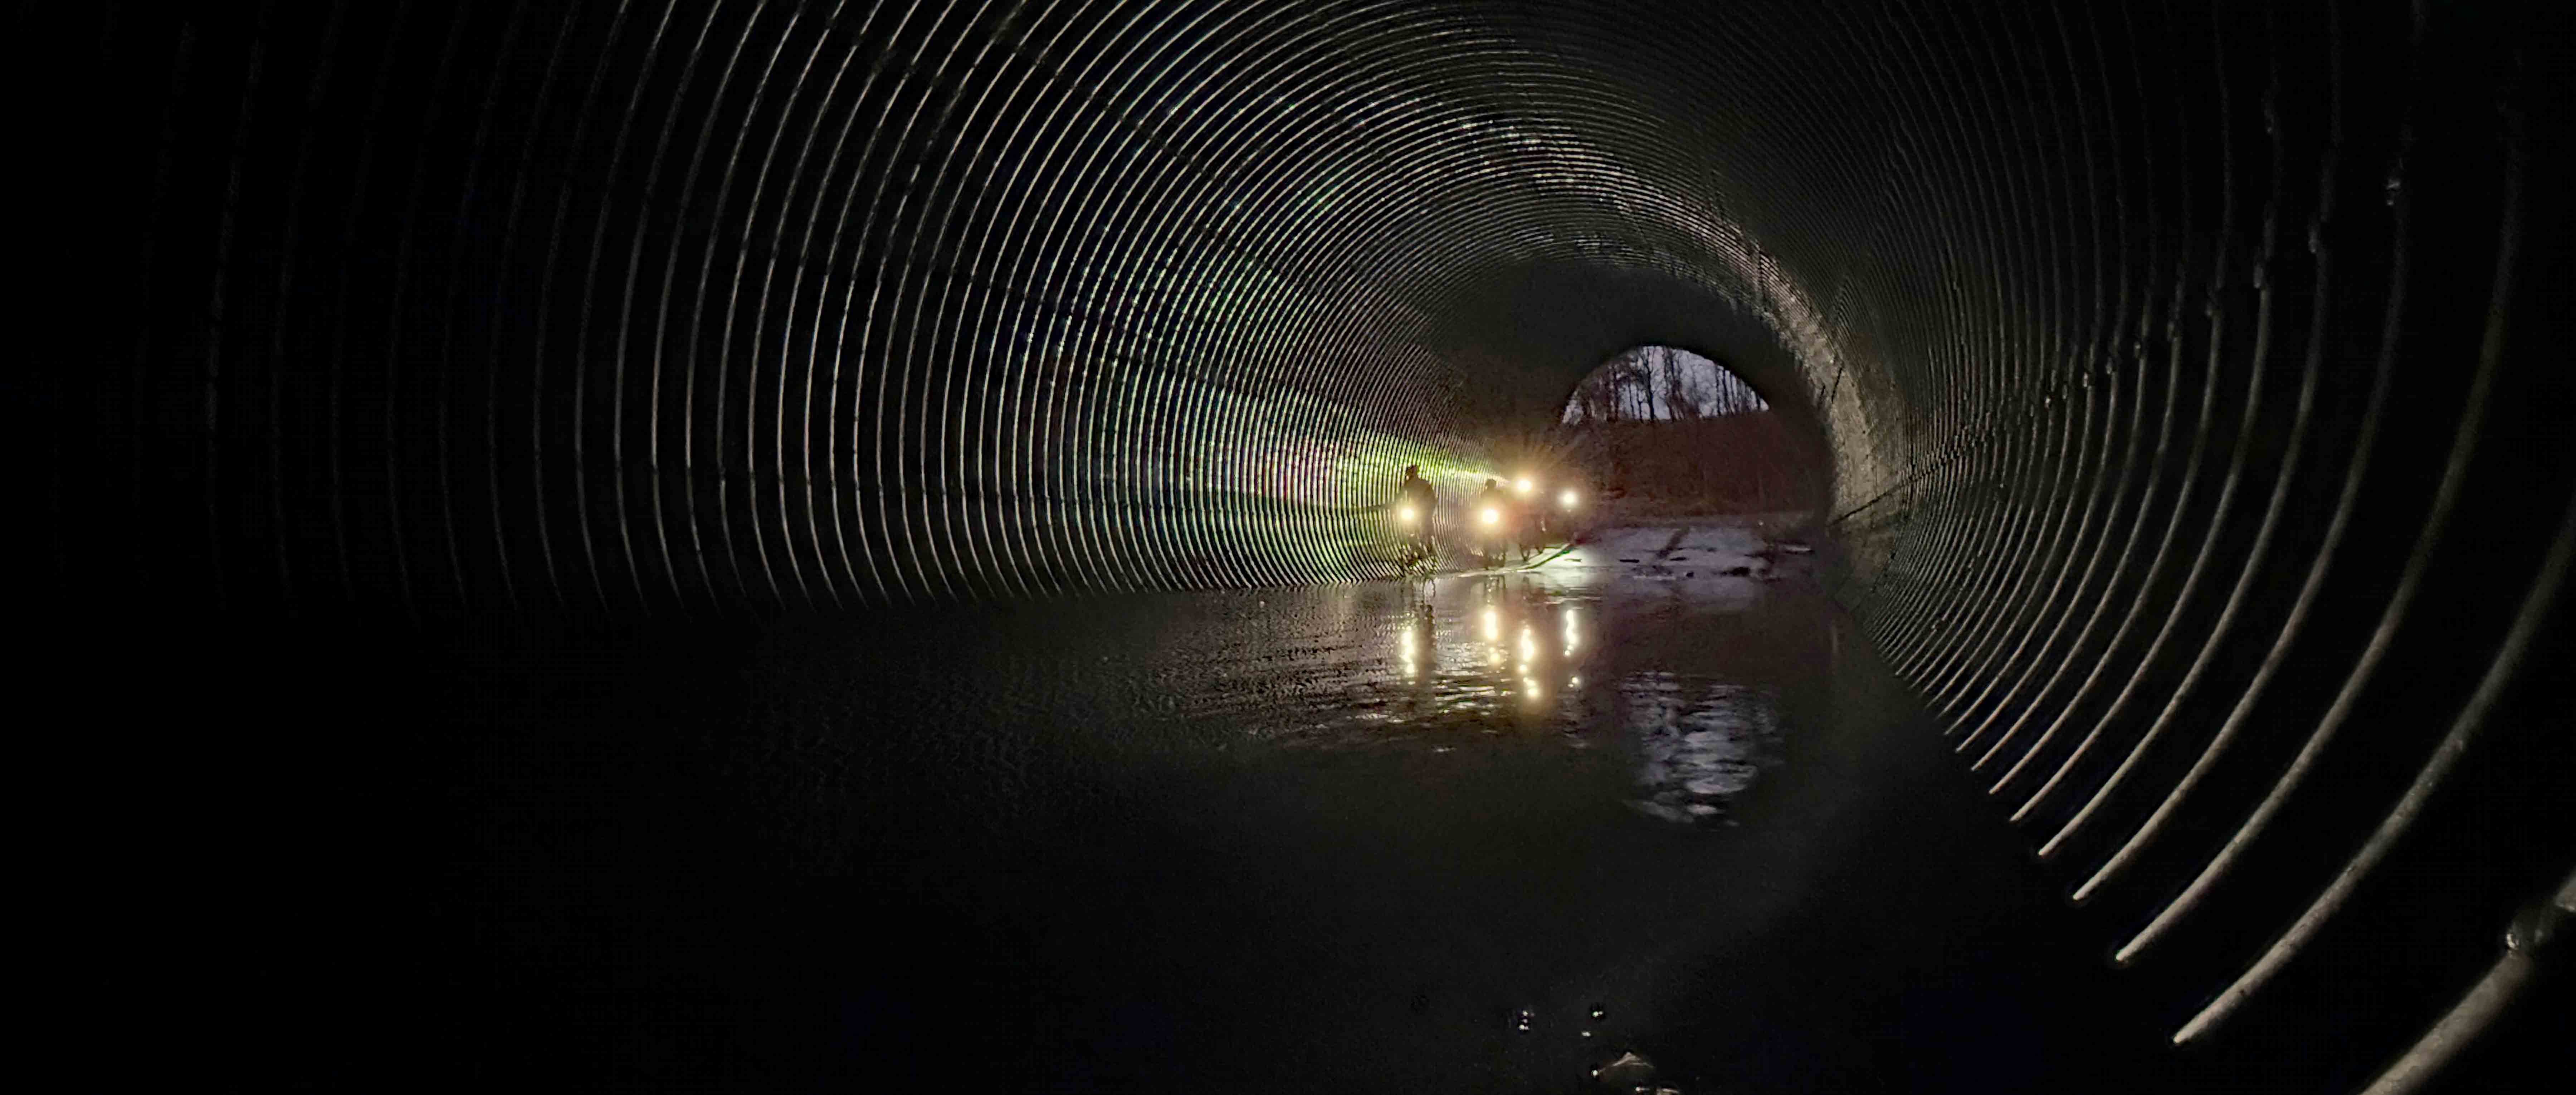
The first time you try it, nighttime gravel riding feels slightly naughty. It’s as though you’ve gone through the wardrobe and discovered a gravelly version of Narnia. When the majority of the world are indoors slumped in front of the TV or doom-scrolling on their smartphones, you’ve somehow escaped into a different world. No matter how many times you try it, there’s something magical about experiencing the trails after dark. Even when you’re riding a route you know well, the absence of daylight adds a whole new twist – it can brighten up dull trails (pun intended) and add some sparkle into your weekly routine.
"You don't need eyes to see, you need vision"
You will notice immediately the lack of light, but it’s surprising how fast your body adjusts. Your other senses seem to increase their perceptive levels and your hearing, touch and smell all appear to be subtly boosted to make up for the diminished visual stimulus. The lower light levels are actually one of the major appeals of riding at night. In the same way that your first gravel ride gave you a tingle of excitement as you headed off down an unknown trail, your first night ride will do something similar. Your experience will be entirely different to a ‘normal’ day ride – interactions with wildlife increase, trail features that you might be able to ignore in daylight will require your undivided focus, even something as fundamental as time seems to pass at a different rate.
“If this has sparked your curiosity about trying a night ride, you really only need three things: a bike, some lights and a few friends.”
You generally don’t have to modify your bike specifically for riding after dark - just make sure it’s mechanically sound and that you’re carrying the usual tools and spares. Few things kill the mood faster than attempting major repairs on the side of the trail armed only with a multi-tool. Lights are essential, but you don’t need top-of-the-line gear for your first outing. As long as your front light is bright enough to clearly show the trail ahead and your rear light makes you visible to others, you’re good to go. There are plenty of details and exceptions to consider, which we’ll cover later. And finally, bring along some friends. You can absolutely ride at night on your own - many people do, either by preference or necessity, but like most bike adventures, it’s usually more enjoyable when shared with others.
Start small
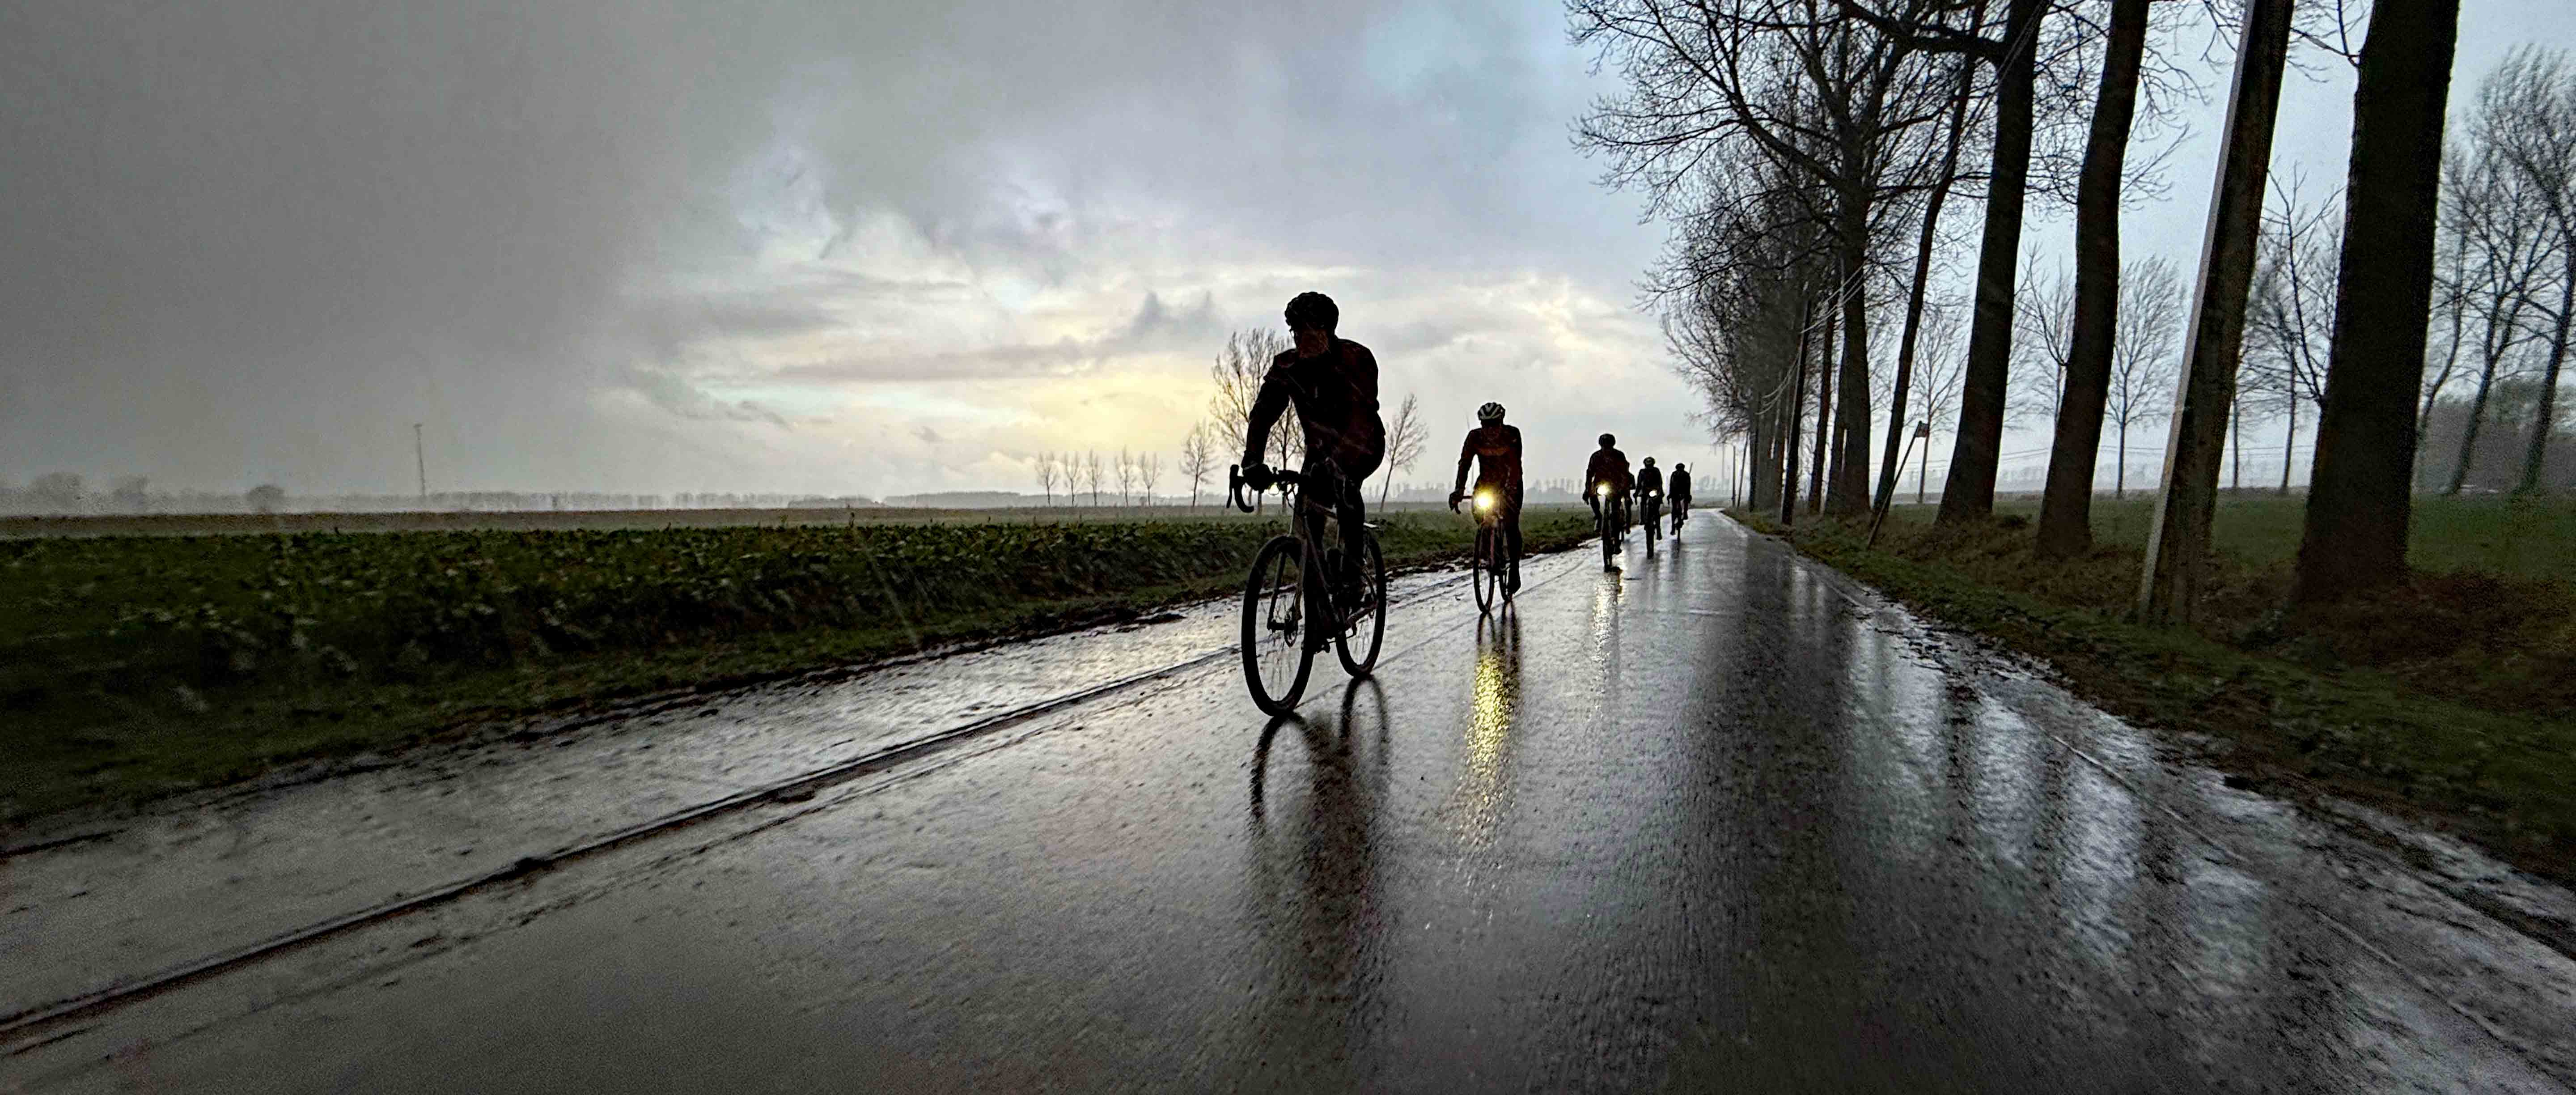
For your first ride, we would offer two bits of advice – keep your route short (and well known to you) and set-off with some daylight remaining, rather than starting off in the pitch-dark. The logic for doing a route you already know is that it’s surprisingly easy to get disorientated when riding off-road at night – even trails you know super-well ‘feel’ completely different. Distances seem to compress/extend differently to riding in daylight and you’ll find everything feels one or two notches harder than it does compared to daytime riding. This will of course be exacerbated by the fact that the trails are likely to be wet/slippery/semi-frozen/muddy. Your grip levels will have decreased just as your judgement has also slightly diminished, so taking it easy and staying local for your first ride will pay dividends.
Urban exploring
As the city starts to wind down and the office workers head home, urban riding can offer you a whole new playground to explore. Sure, it's not "real" gravel, but there's the same sense of adventure and you'll probably get just as big a buzz from discovering a previously unknown cobbled back lane or from 'cleaning' a set of concrete steps as you will from riding through more rural areas. There's something fun about riding through areas not normally considered to be the domain of cyclists. You'll spot quizzical looks on the faces of restaurant patrons enjoying dinner as you ride past. Pub goers and night clubbers may well comment on your dress sense or your sanity in choosing to head out on your bike, rather than following their hedonistic existence. With some careful route planning, some urban gravelling adds the perfect dollop of novelty into your night ride. Sure, we probably wouldn't choose to just ride in the urban jungle, but it adds something different to your standard ride experience.
Going big
Hopefully your first couple of nightrides will be a success and you’ll be hooked. That’s when you’ll start looking for bigger adventures – longer rides, more remote locations, more technical trails. Or all three combined. Once you’re ready to ‘go big’ on your nightrides, you will need to do more planning and preparation:
- The buzz from riding an unknown trail at night is even greater than during the day, but the risk of getting lost is exponentially higher too. If you have a well-developed mental trail map and a decent bike computer, it’s pretty easy to follow your nose without it going horribly wrong, but it’s very situation specific. Riding a ribbon of new-to-you woodland singletrack is very different to trying out a hilltop trail which heads out across unknown moorland. It’s probably best to stick mainly to a pre-planned route, but then sneak in small sections of interesting looking new trail when/if appropriate. Always let someone else know where you’re going and consider sharing your real-time/live location with a loved-one if you’re going to be solo nightriding.
- Hazards like a fallen tree, a puddle of unknown depth, a drop/step-down in the trail or wildlife encounters can appear out of nowhere. Even with the best lights, your vision will be dramatically reduced, so be sensible with your speed and remember to communicate potential hazards clearly with your ride buddies so that they know what’s coming up.
- Appropriate clothing and emergency kit is even more critical at night than it is when you’re riding during the day. If something goes catastrophically wrong and you need to call the emergency services you will be in for an even longer wait at night than you might during daylight hours, so it’s essential you are appropriately dressed and are carrying kit to deal with emergencies. It sounds obvious, but it’s likely to be significantly colder at night, so add an extra layer or two to your normal riding kit.
Quality not quantity
Your single biggest investment if you’re going to be a regular night rider is likely to be lights. In the mountain bike nightriding world there is somewhat of an arms race by manufacturers to create ever-brighter offerings. If you’re about to fling yourself down a cliff face, get your wheels clean off the floor or ride some super nadgery singletrack then fitting the brightest light you can lay your hands on probably makes sense. If your night riding career is heading down the gravelly trail instead, then you should look for a couple of things when selecting which lights to invest in – battery longevity and illumination quality.
"If your rear light is so bright that passing aircraft can pick it up, think about turning down the intensity when you’re riding away from traffic."
Particularly when you’re riding in a group, having the world’s brightest lights won’t be all that useful and will also likely aggravate your riding buddies. If you ride behind someone and you have significantly brighter lights than they do, their shadow (created by the throw from your lights) will end up being so intense that it will diminish the output from their lights and actually make their night vision worse. This equally applies to rear lights – if your rear light is so bright that passing aircraft can pick it up, think about turning down the intensity when you’re riding away from traffic (or ride at the back of the group so that you don’t blind the riders behind you).
Accessorising your gravel night rides.
If you’ve just splashed out the cash on a swanky bar-mounted light, you might think you’ve spent enough already, but there is one vital addition to include in your night riding shopping basket – a rear light. Not only is this a legal requirement (assuming your route includes some public roads), but it’s a common sense purchase. Rear lights come in many flavours, with everything from cheap and cheerful up to super high-tech. If you buy one of the brighter lights on the market, remember to turn down the intensity when riding off-road in a group to avoid blinding your fellow riders!
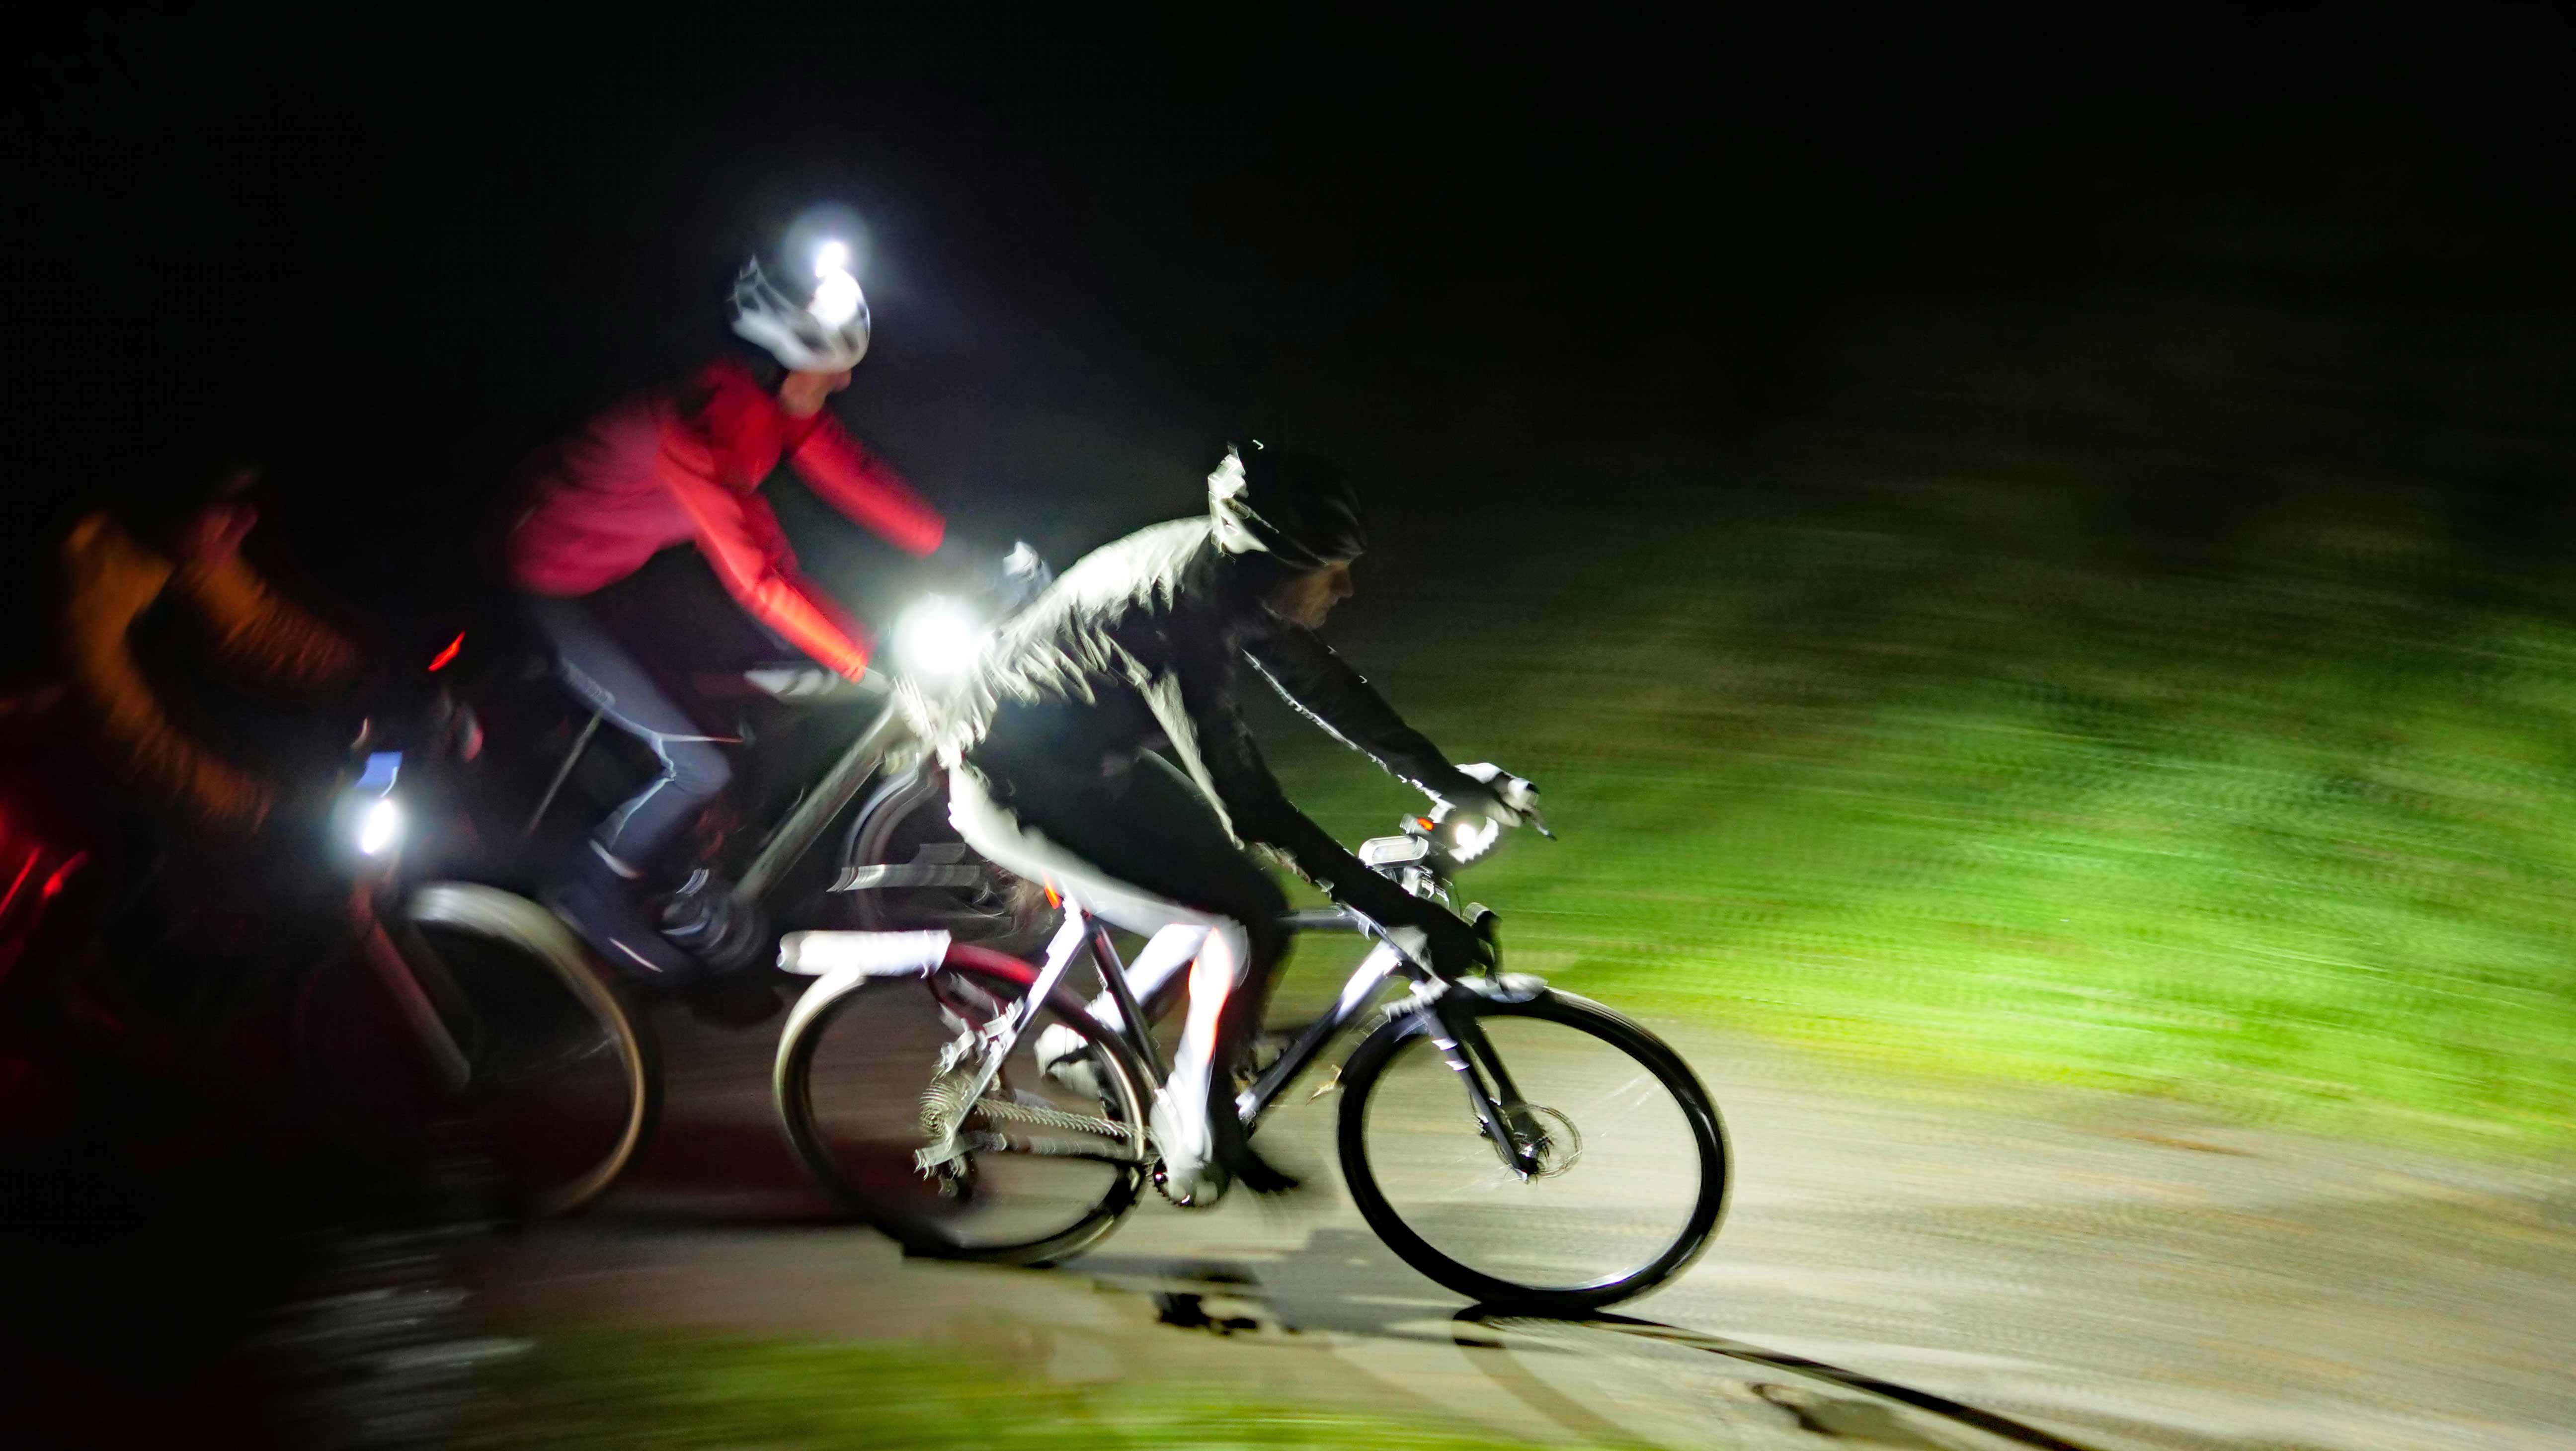
Experienced night riders (and those with deeper pocket) will often run a double front light set-up – generally a larger/brighter light fixed to their handlebars and a smaller/lighter one mounted on their helmets. The bar light will do a great job of illuminating the trail in front of you and your headlamp will light up whatever you’re looking at. Two lights also helps increase your 3D vision at night and will improve the way you ‘read’ upcoming hazards. If you go for a bar mounted light only, you might find you struggle on more technical trails, particularly those with frequent changes in surfaces and gradients. Helmet lights don’t need to be as bright as bar light and consequently, they are generally lighter and cheaper. We’ve had positive experiences with Knog’s Blinder at the lower end of the budget scale and Exposure’s Joystick lights are the absolute ‘Go To” at the top end of the price range.
All's well that end's well
Gravel night riding can be different things to different people. For some people, it's a chance for a bit of 'me time' in a busy world. It might be your chance to escape from a hectic work/family life for a few hours. It could be your chance to fit in some extra training for an event you're planning on taking part in. But for the majority of night riding fans, the social aspect is the real reason we do it. There's a great feeling of everything being ok with the world again when your carefully curated route takes you past a local pub/coffee shop/favourite cycling friendly cafe. You might get some strange looks from the non-cycling regulars, but a post-ride drink with your friends while you reminisce about the adventures you've just had is the perfect way to finish a night ride.

What's next?
In Part Two of this story, we're going to showcase three handlebar mounted lights from different price points. We'll discuss the pros and cons of each and give you our tester's honest opinion of which one gives you the optimum set-up for your cash.