Bar tape is one of those components you rarely think about. It wraps your handlebars. It adds a bit of comfort and grip. It gradually gets grimy. It usually ends up scuffed if you crash. Wrapping it can be a little fiddly — at least until you've had some practice. Chances are, you've been buying the same bar tape for years without giving it a second thought. But what if there is a better alternative? When a pack of Seido’s TAB bar tape arrived for testing, Olly decided it was time to break out of his familiar routine and see whether trying something new could make a noticeable difference.
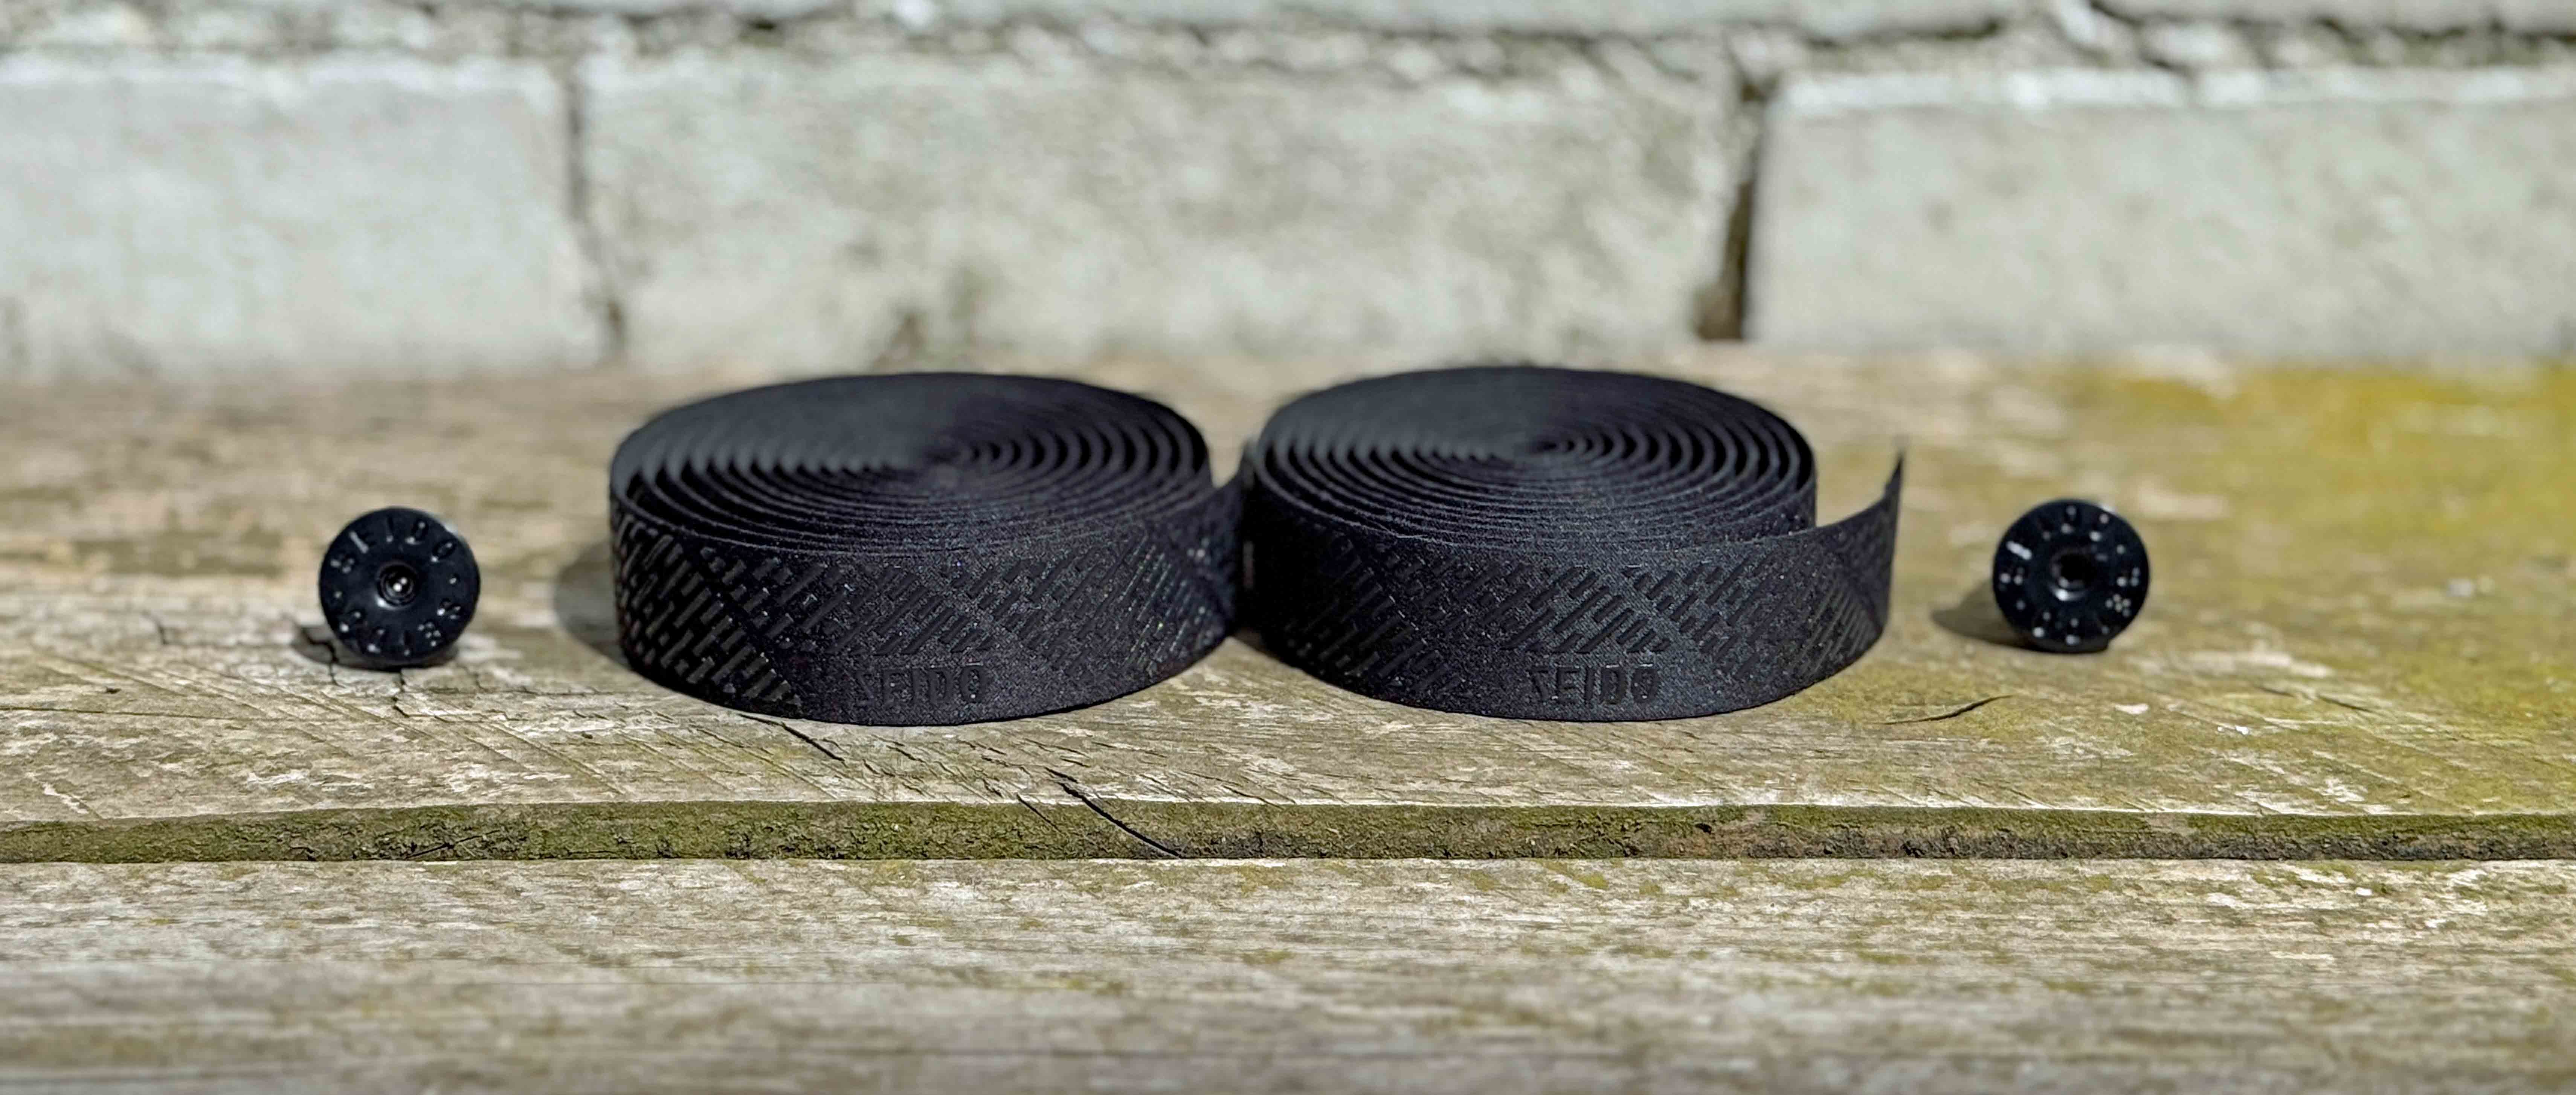
I’ve probably used the same make and model of bar tape for at least a decade. I’m fortunate enough to have more than one drop-bar bike and until now, each one has been fitted with the same bars and the same bar tape. My logic was that trying to make each of the bikes feel the same would mean I could swap between them more easily. It also meant that if I was testing components for work, I could 'tune out' as many variables as possible. So, what would it feel like to have something different on my bars? Was the change so subtle that I wouldn't even notice the difference, or would it suddenly make my favourite gravel bike handle like a barge?
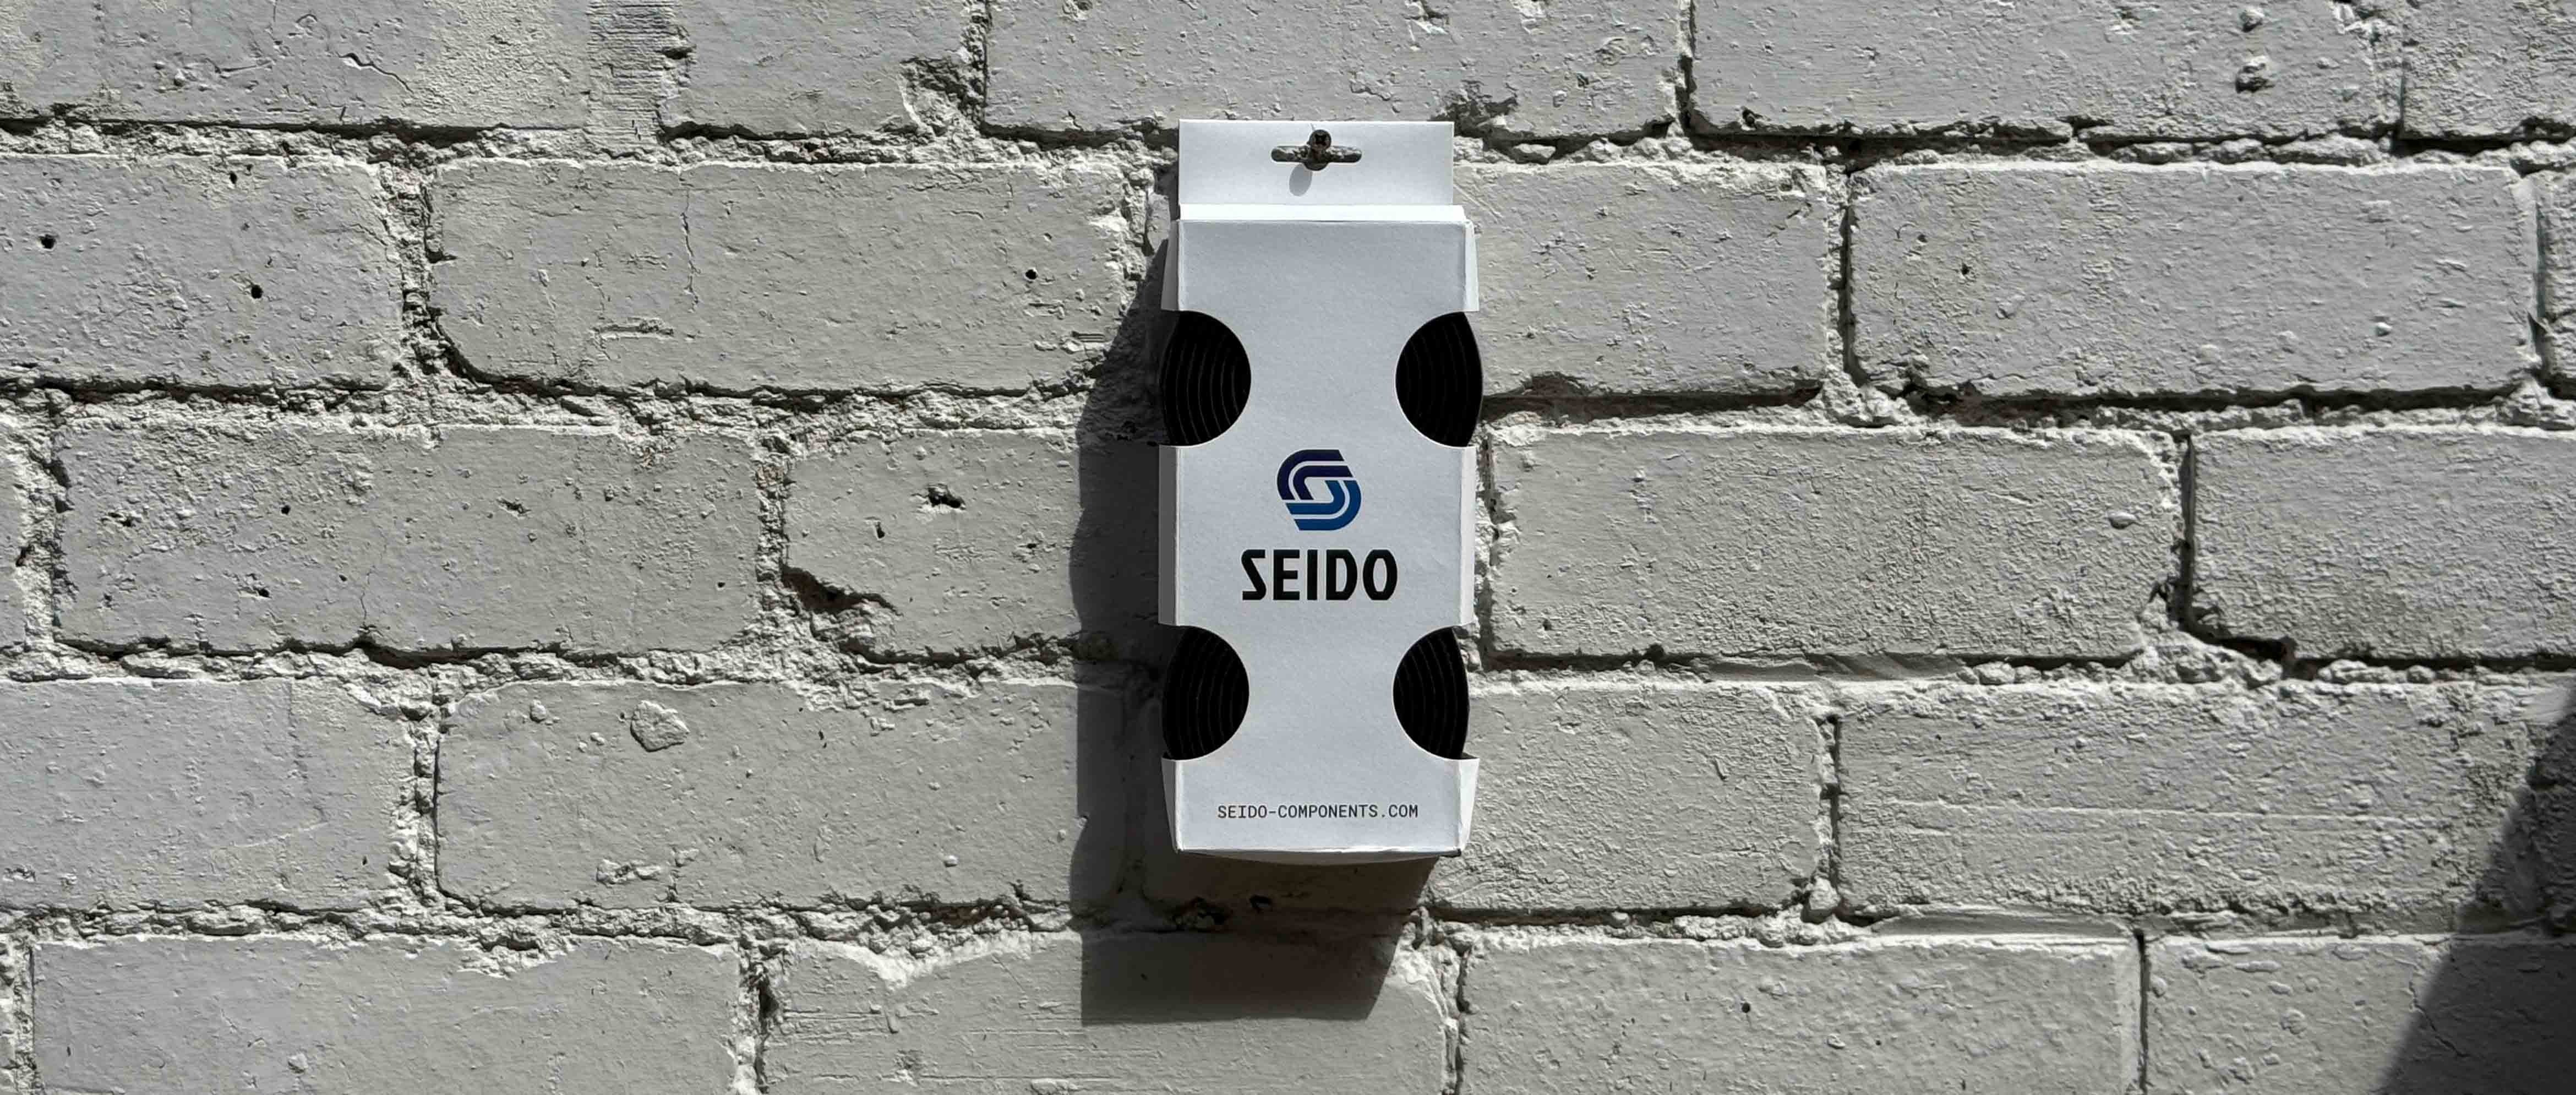
Seido might not be a brand that you’re familiar with. Seido (apparently pronounced Sigh-dough) is a Japanese word which means precision or accuracy. They are part of the Bombtrack family and make a range of aftermarket bike components. Seido say that their TAB bar tape “features a unique fabric texture with a grippy silicone print” and that it is “uniquely breathable, performing great in both warm and cold climates.” With most of Europe in the grip of a heatwave, trying out a set of bar tape which claims to “wick away moisture ensuring grip when the rider's hands are sweating, or if caught in the rain” sounded ideal. The TAB bar tape comes in two thickness options, 2.7mm and 3.8mm, and three colour options – black, olive and dark brown. No matter which option you choose, the tape’s surface is impregnated with a “tactile silicone print which makes sure that the hands will stay glued to the bars in all conditions and on all surfaces, even with the harsh vibration that comes with riding on rough terrain.” The tape comes in a standard 230cm length and for anyone interested, it weighs around 100g.
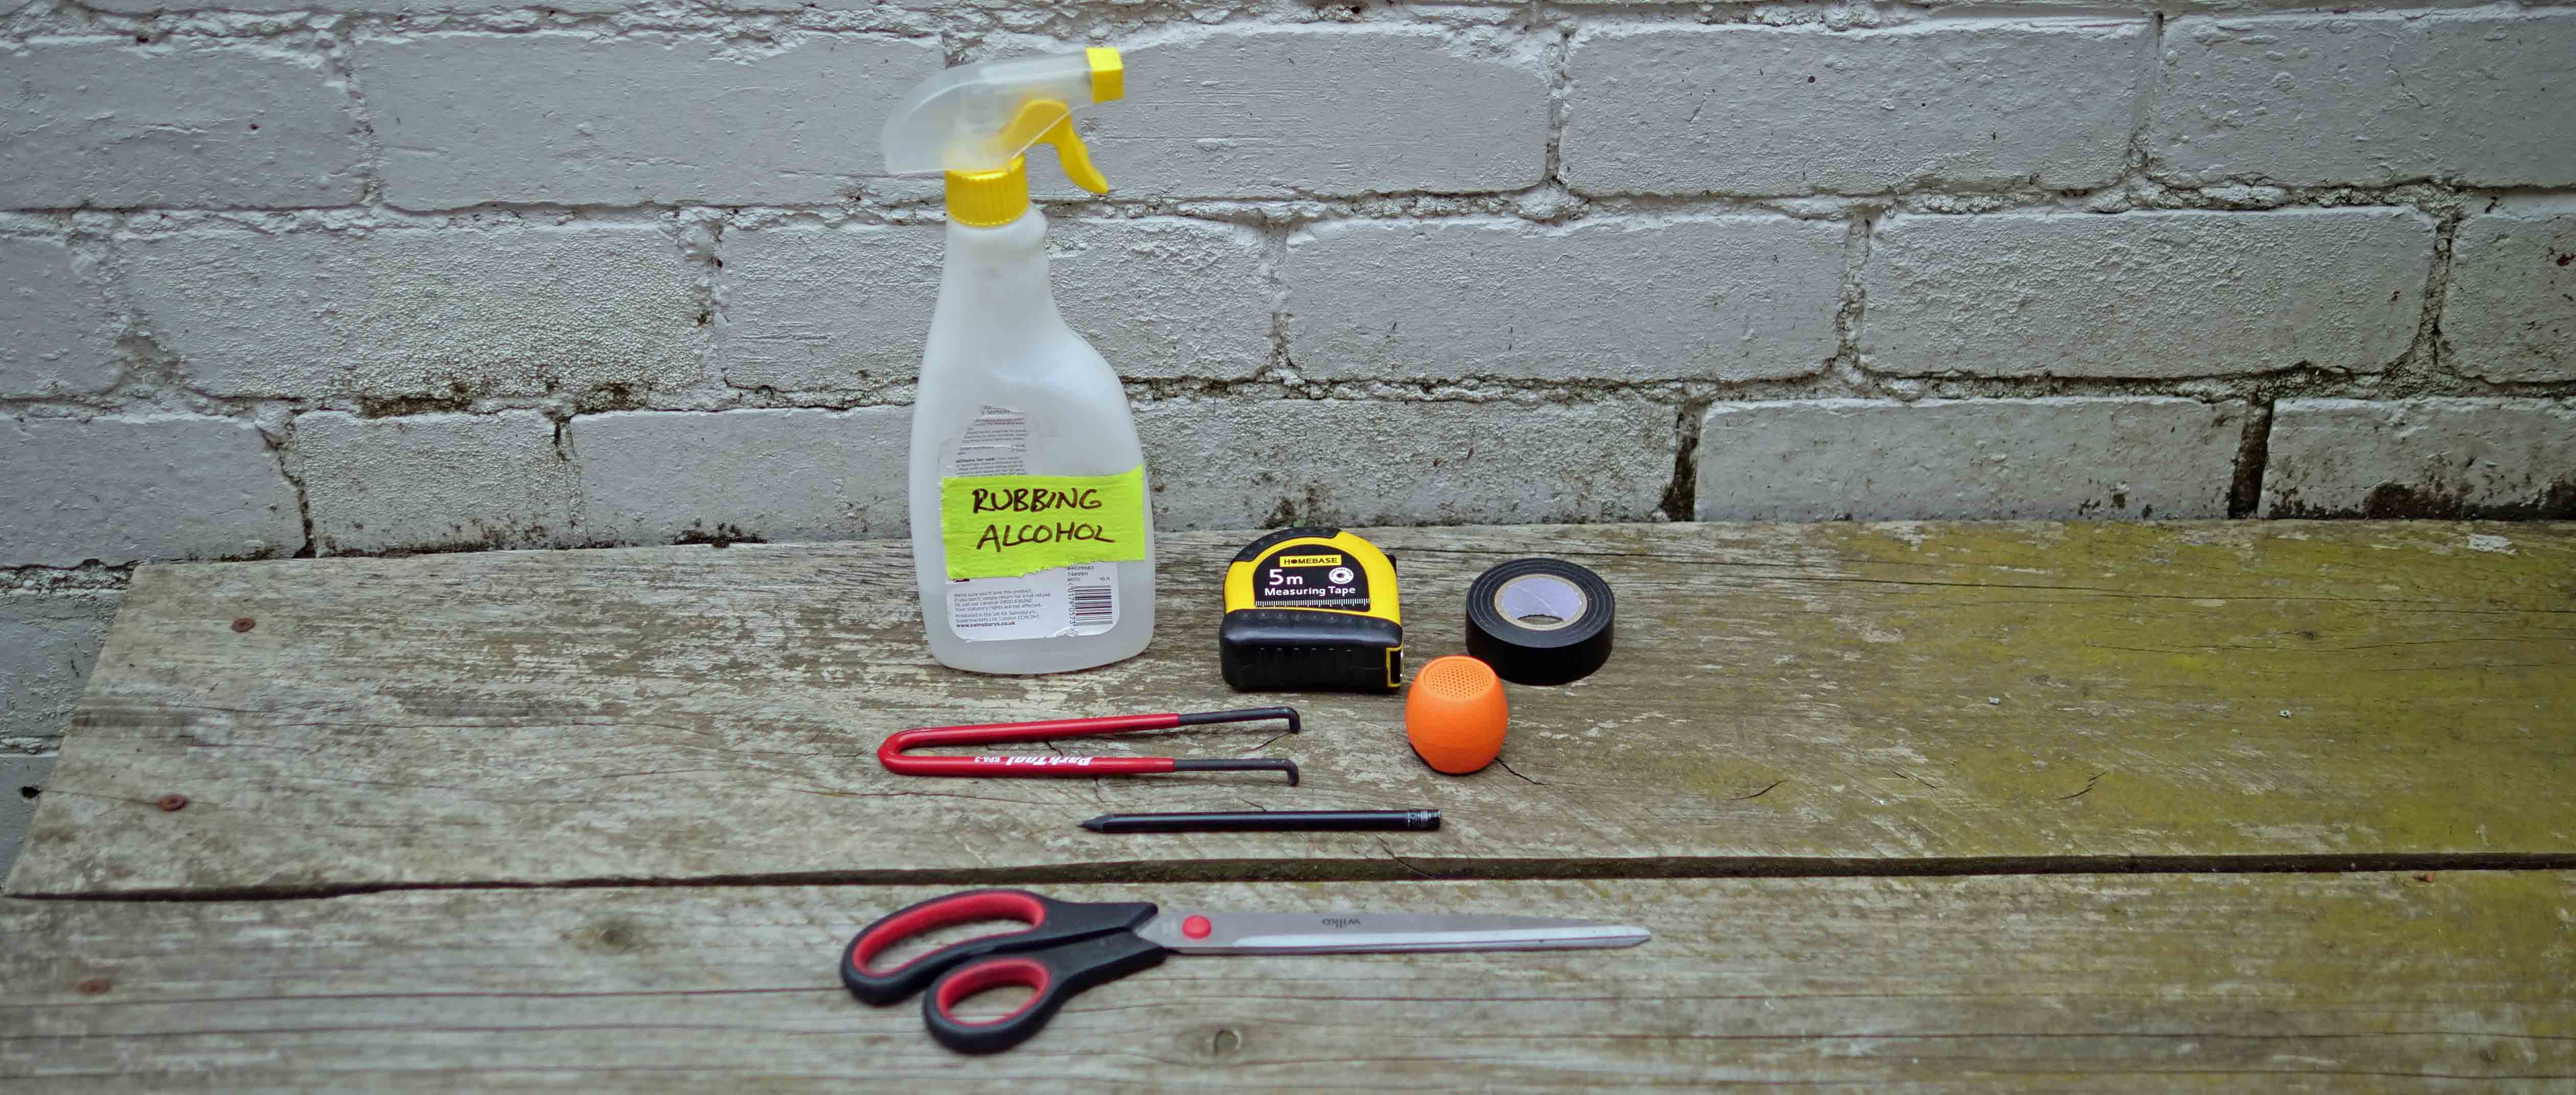
Replacing bar tape isn’t a difficult job, and most competent home mechanics should be able to do it, but there are a few key tools you’ll need and a few tips/tricks to make the process simpler and more stress-free. From a kit perspective, you’ll need some decent-quality scissors, some electrical tape, a tape measure, a pencil, some rubbing alcohol (or alcohol wipes of the type you might find in a first aid kit) and for most people a small flat-head screwdriver or a plastic spudger tool. I also add a Park Tools pin spanner and a small Bluetooth speaker, as having some decent music playing in the background always makes bike maintenance more fun. It’s worth checking out Park Tools’ excellent video guide to wrapping bar tape before you start.
I always start the process of re-wrapping bars in the same way – Remove the push-in end caps (using your flat-head screwdriver or spudger tool if they’re a tight fit). Peel off the old tape (including any tatty-looking existing electrical tape holding your cables/hoses in place). Give the bare bars a quick wipe with some alcohol to remove any old traces of adhesive. If you’re as pedantic as I am, decide where you want your bar tape to finish and draw a line with a pencil, measuring accurately to make sure both sides are the same. Fit new electrical fixing tape if necessary to hold your hoses/cables in place.
I wrap my bars the traditional way, starting at the ends and working upwards. I always wrap outwards, so that your natural wrist movements as you ride will help the bar tape to tighten up as you go. The TAB tape doesn’t have as much stretch as some other bar tapes, so you will need to take your time in order to avoid wrinkles and to get the wraps as even as possible. Getting the figure of eight correct around the shifter takes some practice, but the Park Tools video explains really well how to do it. Finally, as you get towards the end, use the pin tool to hold the end in place while you cut the tape appropriately and then finish the wrap with a couple of twists of electrical tape. There were a couple of pieces of finishing tape included in the box with the Seido bar tape, but it was too thick/inflexible for my taste, so I stuck with my default electrical tape wrap. Slightly controversially, I always apply my finishing tape with a small gap from the end of the bar tape, rather than at the very end, which is the normal fashion. Also included in the box were some high-quality screw-in bar end plugs (for which you will need a T15 Torx tool), but as I run a Di2 junction box in one end and a bell in the other end, I didn’t use them.
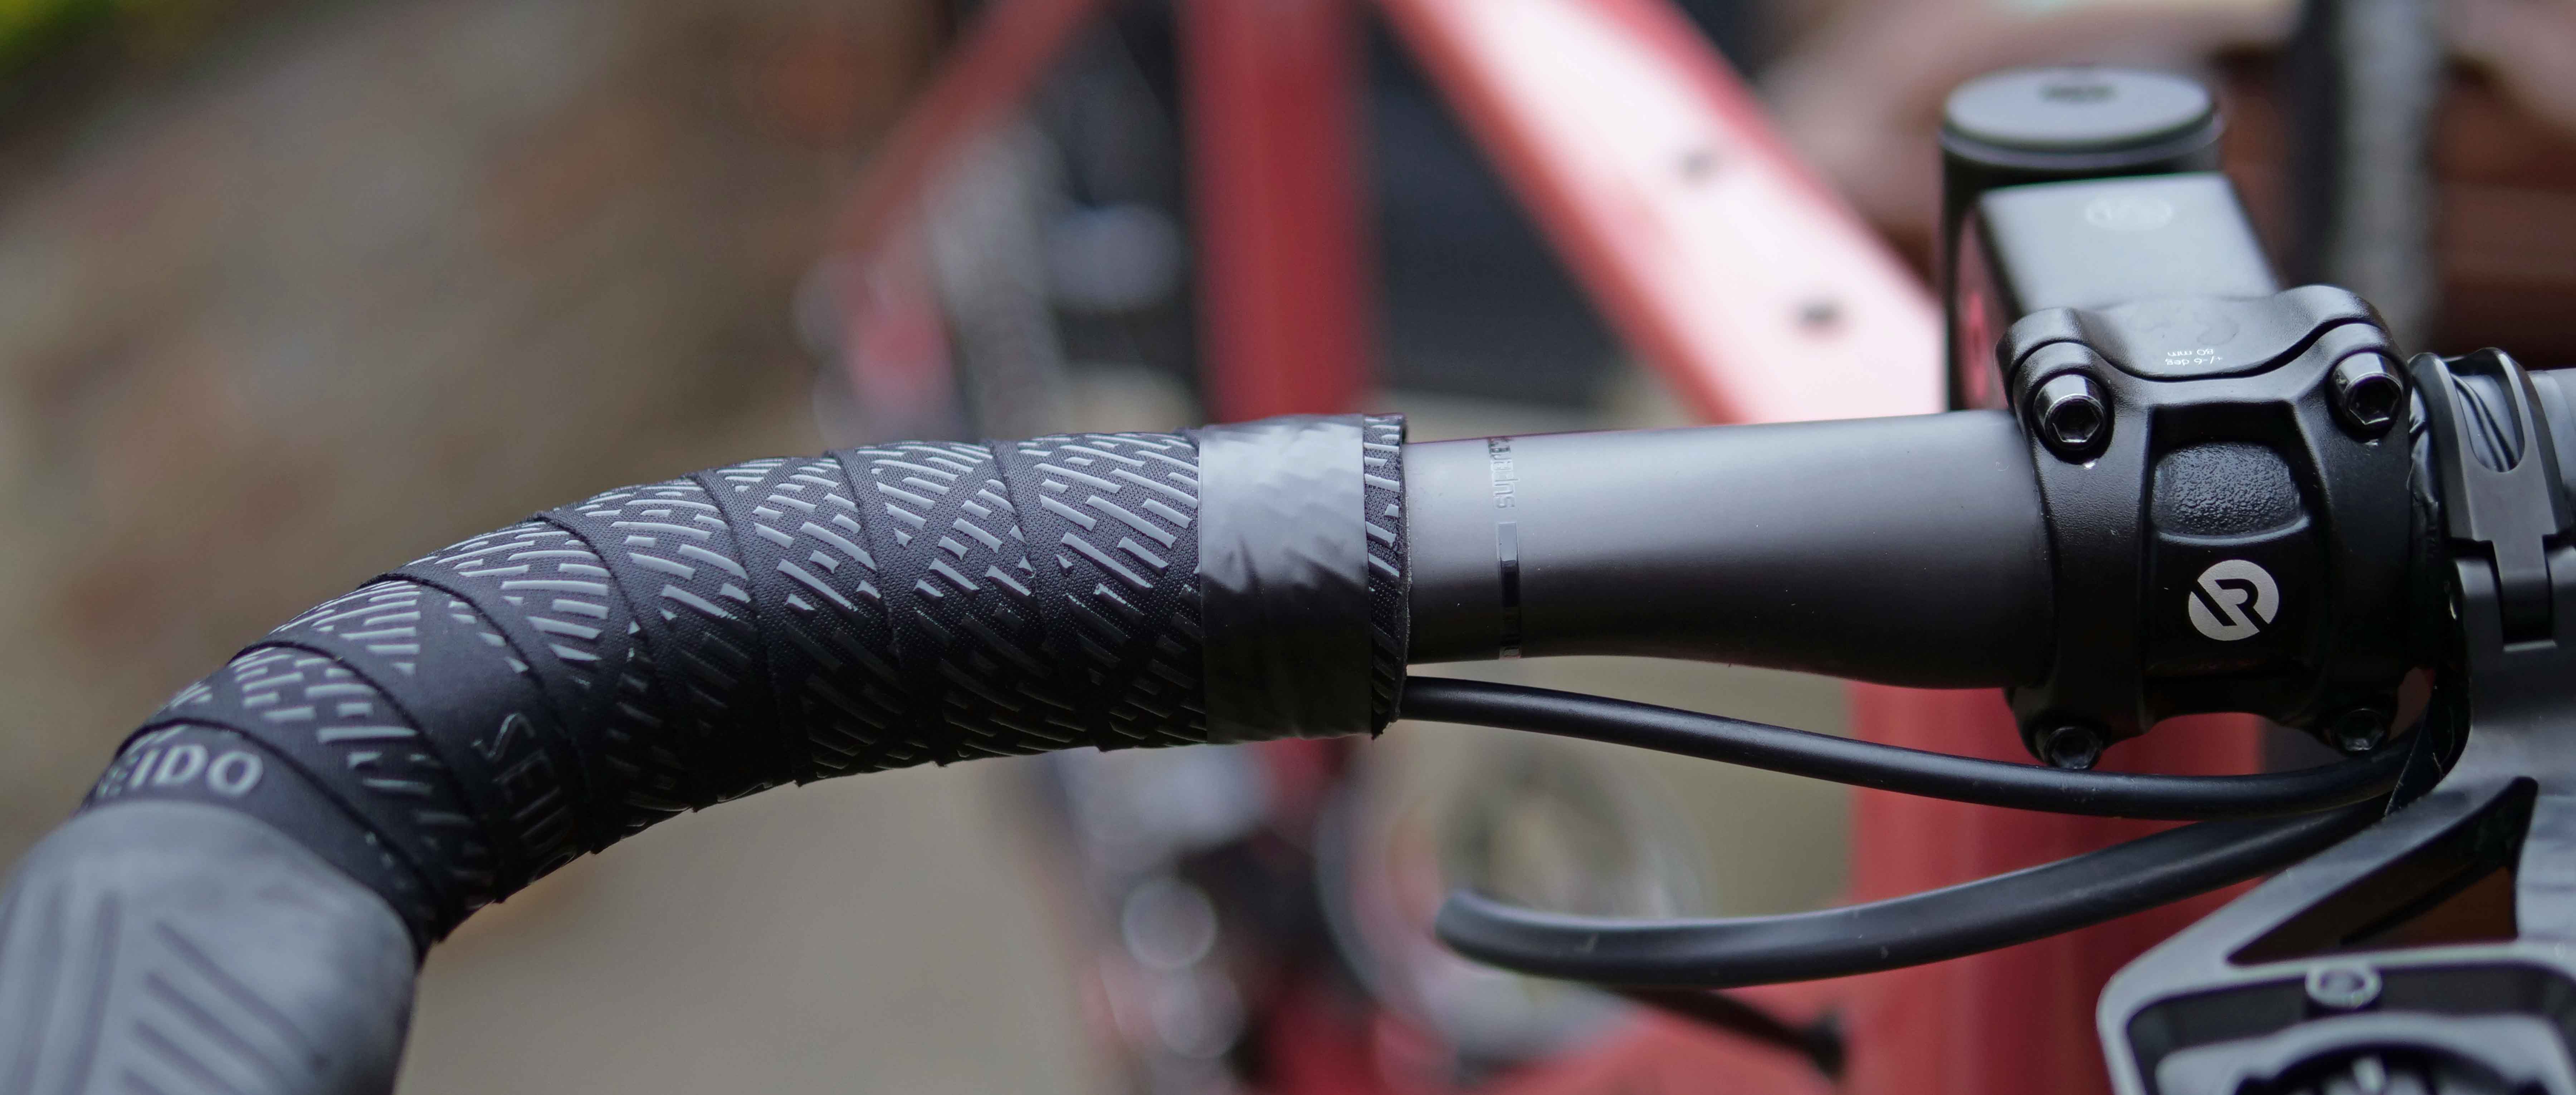
With any luck, your finished bar wrap will look something like this. The black colourway perfectly complements the cockpit on my bike and the subtle silicone print looks classy rather than tacky. The silicone catches the light nicely, which is a real boon for a photographer too.
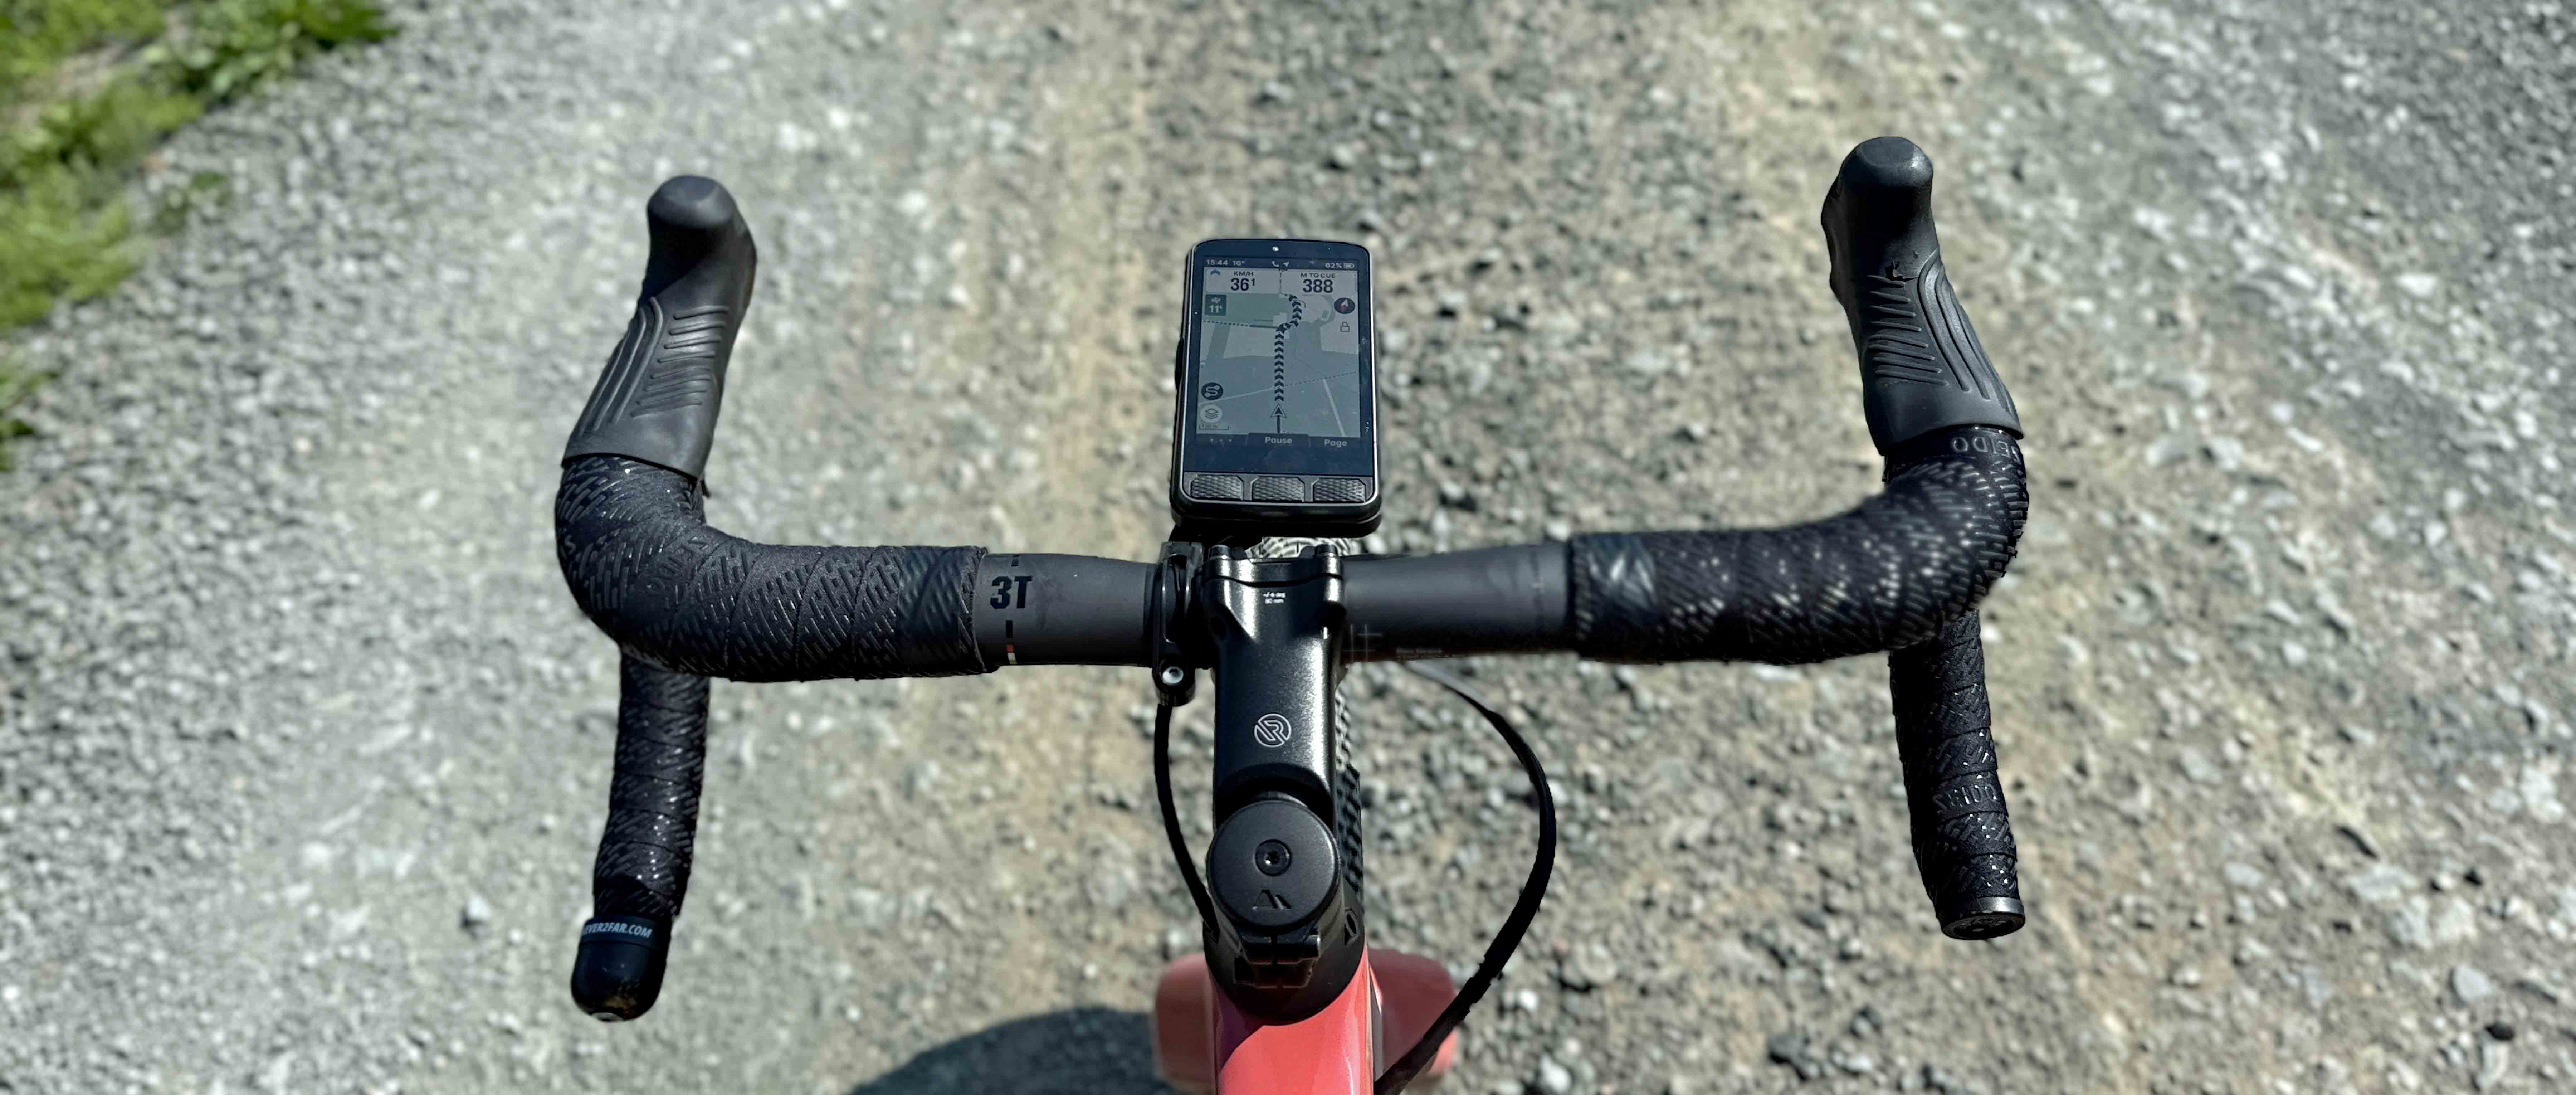
With the TAB tape fitted, what is it like to use? In a word, perfect! Everyone is likely to have a different preference for the thickness of tape that they use, but for me, the combination of the 3.8mm of padding and the grippy, silicone print offered a Goldilocks-esque ride feel. The TAB tape was thin enough to offer a decent amount of “ride feel” through the bars, but thick enough to damp out some of the high-frequency buzz that can make riding off-road tiring. During the test period, I was fortunate enough to only use the TAB bar tape in dry conditions. I rode in temperatures up to the mid-30s, however, so I did get to test out the moisture-wicking claims and I’m pleased to say that they seemed to be true. Unlike the majority of the pro peloton, I wear gloves year-round when I’m riding – unpadded lightweight XC MTB gloves in the summer and heavyweight gloves with a variety of different thickness/warmness/waterproofness characteristics in the winter. In the search for journalistic rigour, I did try using the tape briefly with bare hands and can confirm that the combination of padding and silicone print felt really great. Only time will tell how durable the TAB tape is in the long run, but my impressions so far are really positive.
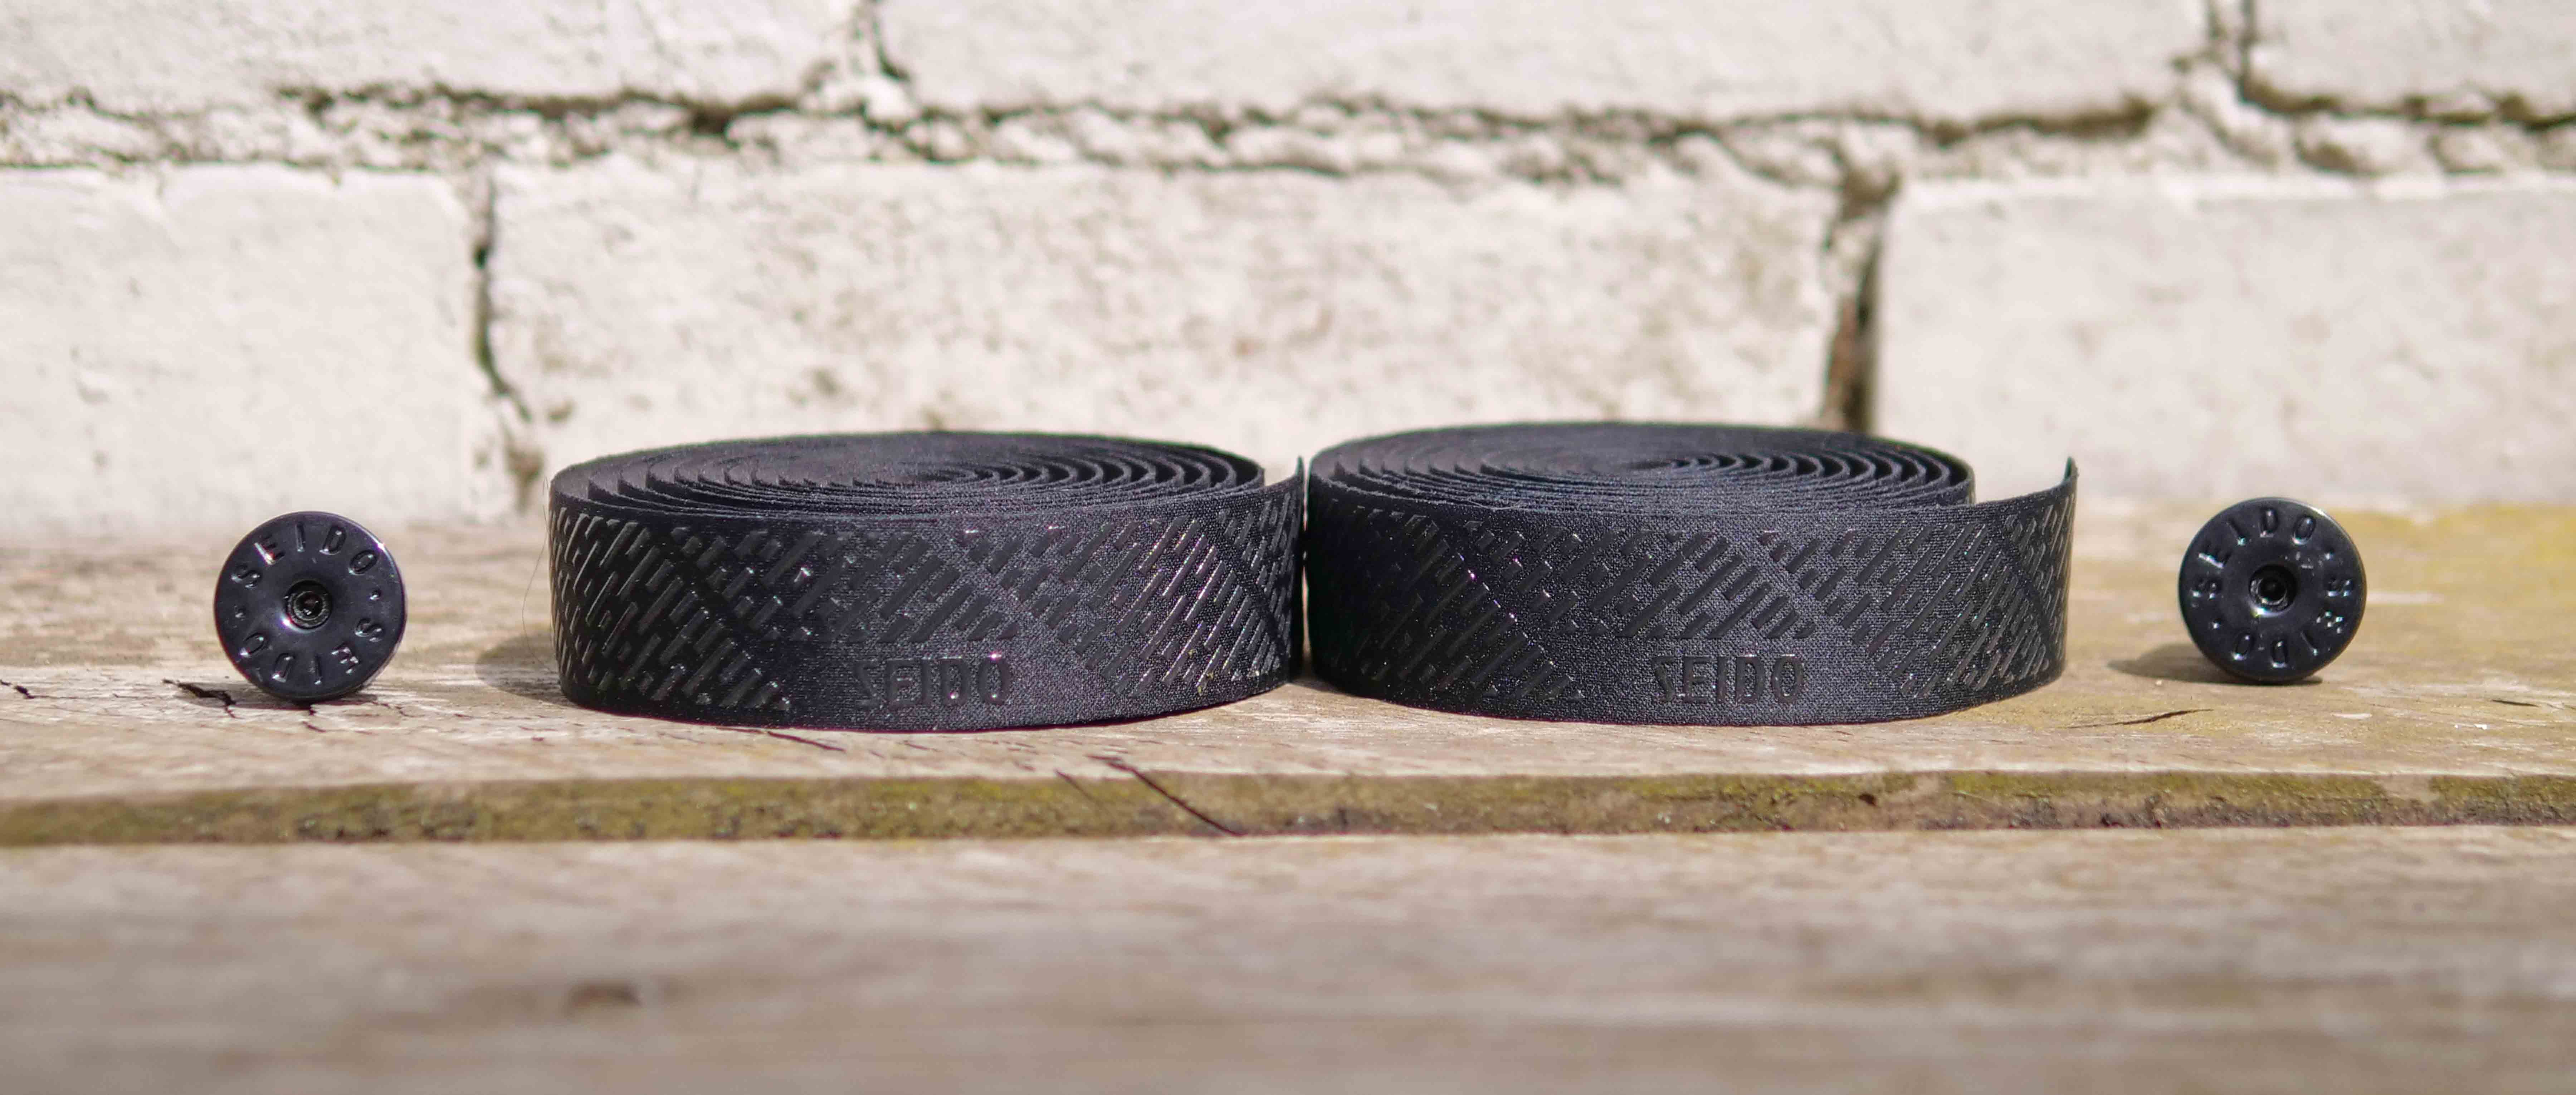
Reasonably priced, easy to fit, good-looking, comfortable and durable. Those are the combination of factors that any bar tape manufacturer is looking for. Seido seems to have got it spot-on with their TAB bar tape. If the TAB tape proves to be durable in the long term, then I can easily see it being fitted to my other drop bar bikes in the not-too-distant future too.
Seido TAB tape costs £28/€31.25 and is available in all good bike shops, or direct from Seido. You can find all the details on the Seido website.